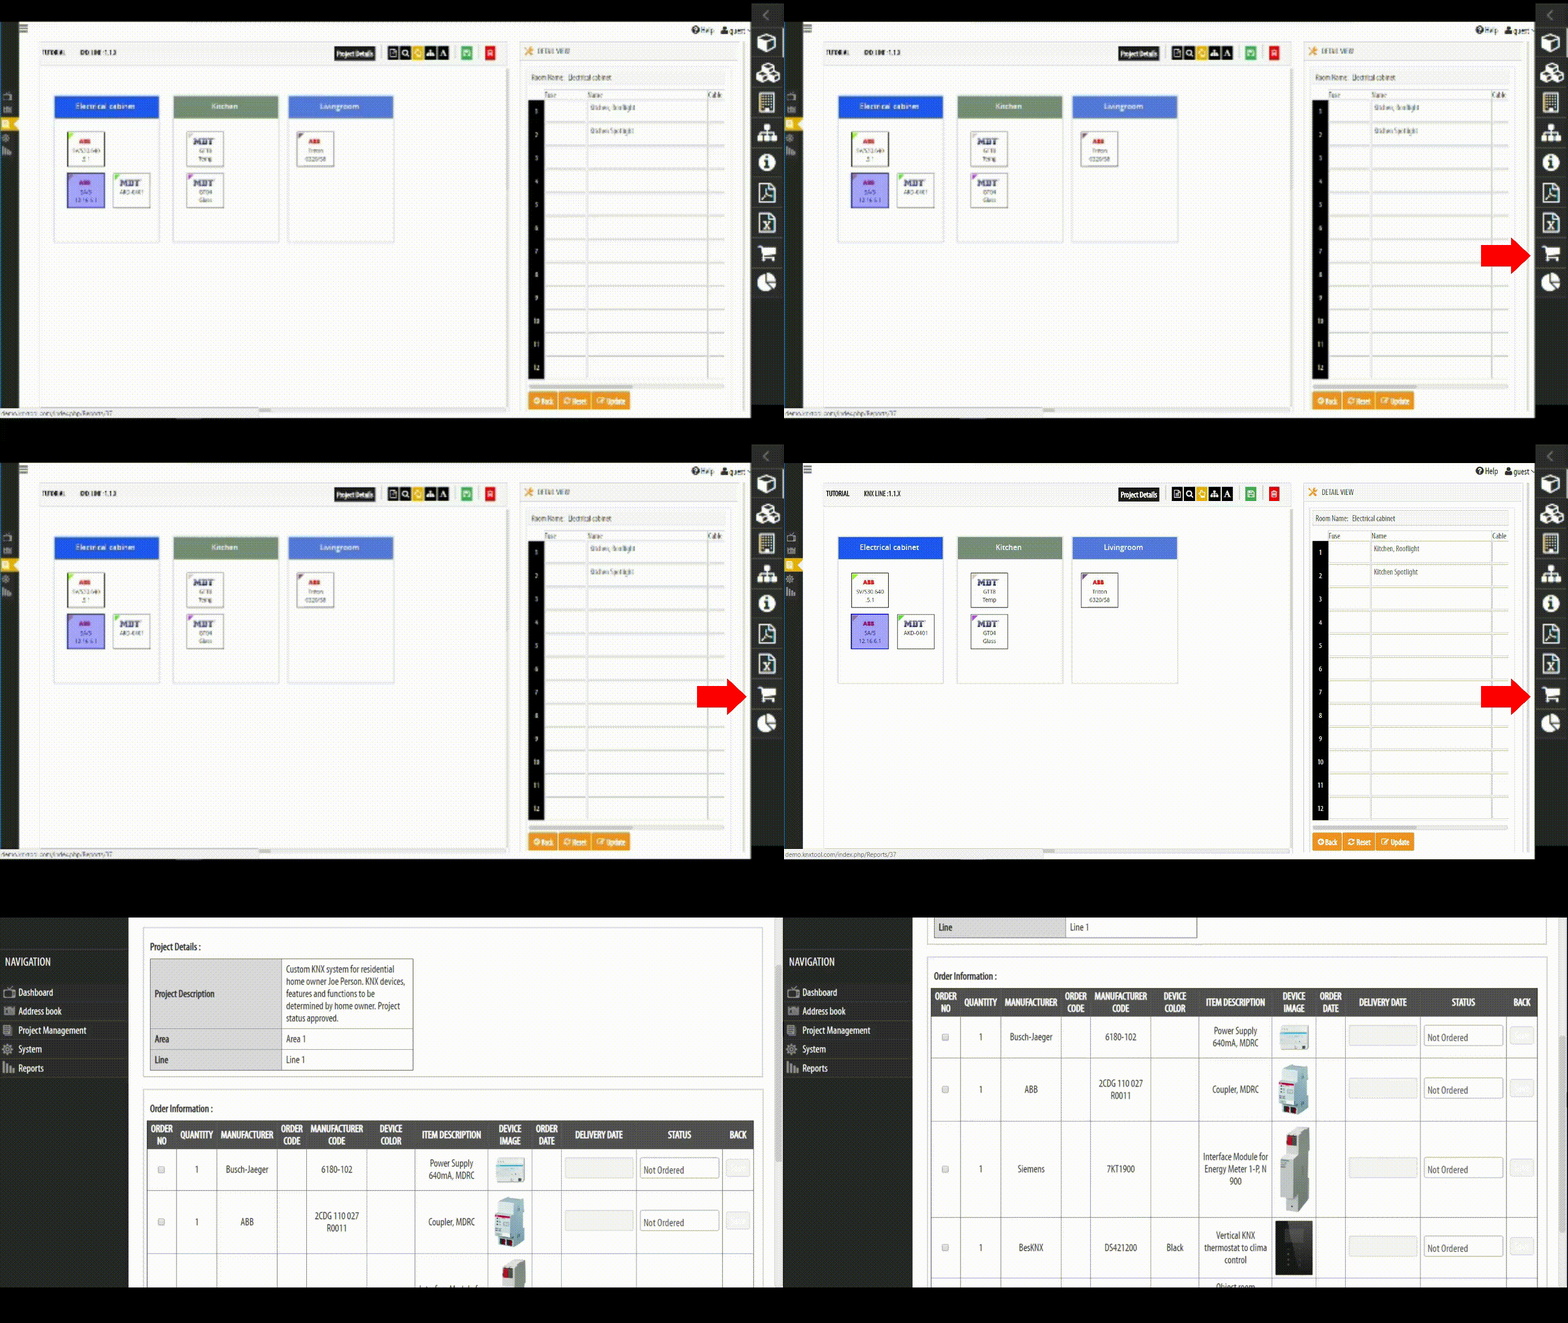
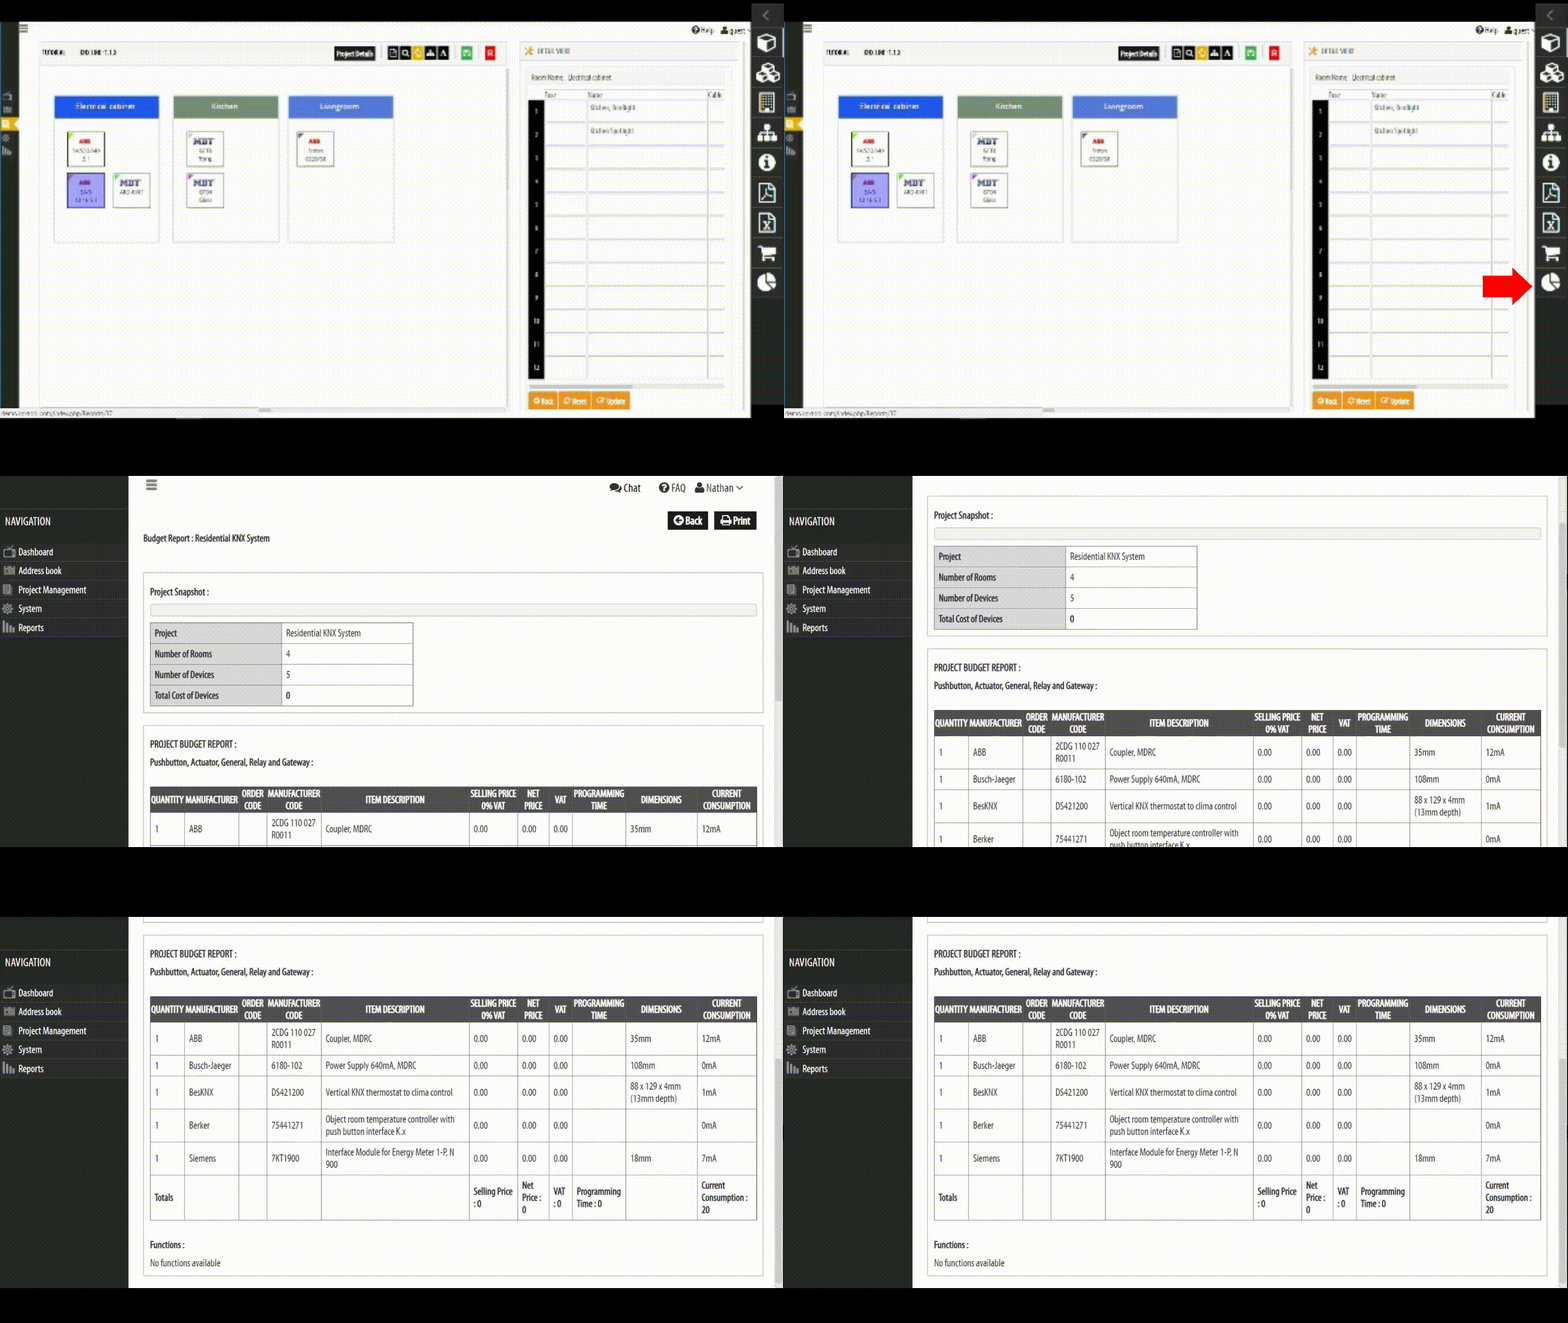
A complete step-by-step guide on how to setup your new KNX Tool.
We guarantee if you take the time to setup the KNX Tool properly and utilize all of the features, you will save up to 65% of work time by streamlining all stages of your KNX projects — from the initial planning and development stages through to programming KNX installations using ETS and final project reporting.
Please follow the steps in the guide below to setup and customize the KNX Tool for your current projects.
If you would like personal assistance to help you setup the KNX Tool, please click the following link to schedule your free setup appointment.
To get started, you first need to enter the contact information of the customer you would like to create the project for.
You can either add regular Contacts or Companies to your Address book.
You can organize individual contacts in customized groups and also connect them to a company.
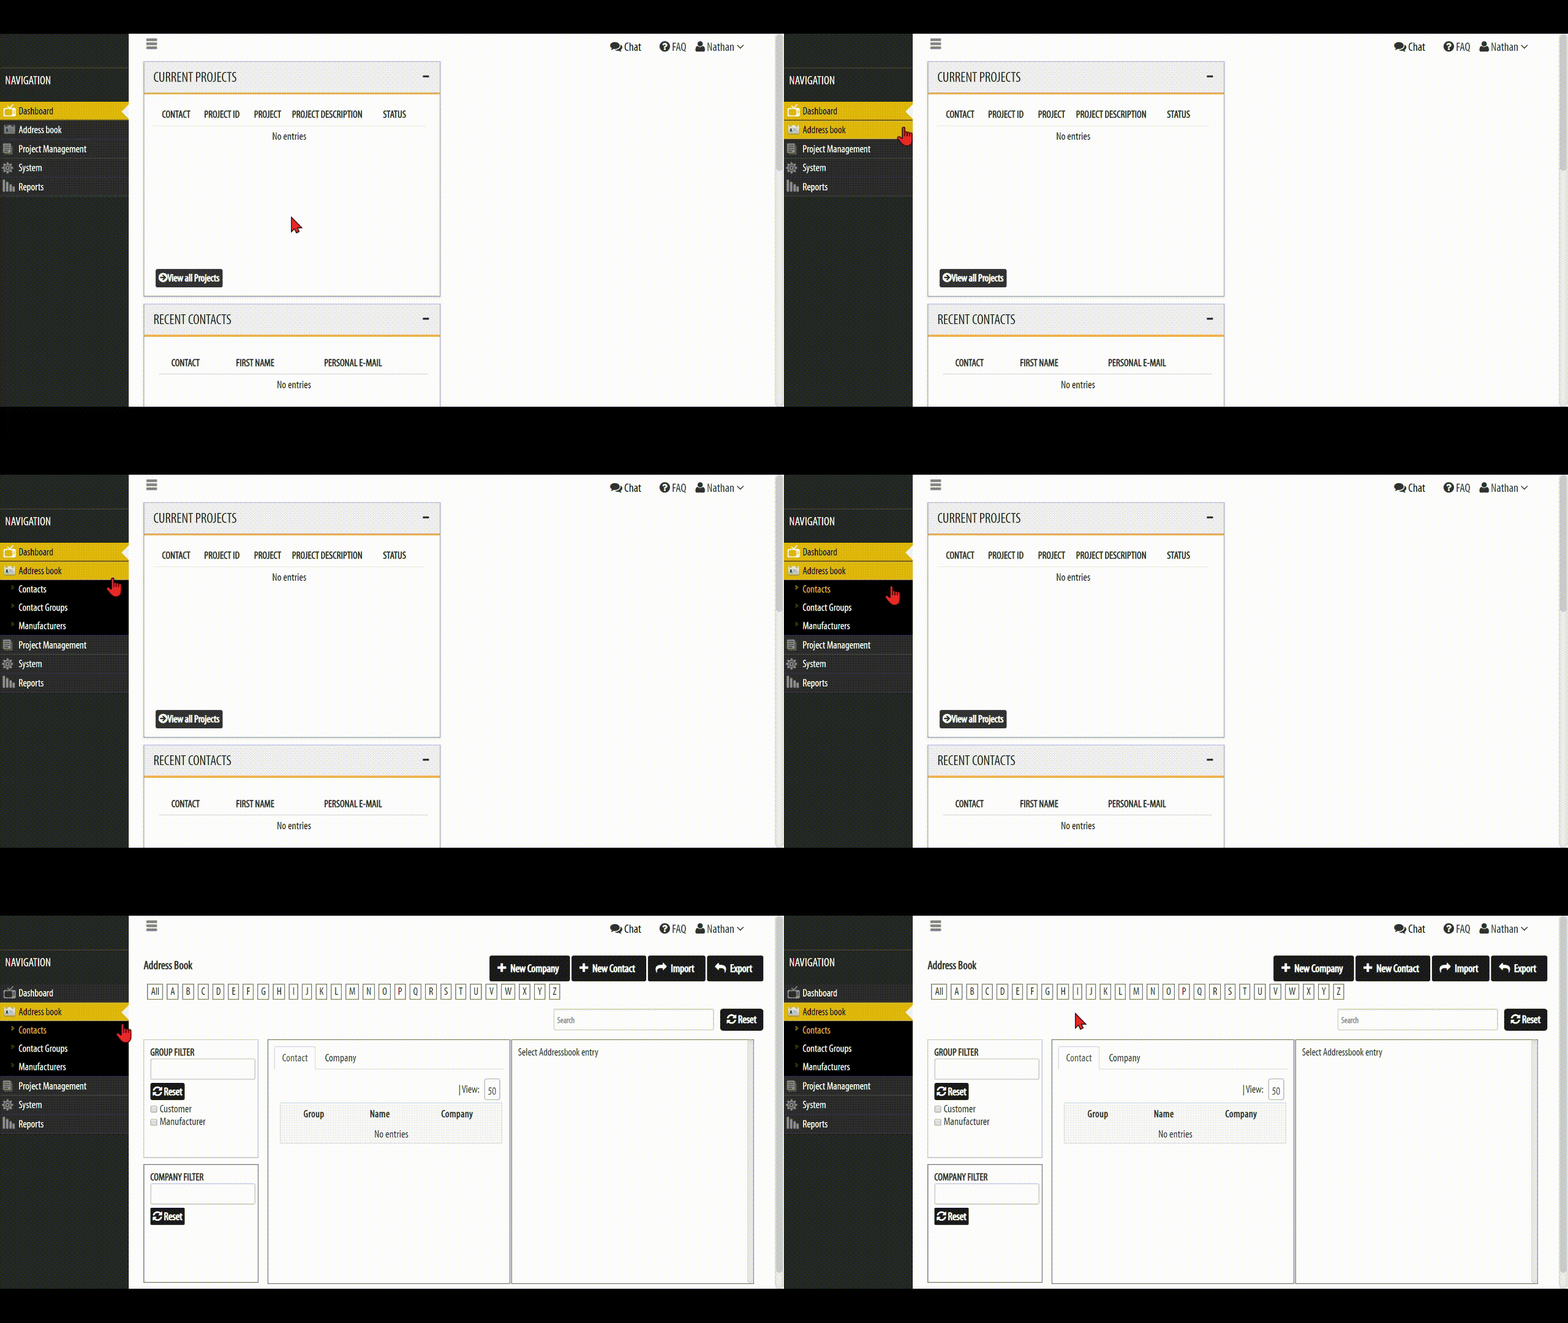
STEP 1. On the left-side of the dashboard, navigate to Address book > Contacts.
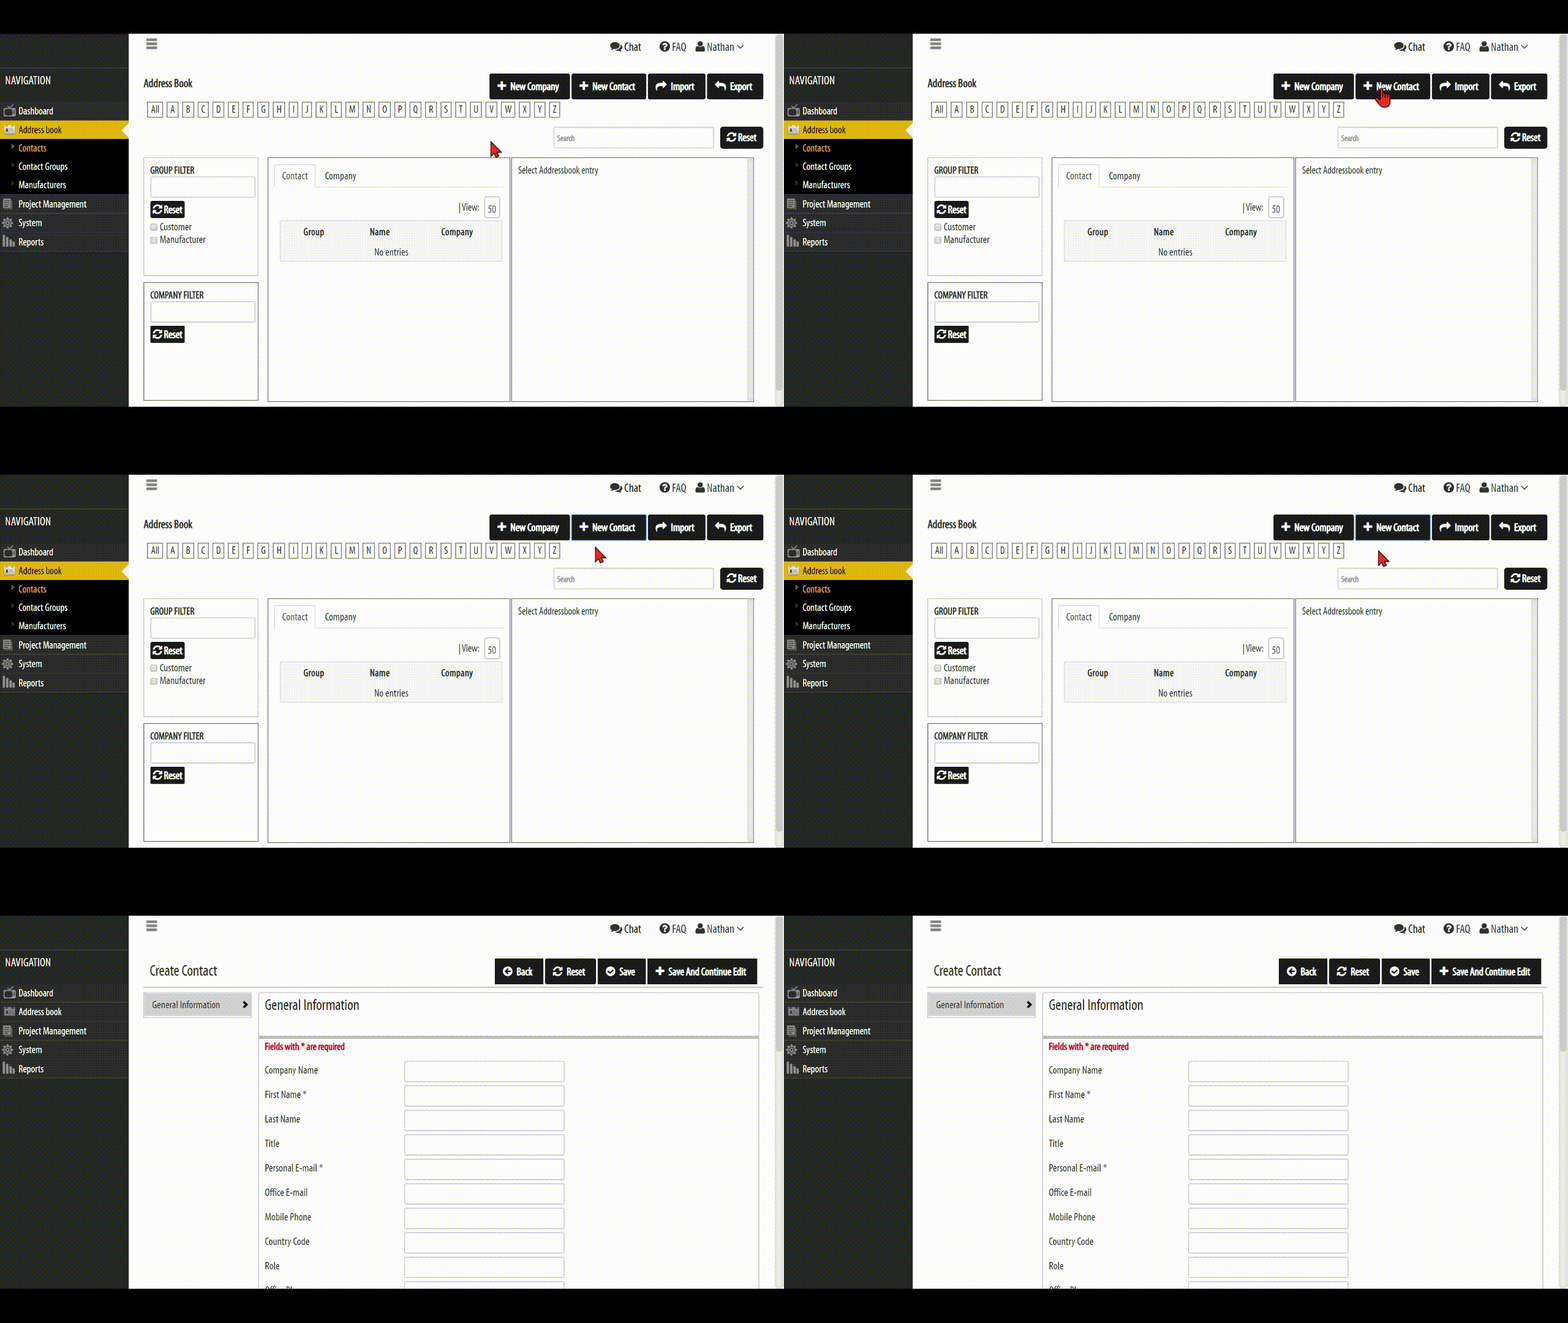
STEP 2. Click + New Contact and a new screen for entering the contact will open.
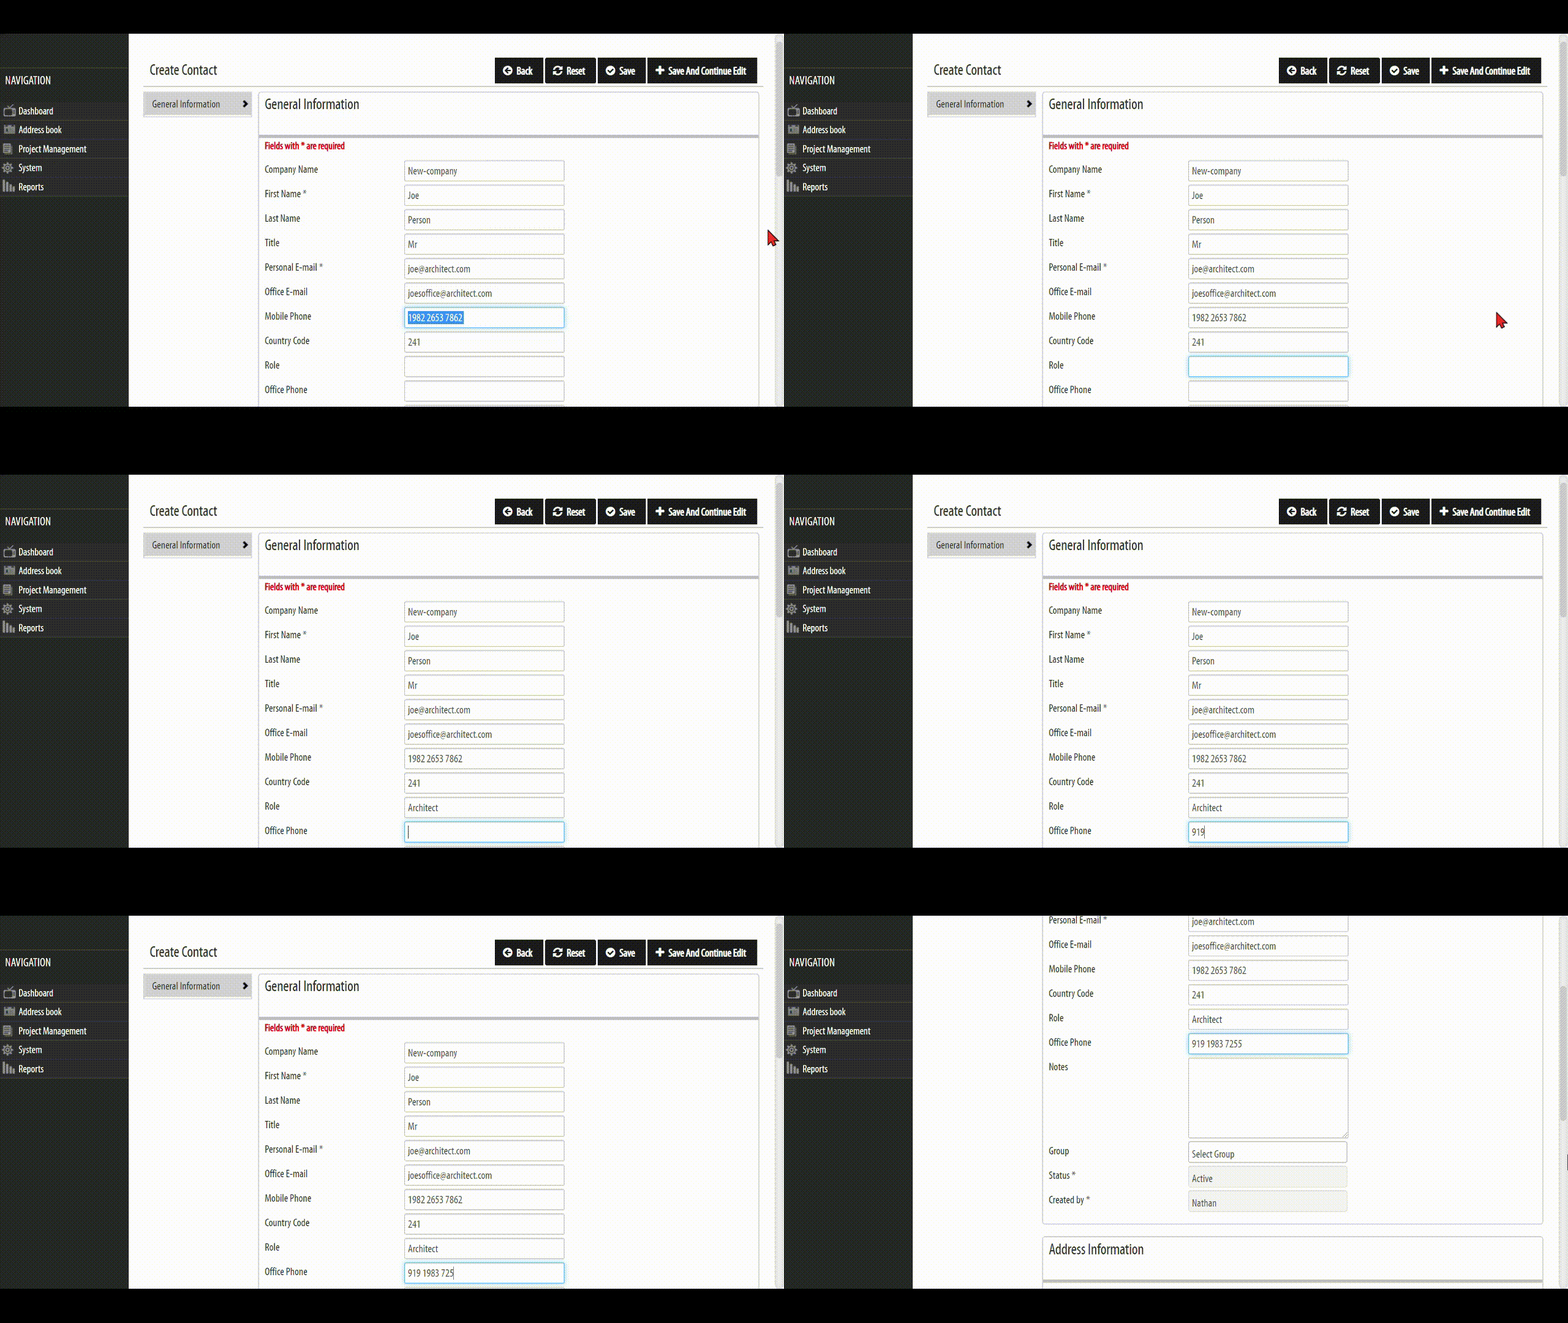
STEP 3. Fill in the contact (or company) details for the customer you would like to create the project for.
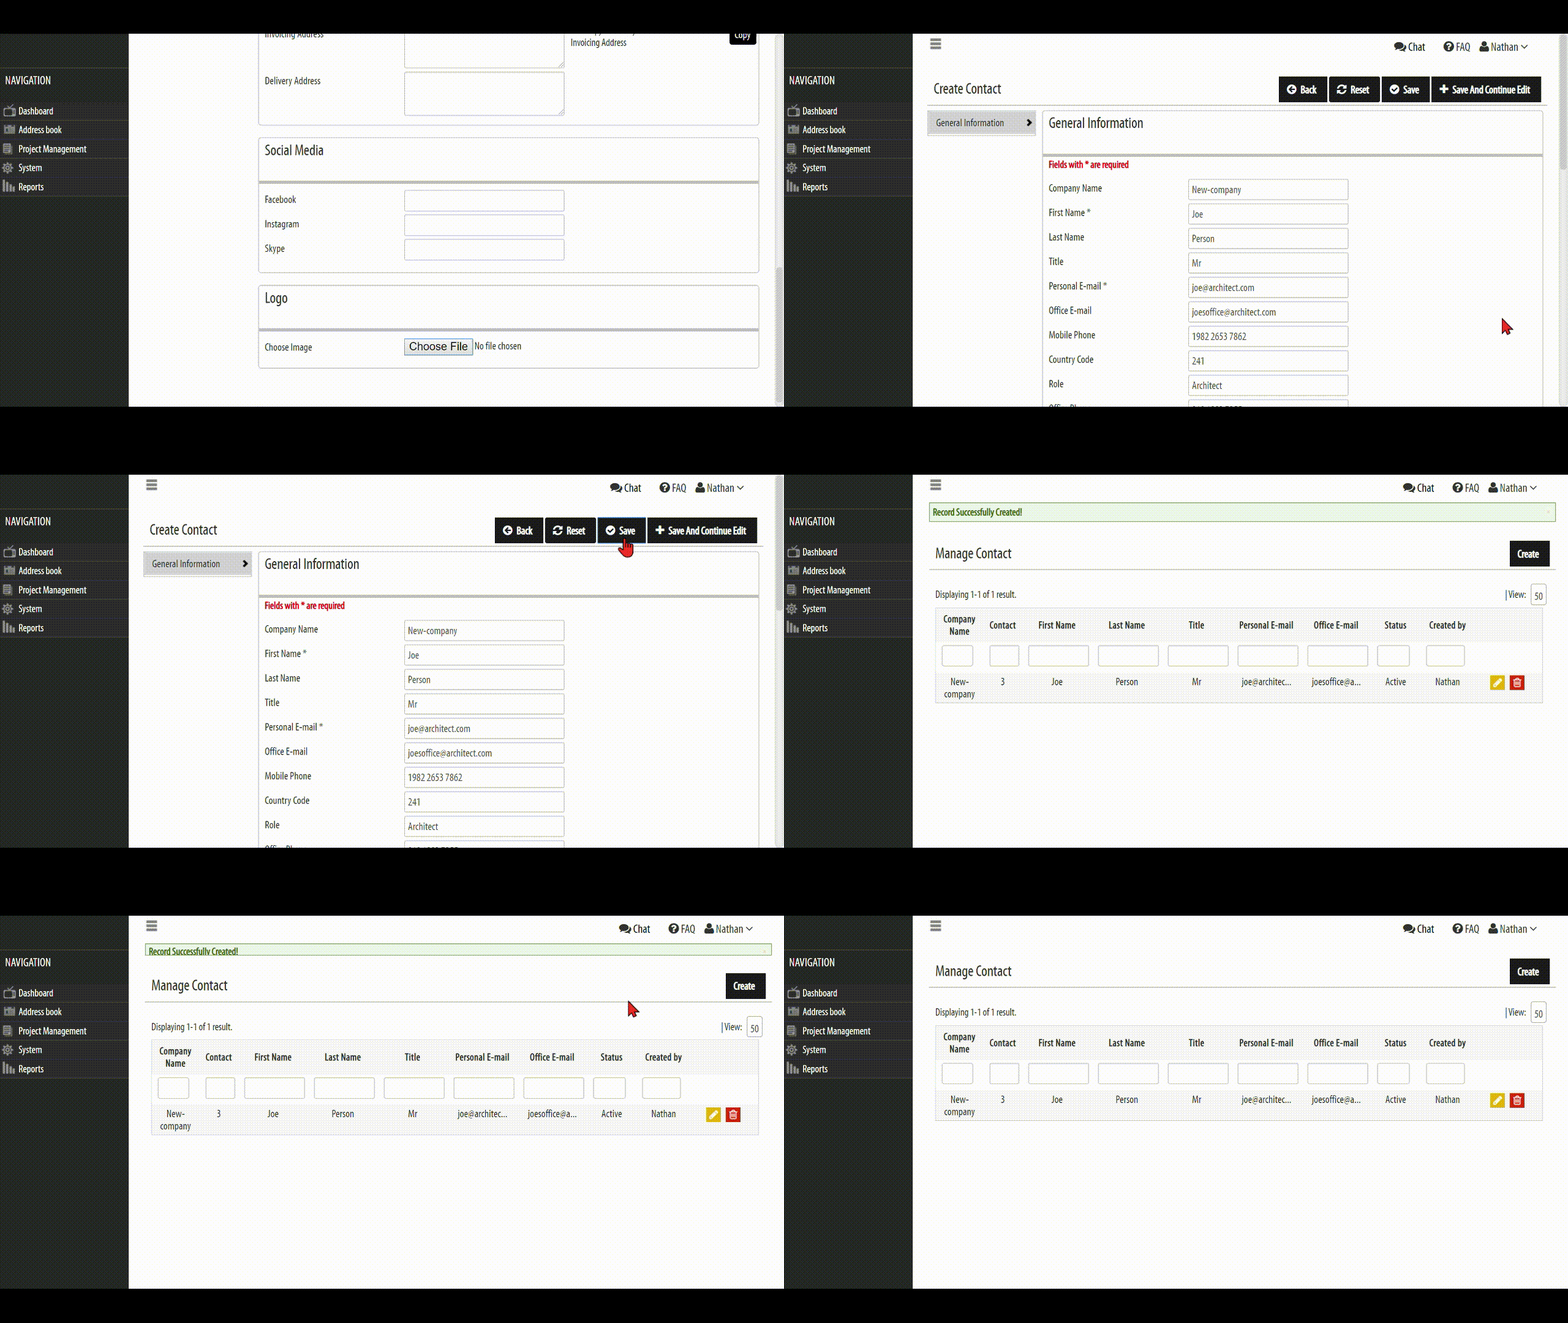
STEP 4. Click Save once you are finished.
NEED SETUP ASSISTANCE?
Click the link below to schedule a free live video appointment where we will show you how to setup and customize the KNX TOOL for your current projects.
This tutorial will show you how to create a new project for any contact in your Address book.
After you have created a project for your contact, you will then be able to see and manage all of your current KNX projects with the List or Card View under Project Management.
You will also be able to prioritize all of your KNX projects to quickly evaluate and prioritize what task needs to be completed next — by assigning color coded tags to your projects.
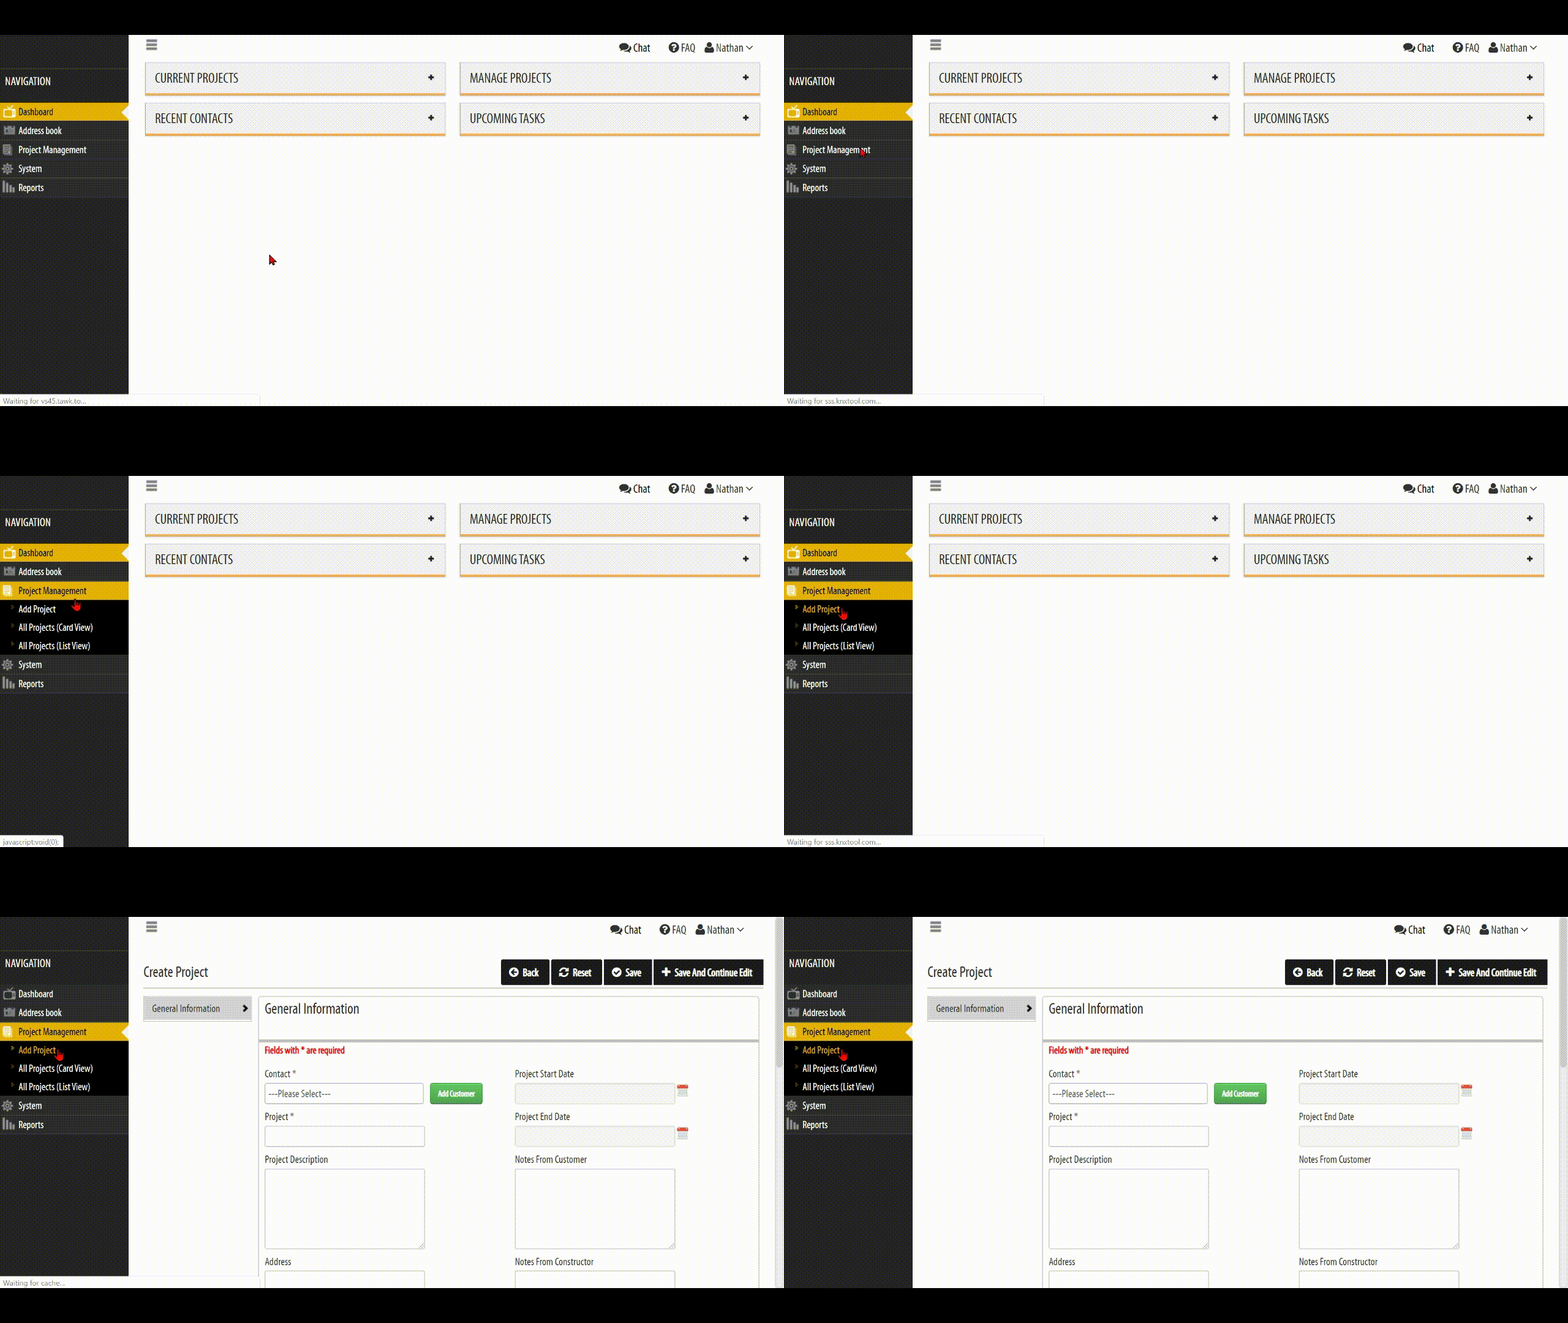
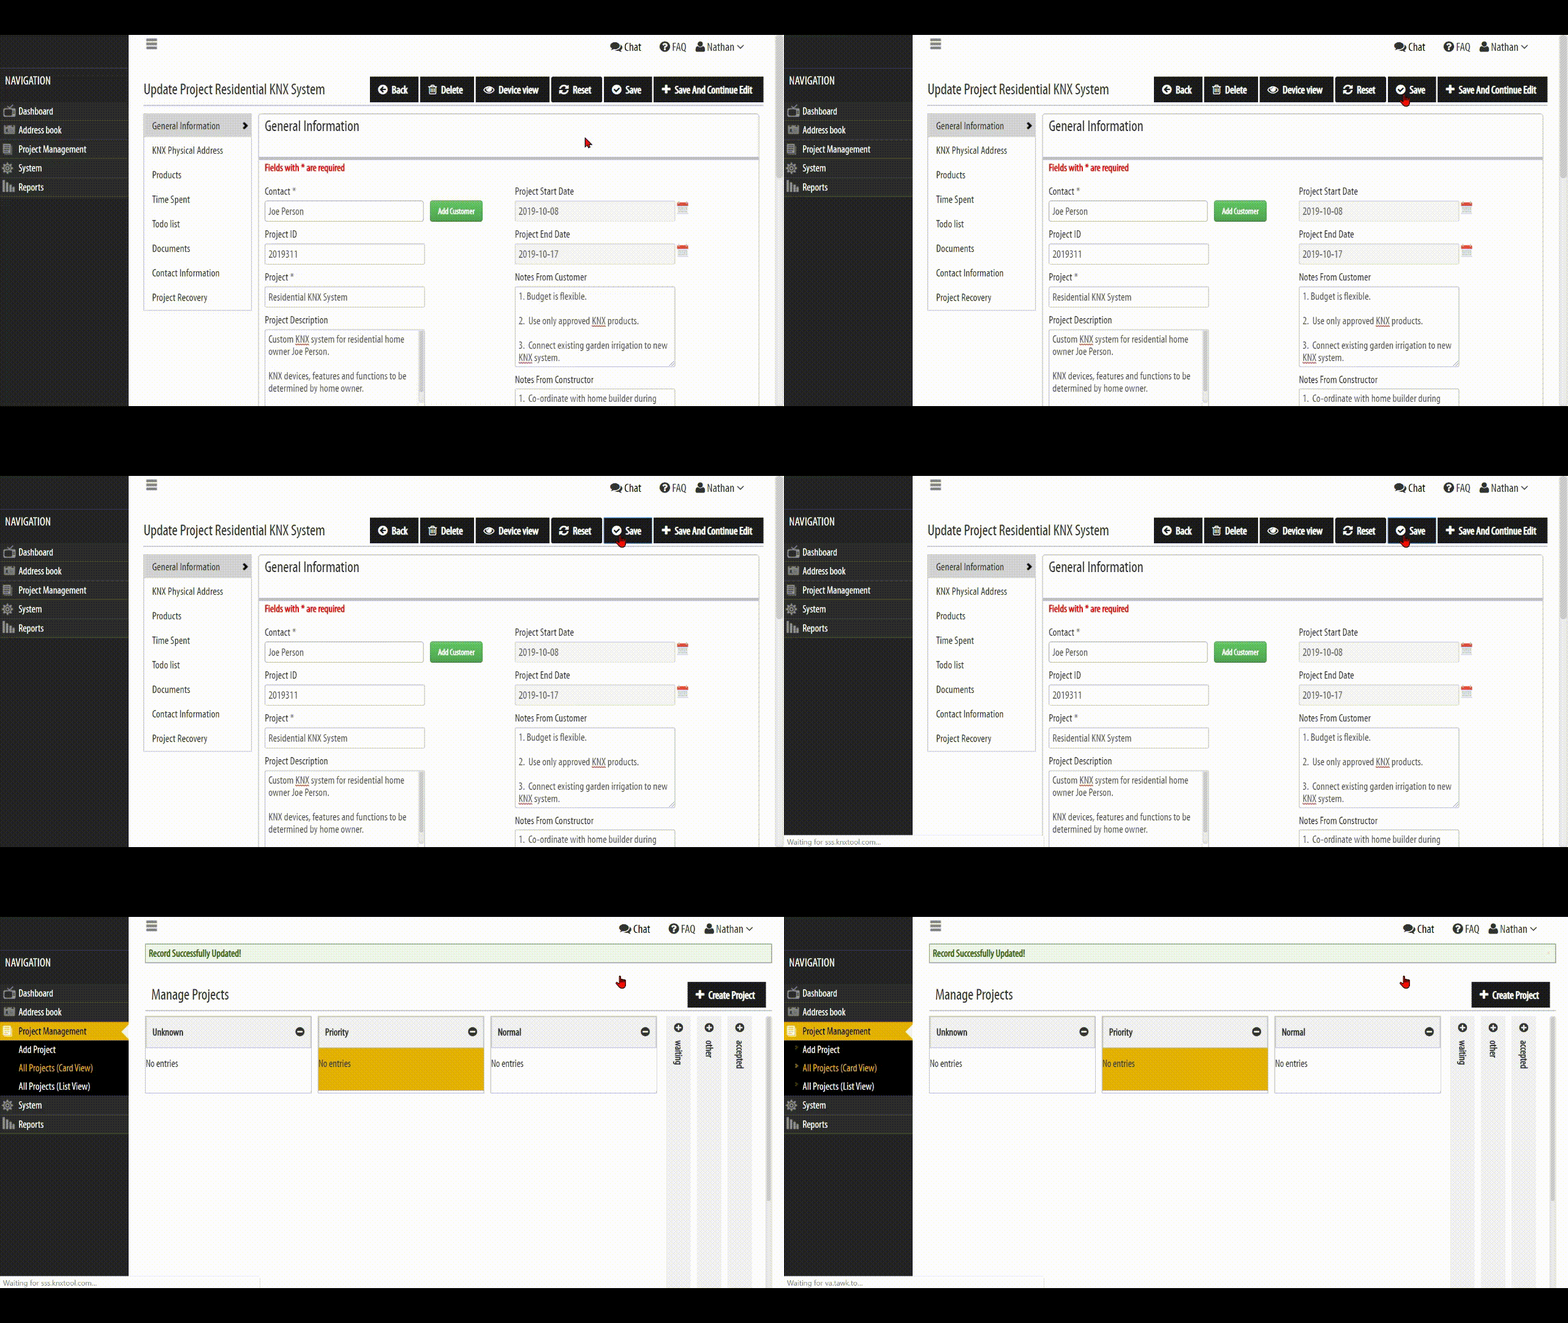
STEP 1. On the left-side panel, click Project Management > Add Project.
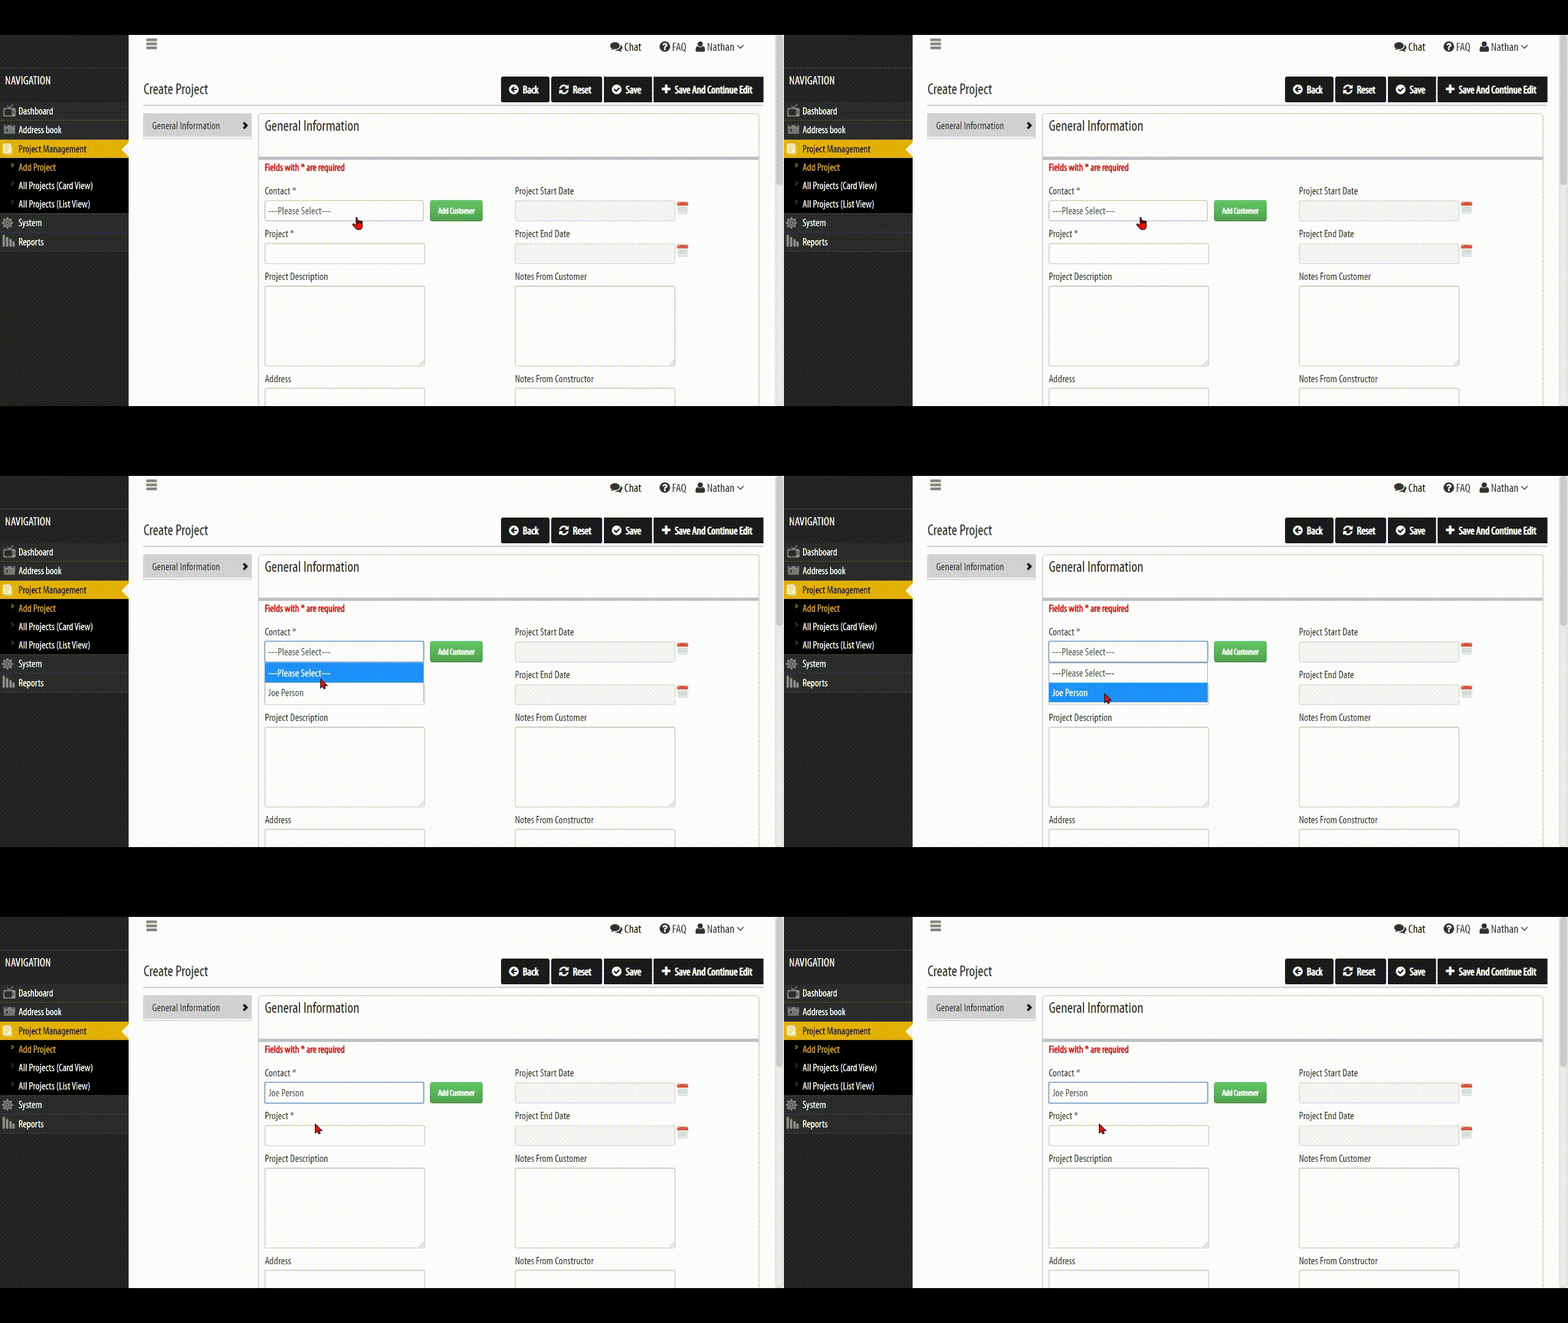
STEP 2. At Contact Name field, choose the contact you just created from the drop-down list.
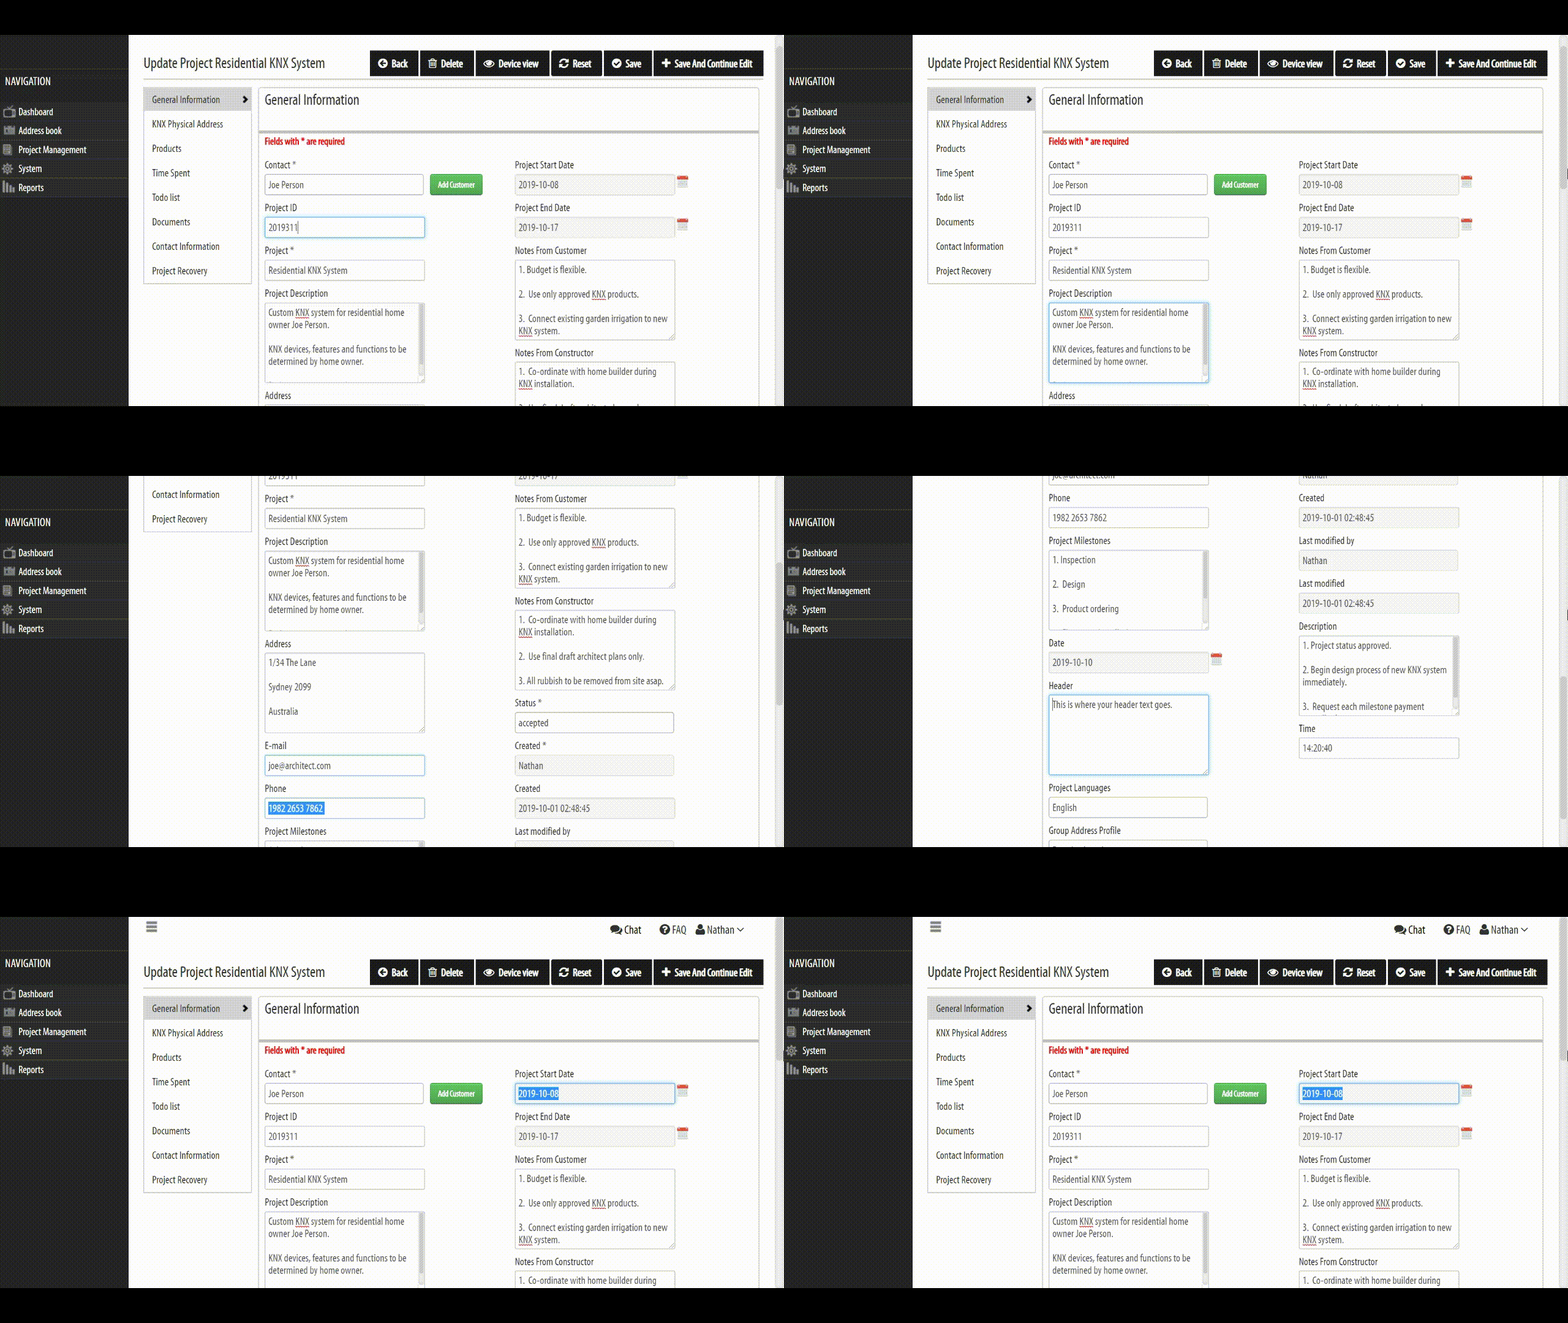
STEP 3. Enter the relevant information into the given fields.
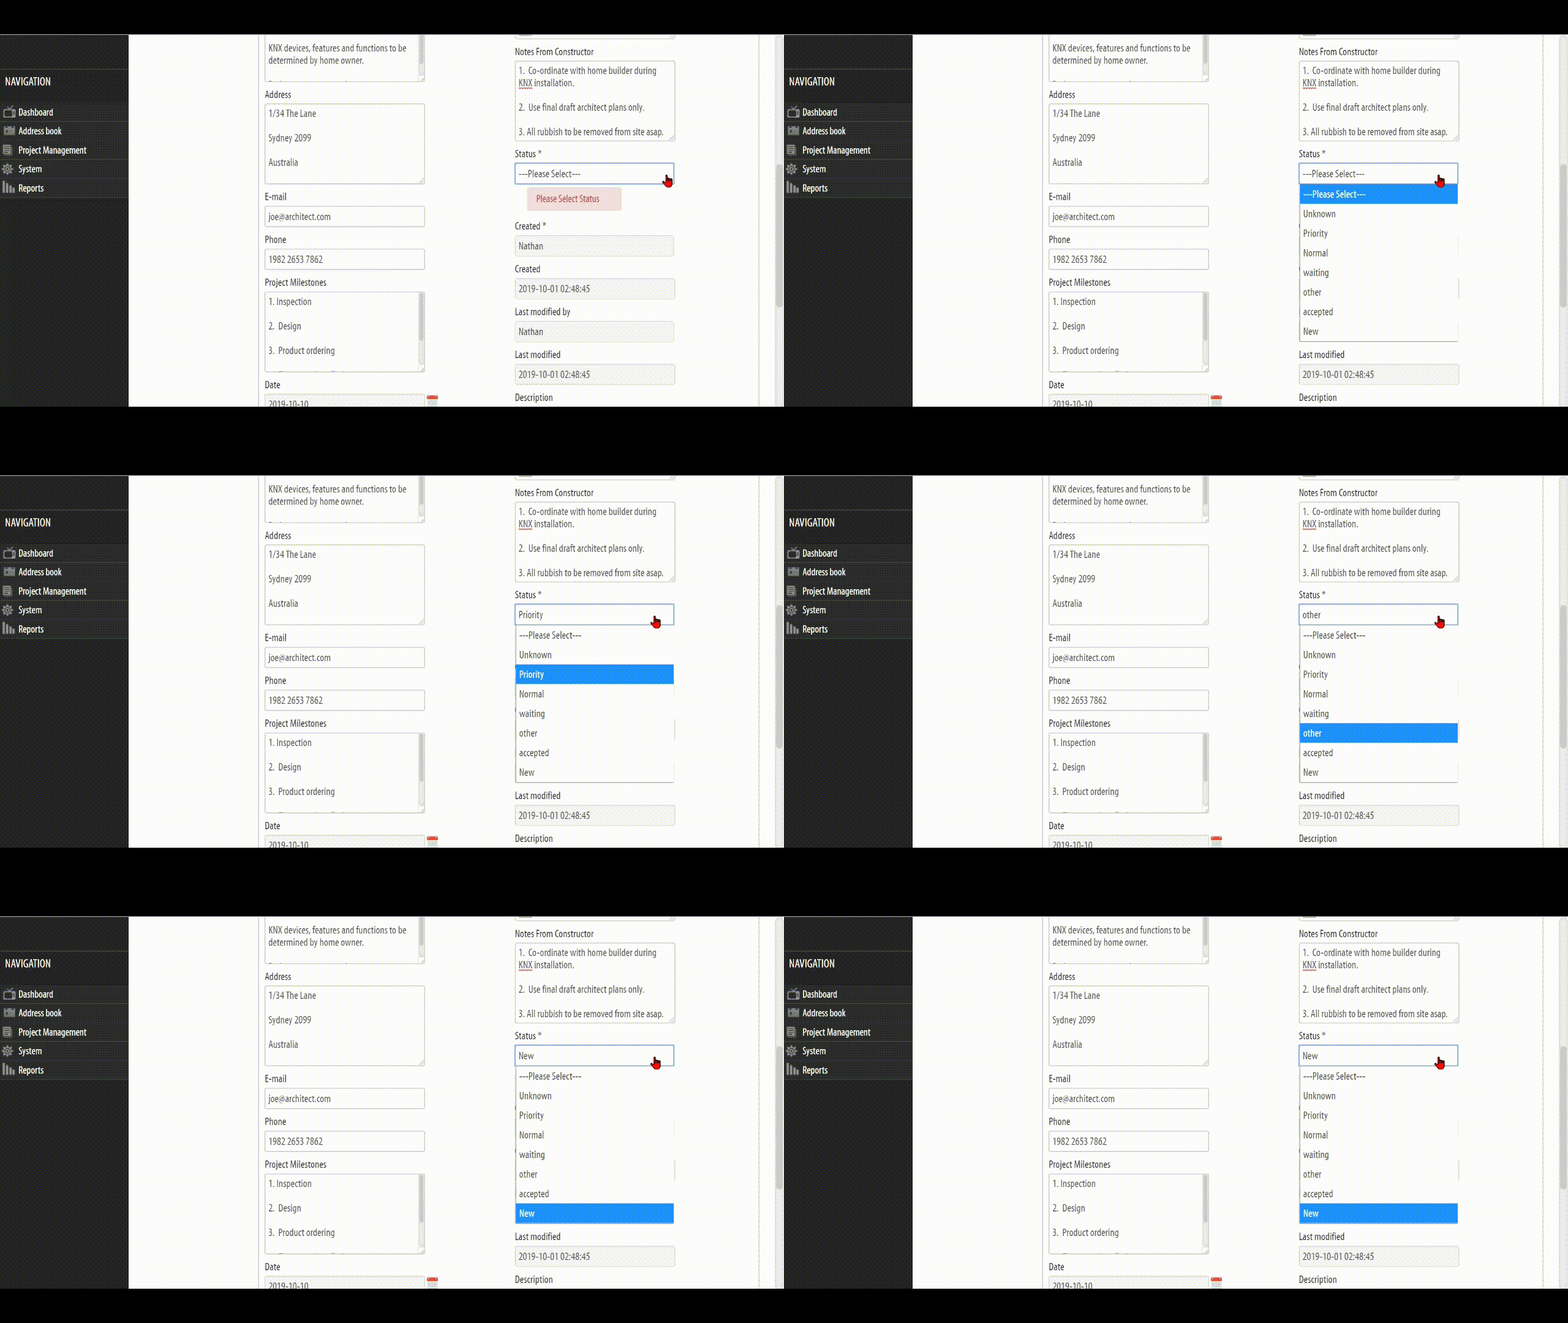
STEP 4. Select a Status to move your project to a certain category (e.g. Priority, Normal, Accepted, New, etc.).
STEP 5. Click Save once you are done.
NEED SETUP ASSISTANCE?
Click the link below to schedule a free live video appointment where we will show you how to setup and customize the KNX TOOL for your current projects.
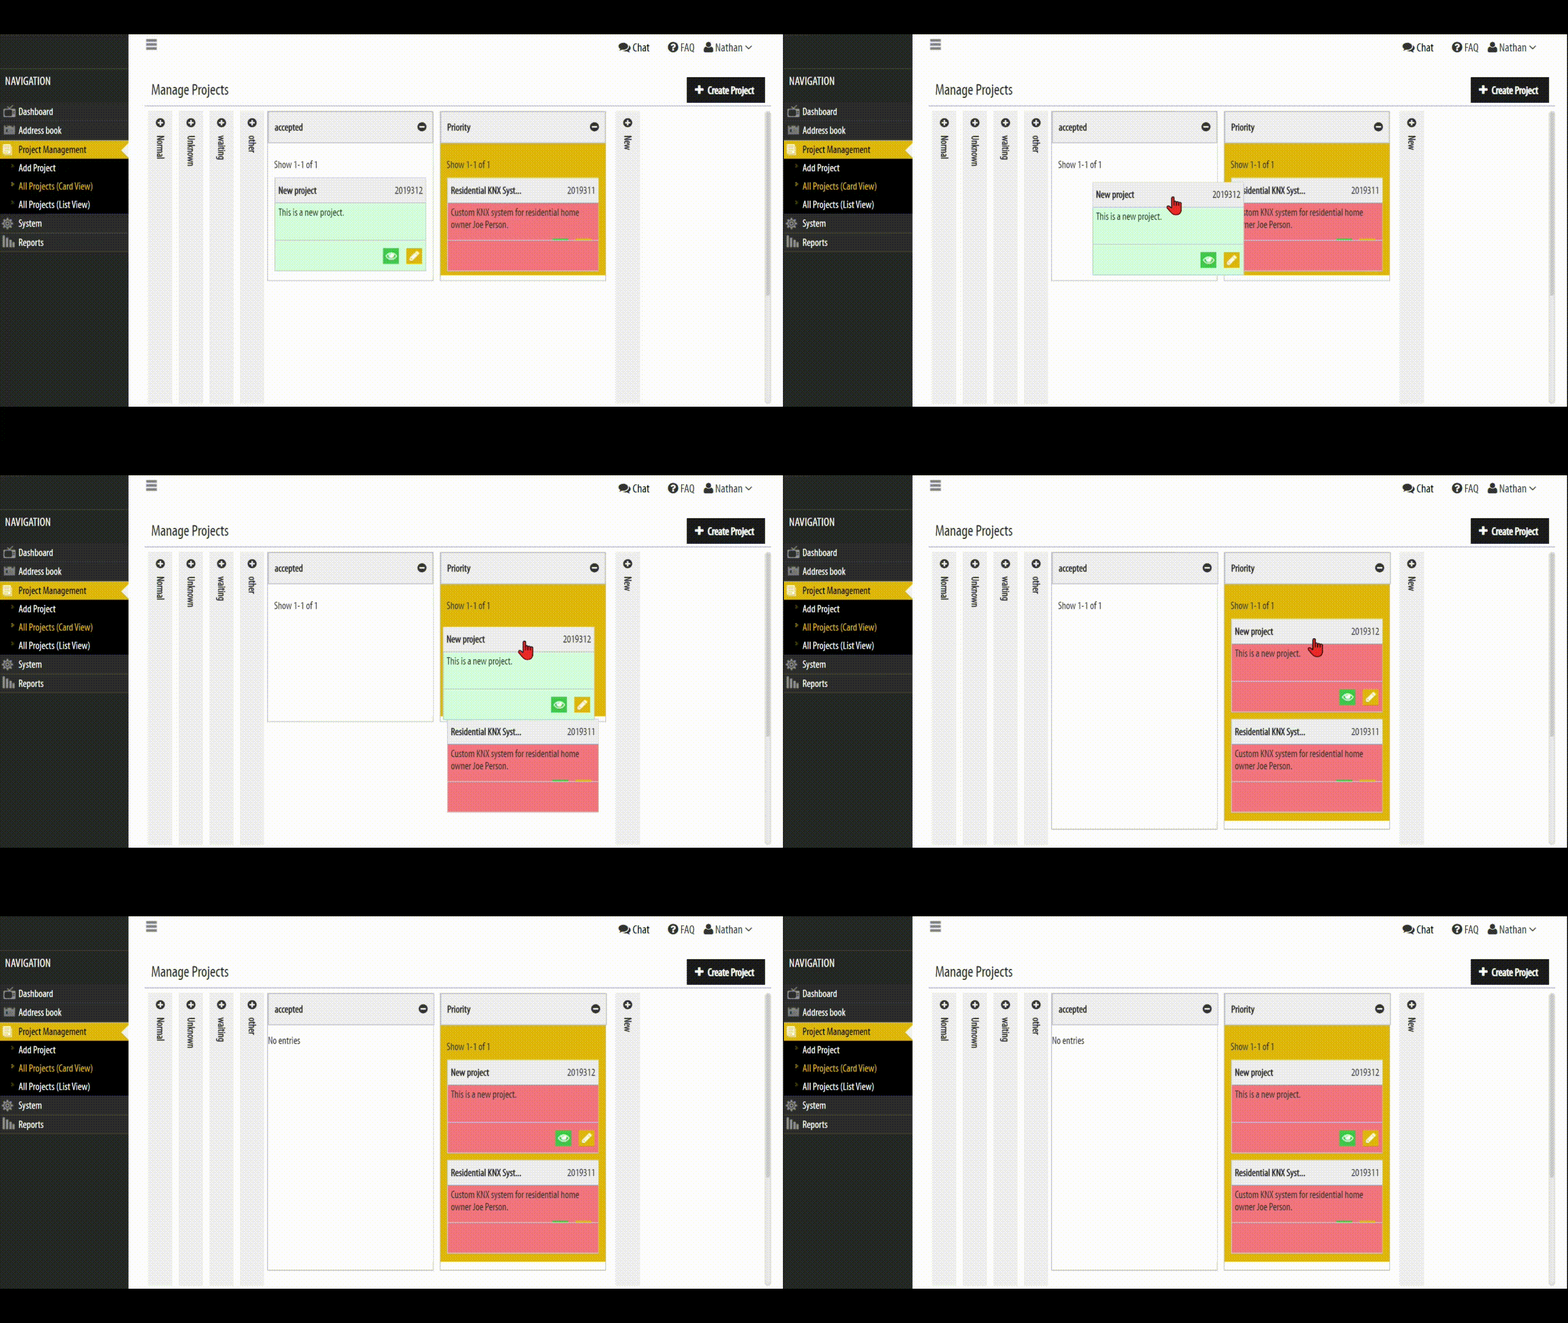
After you have saved your information on for your newly created project, you will be directed to the Project View (Card View) page.
Here you will be able to gain a complete overview of all projects you create — and quickly identify which of your projects needs immediate attention.
Every project has an Id which will be generated when you create your project and will be displayed in Card View according to their current Status or priority.
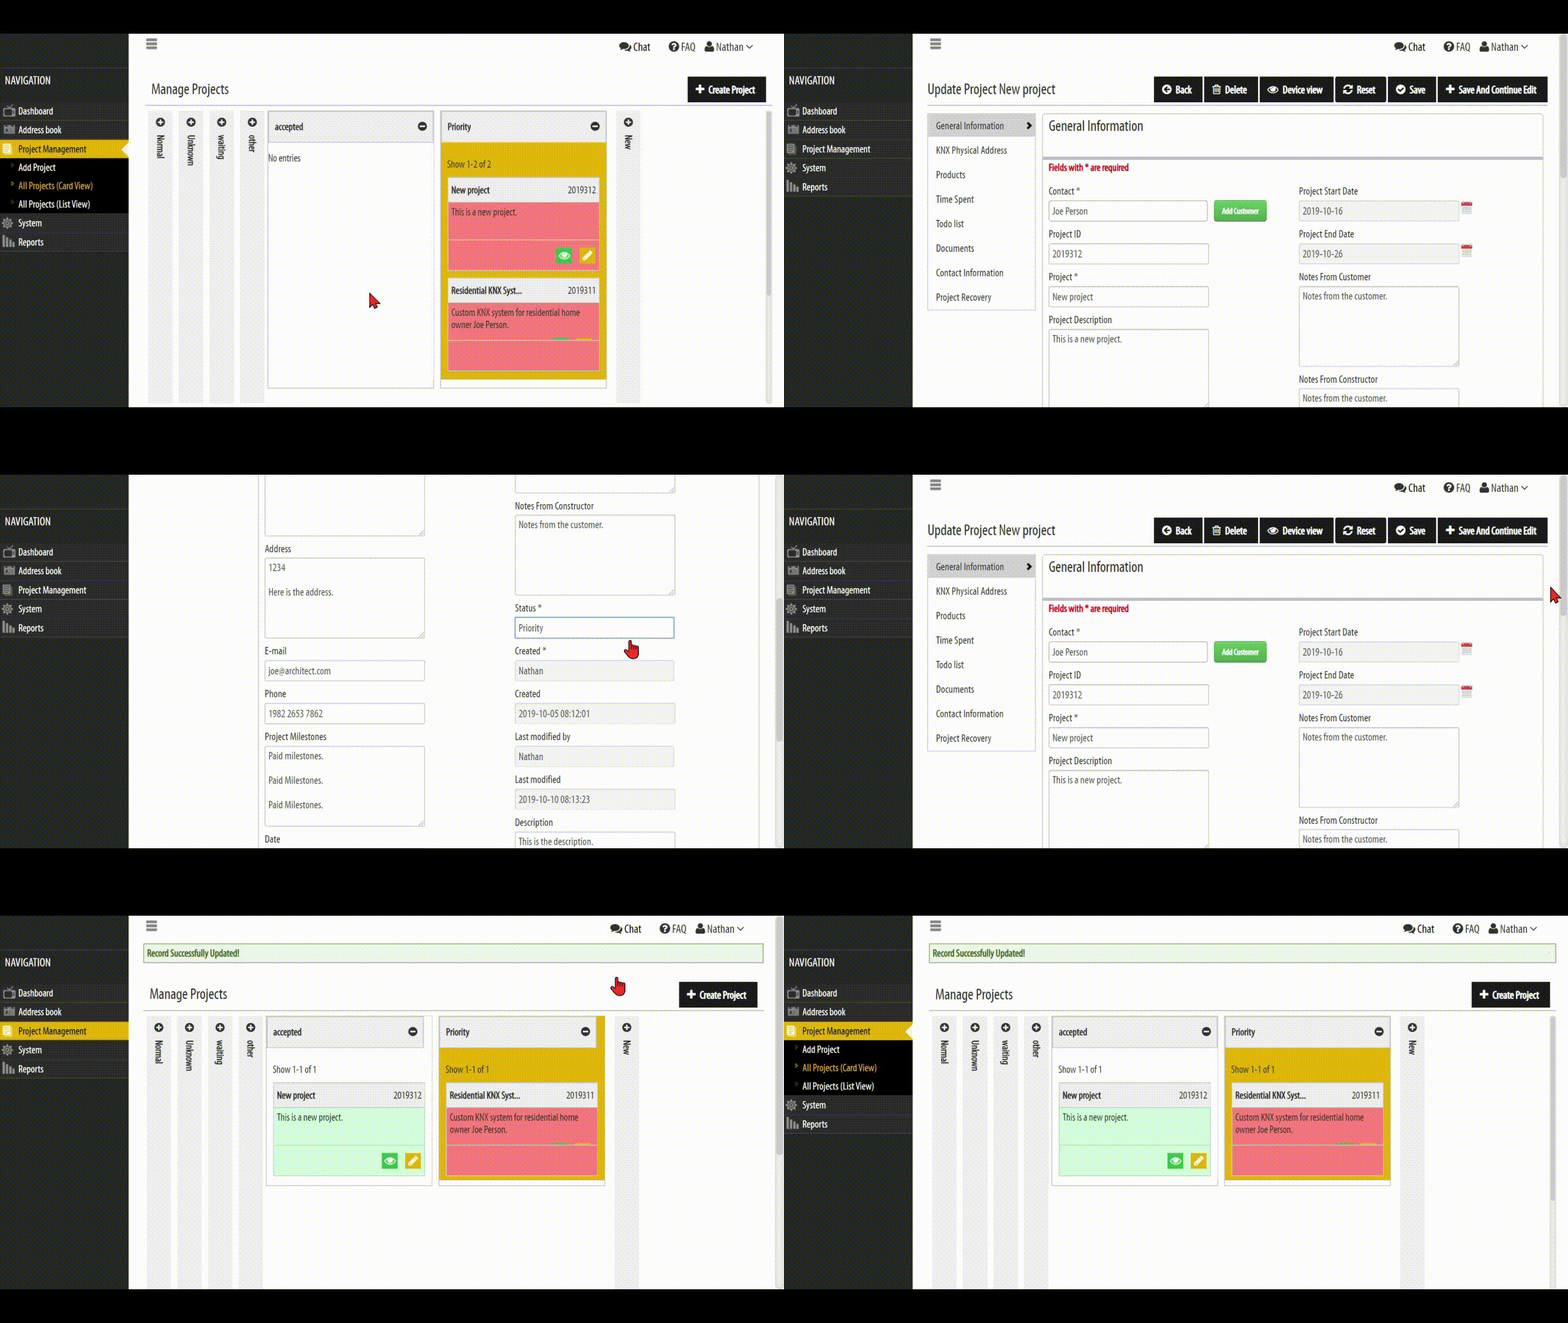
NOTE: YOU CAN CHANGE PROJECT STATUS IN PROJECT VIEW IF REQUIRED
OPTION 1. Change each Project Status for your Projects by Drag and Drop. Simply click and hold the project and move it into your desired column (e.g. Priority, Accepted, Waiting, Normal, etc.)
OPTION 2. You can also change the format for the Project ID and Status for your Projects by double-clicking on the project you wish to change the status for.
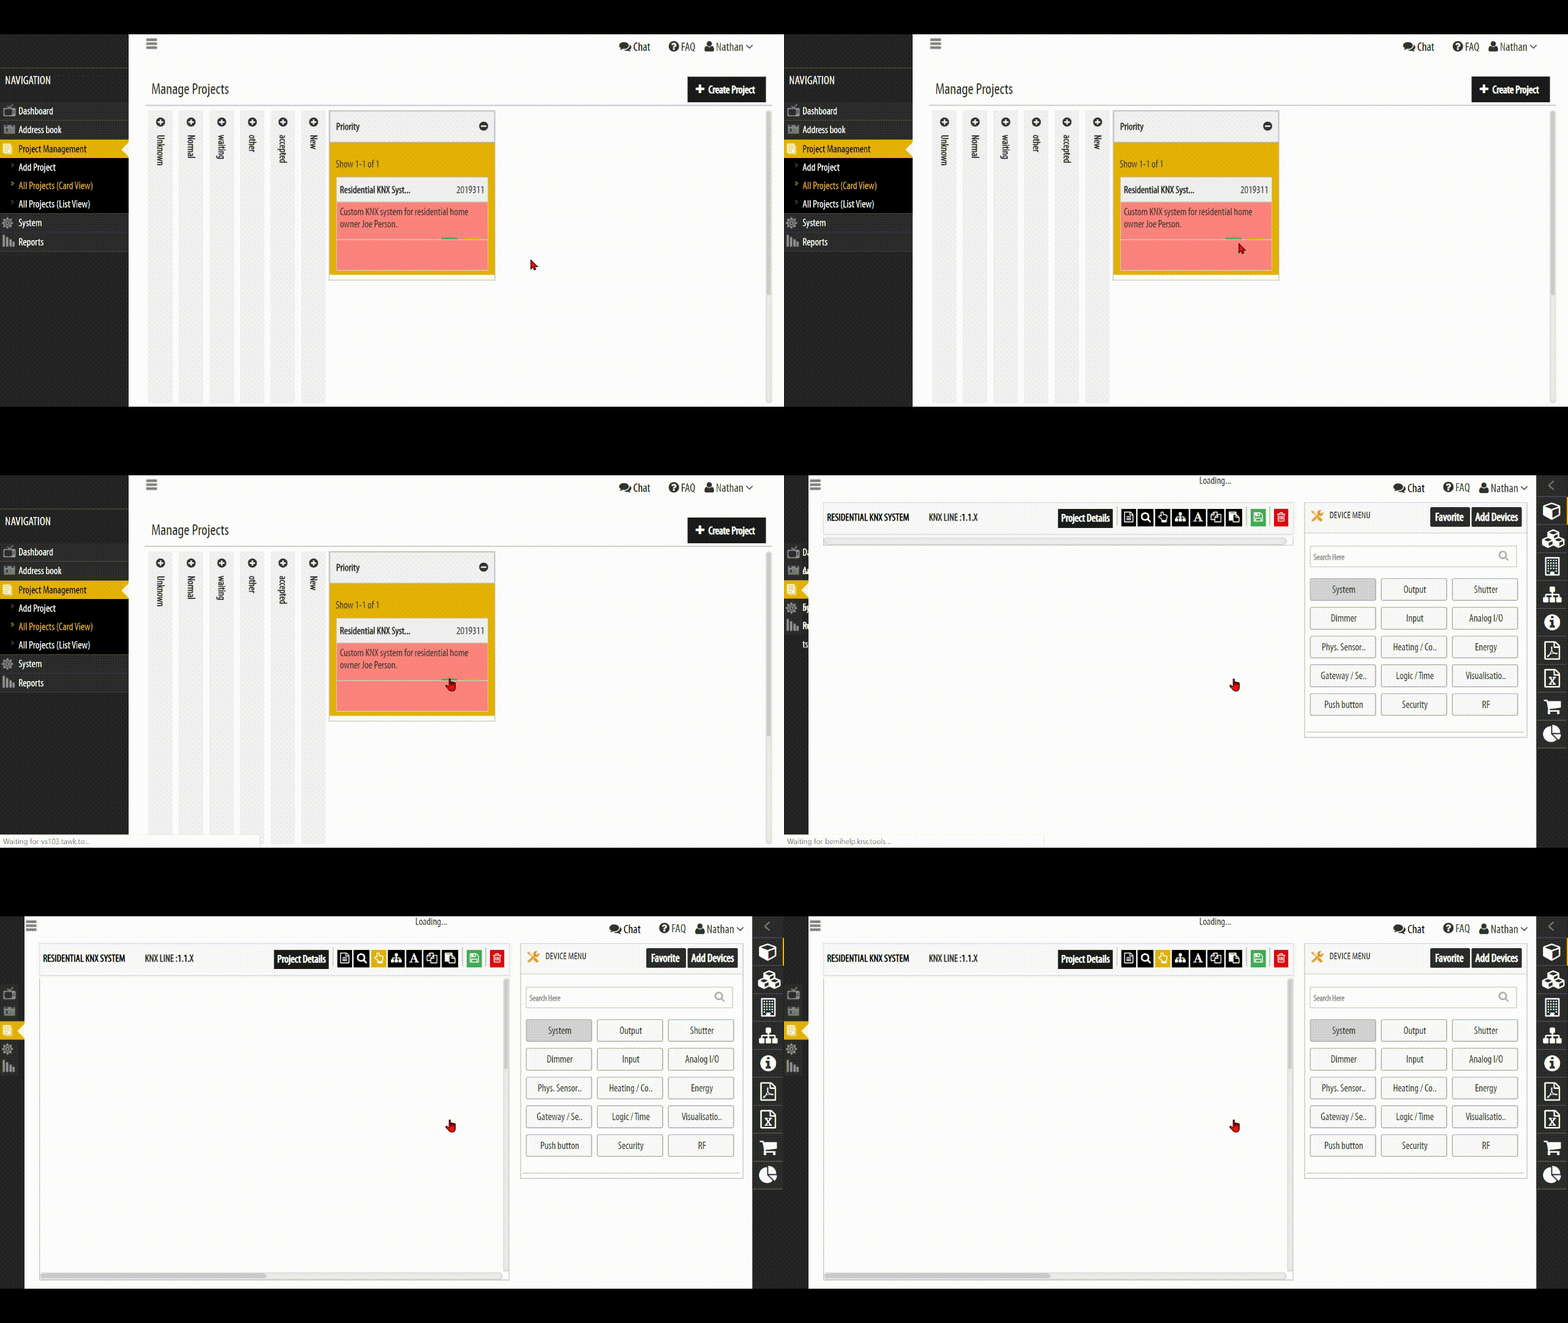
STEP 1. To start building up a project, click the Green Eye icon in the project card – you will be redirected to the Drawing board.
NEED SETUP ASSISTANCE?
Click the link below to schedule a free live video appointment where we will show you how to setup and customize the KNX TOOL for your current projects.
After you have created a new project, start building up the room structure of your project using the KNX Tool Drawing board (similar to ETS).
Create customized systems for different KNX projects by designing the overall layout of the building structure first.
Add different rooms, levels , areas and outdoor spaces where KNX integration is required — then you can begin adding KNX Devices to setup your customized KNX system (as outlined in the following Add Devices section).
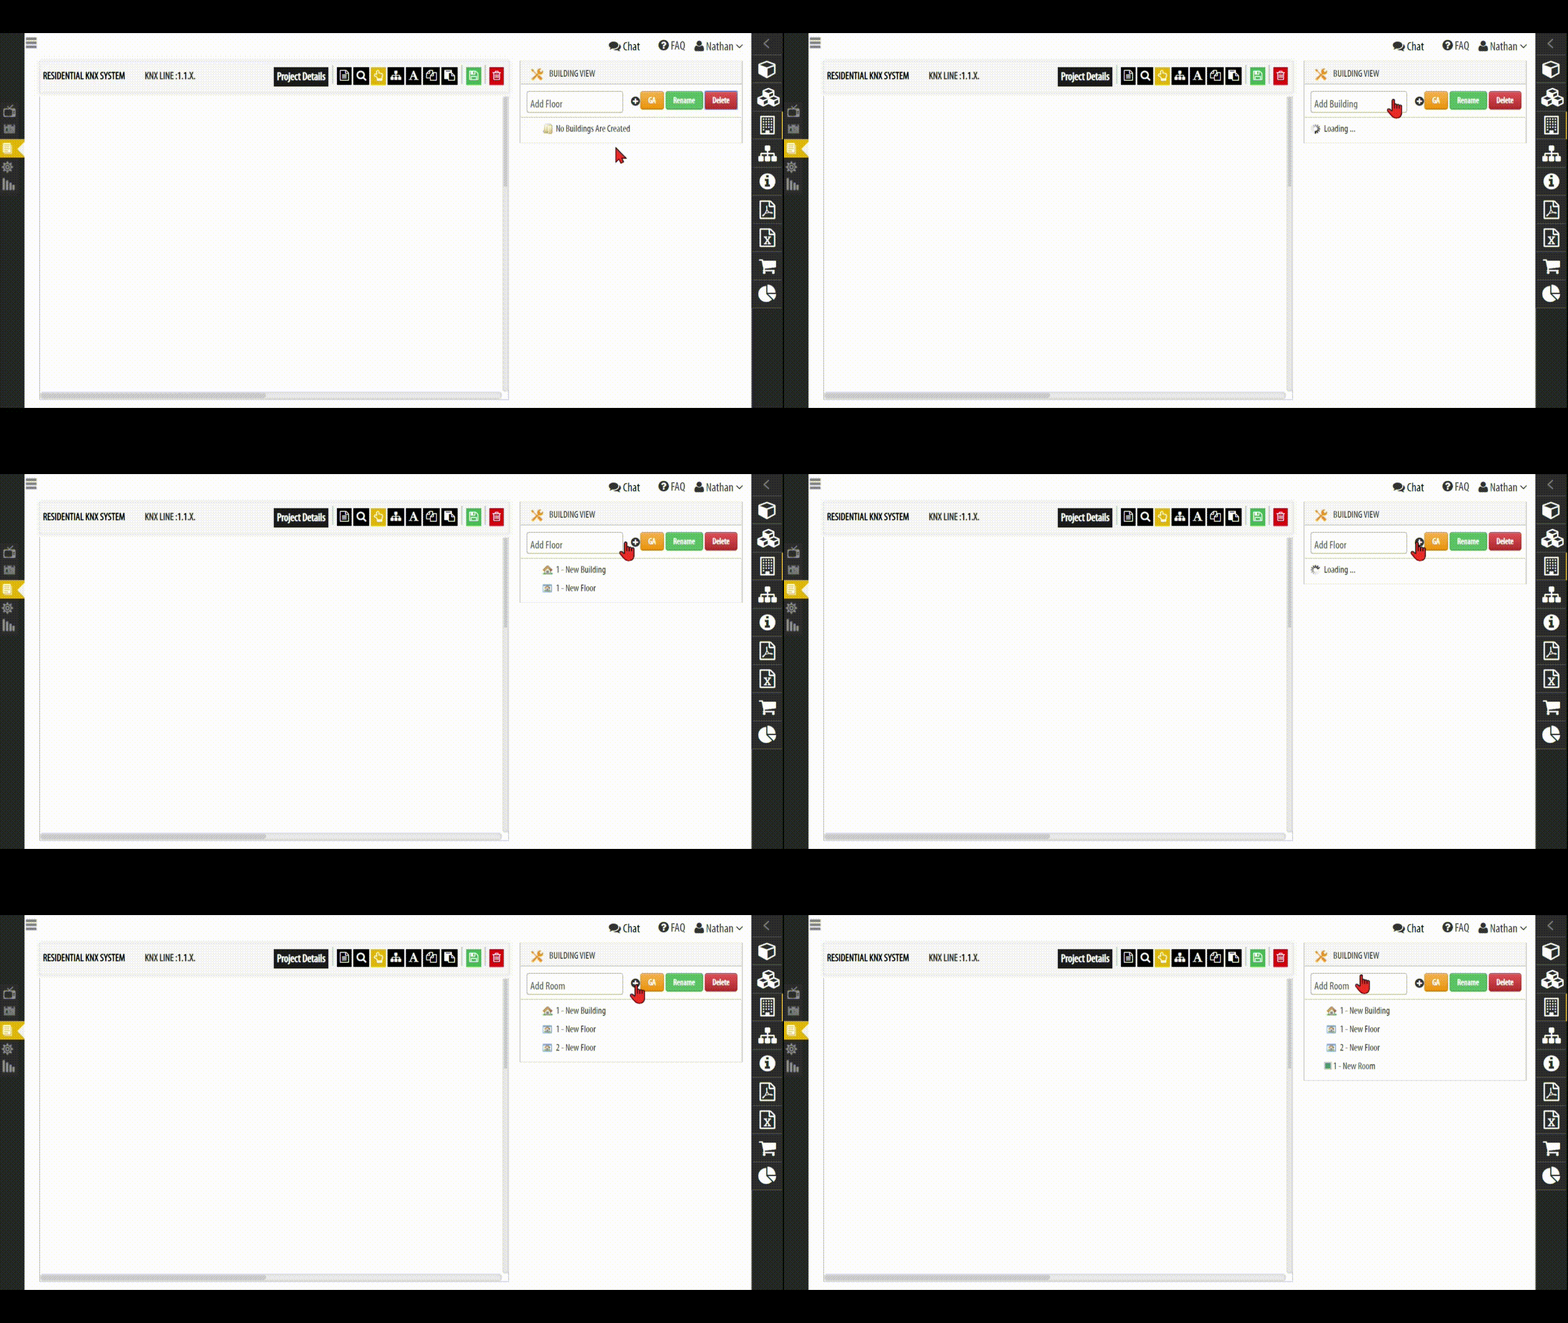
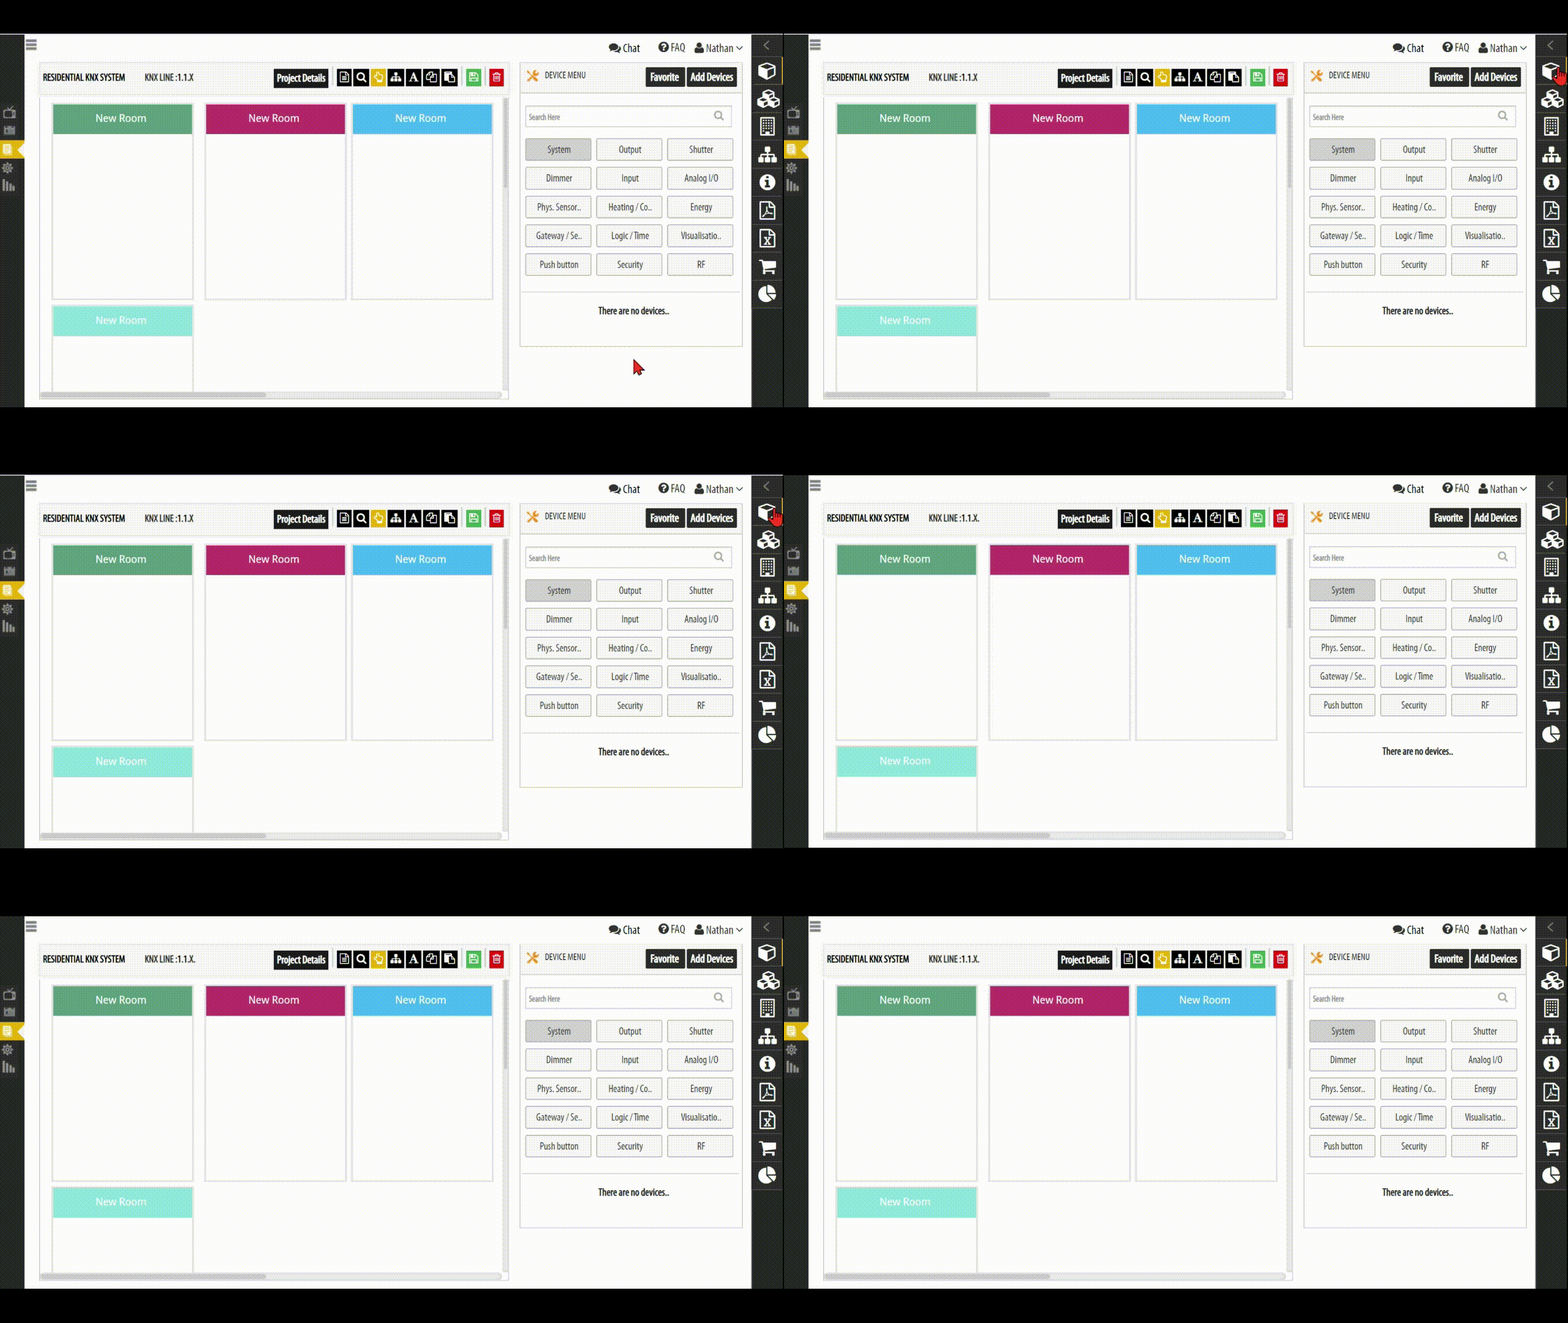
STEP 1. On the right-hand side, click on the Building icon to start designing the layout of the building structure where KNX integration is required.
STEP 2. Select either Add Building, Add Floor or Add Room from the drop-down list and click + to start building up your project.
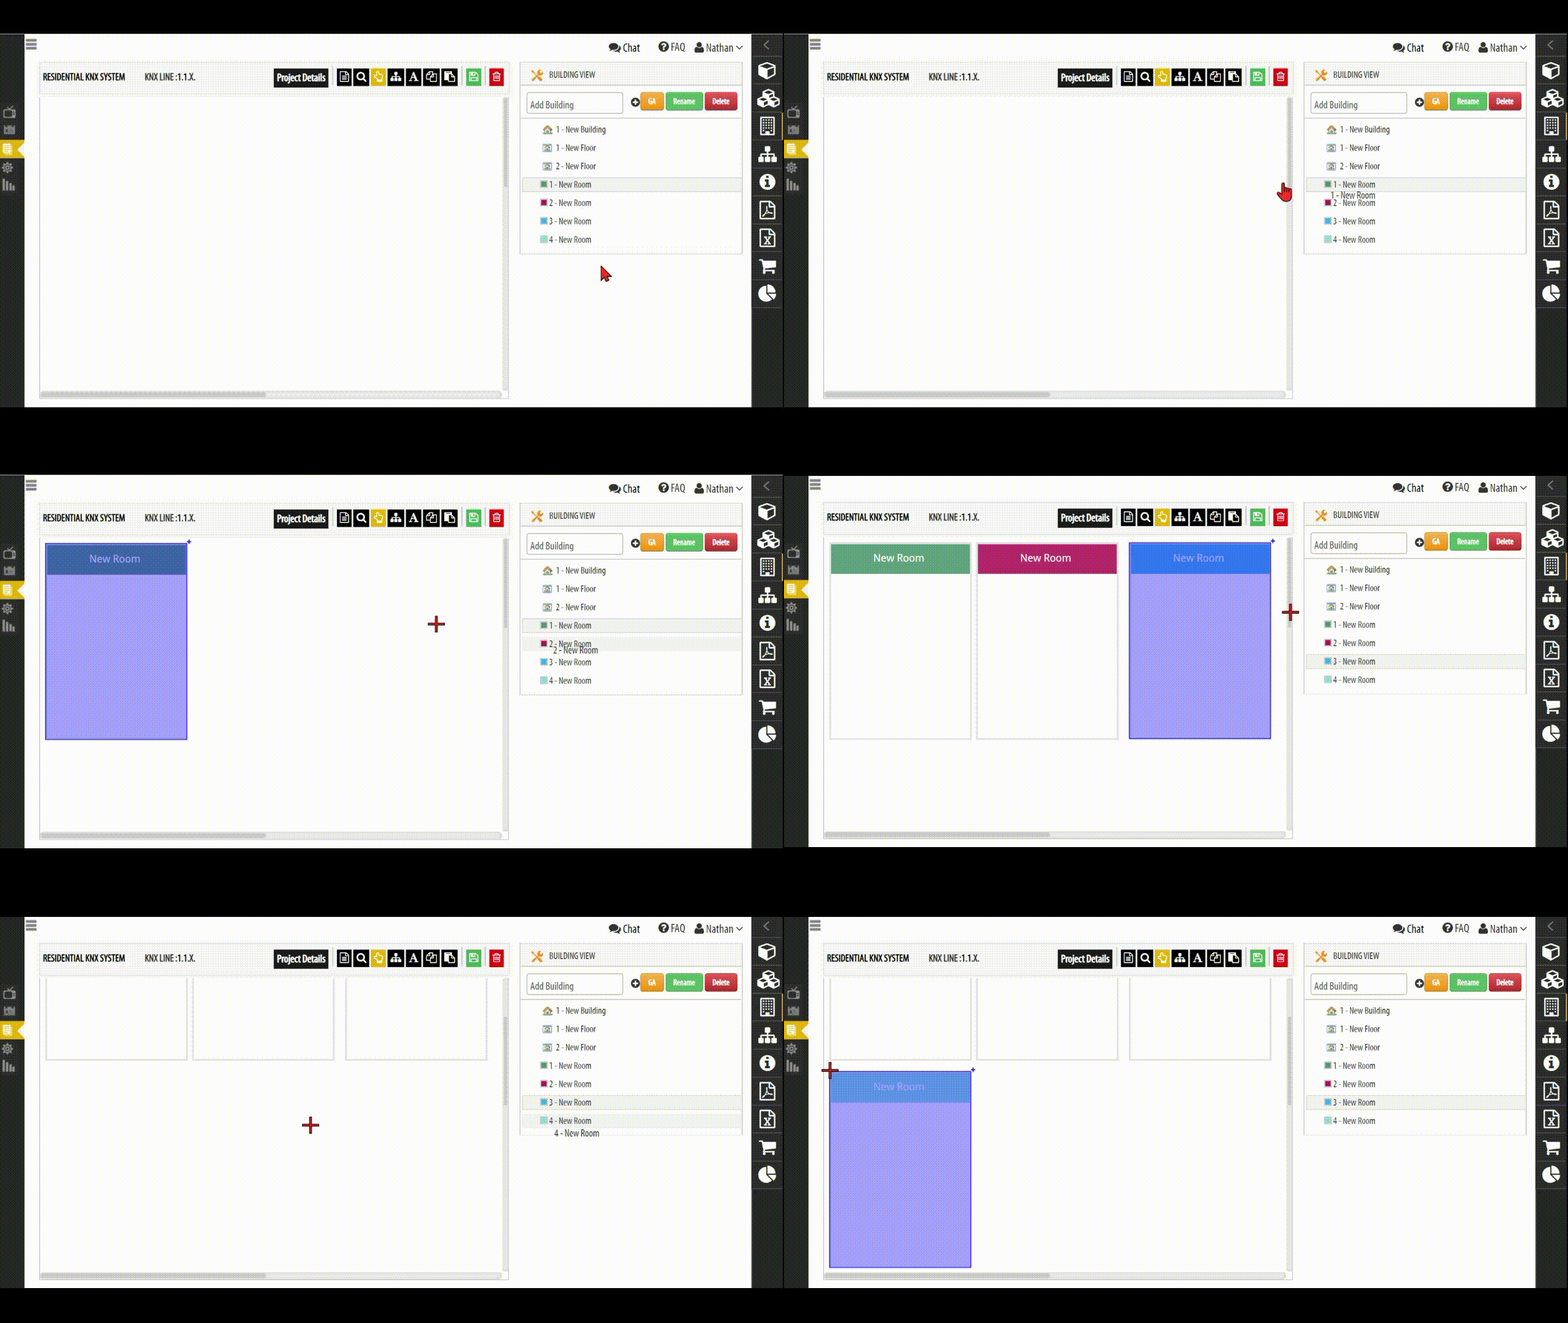
STEP 3. After you have finished designing the layout for the building structure, drag (click and hold) the rooms from the tree/list view over to the Drawing Board so you can begin adding devices to each room.
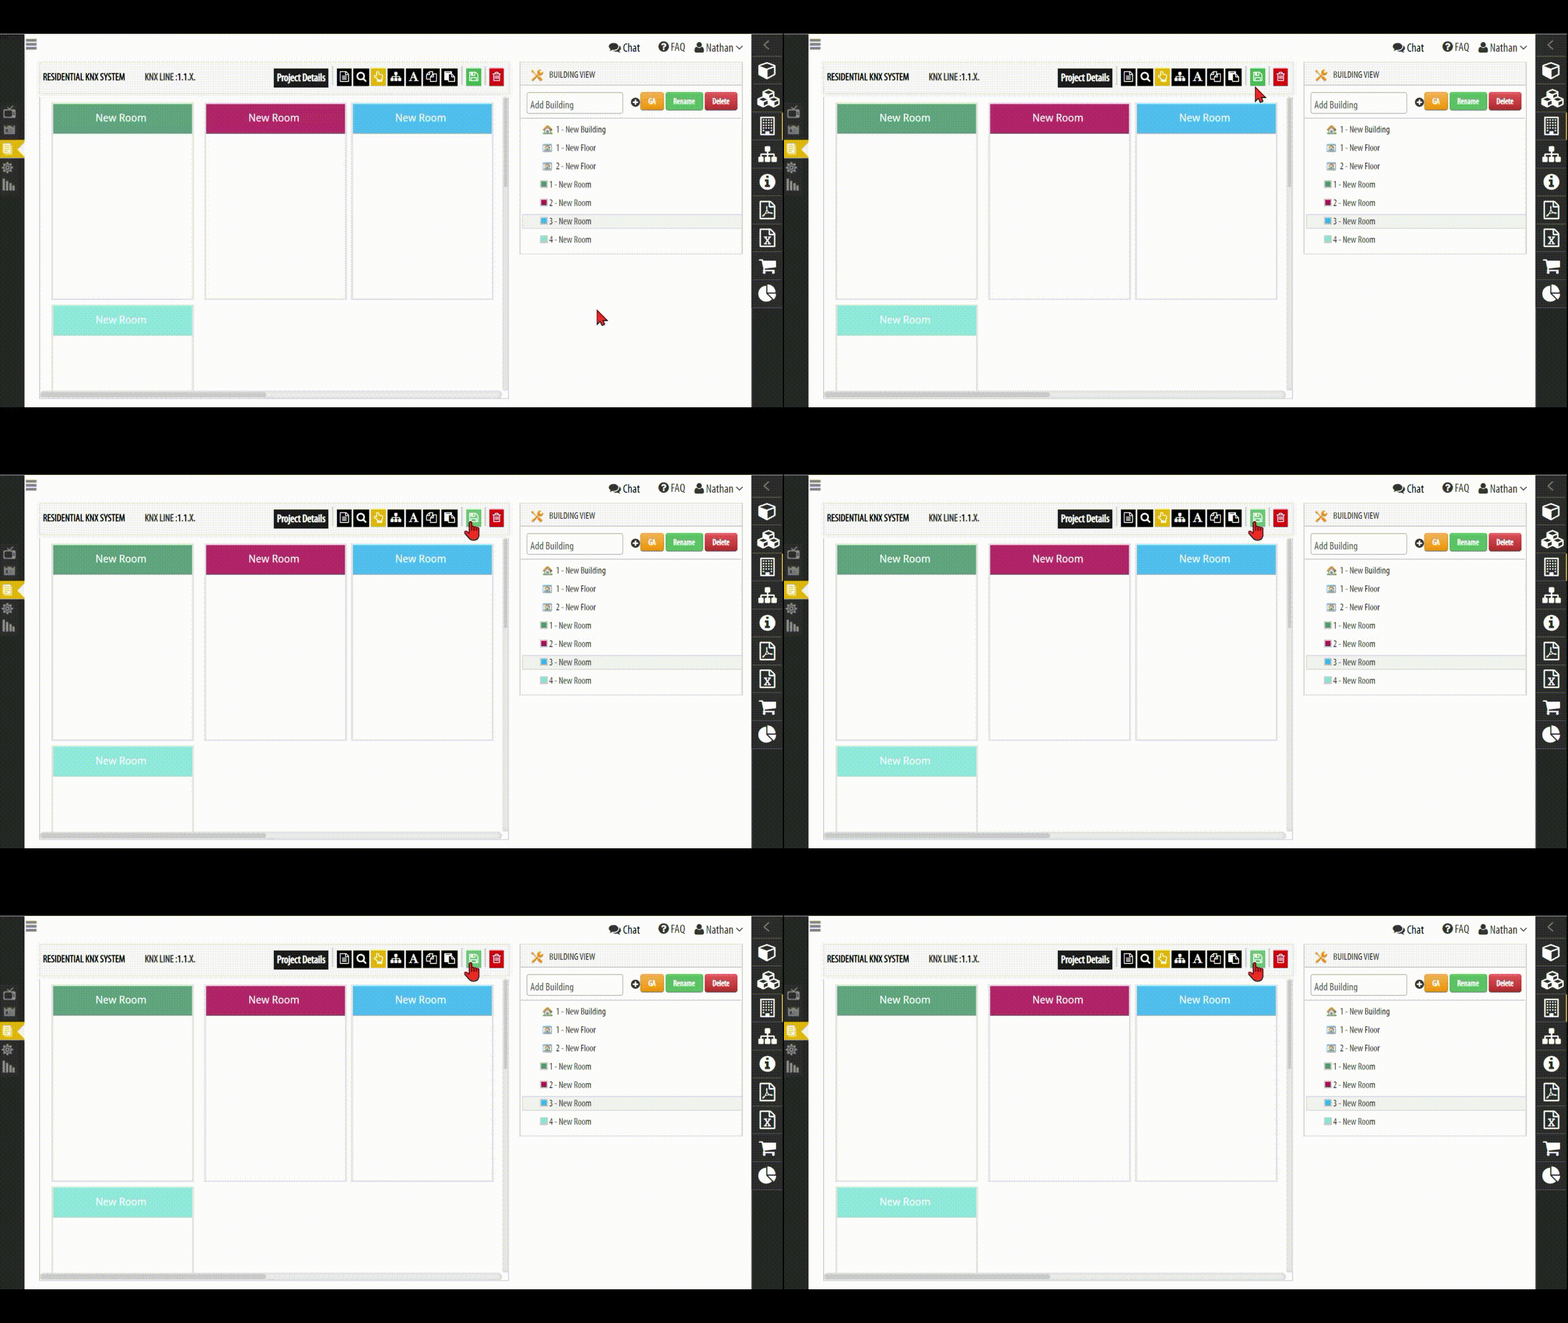
Step 4: Click the Green Save icon to save your project.
(NOTE: The building structure (room order) will also tell the tool in which order the rooms will come when printing reports).
NEED SETUP ASSISTANCE?
Click the link below to schedule a free live video appointment where we will show you how to setup and customize the KNX TOOL for your current projects.
After you have designed the Building structure for your KNX project, now you can start adding individual devices to each room, area or space.
Pick your device/s from the Online Catalog (similar to the Online Catalog in ETS) to design and customize KNX systems based on customer requirements and preferences.
Fill in additional information like Device Selling Price, Net Price, Programming Time, etc. to accurately keep track of all parts and components ordered for each KNX project.
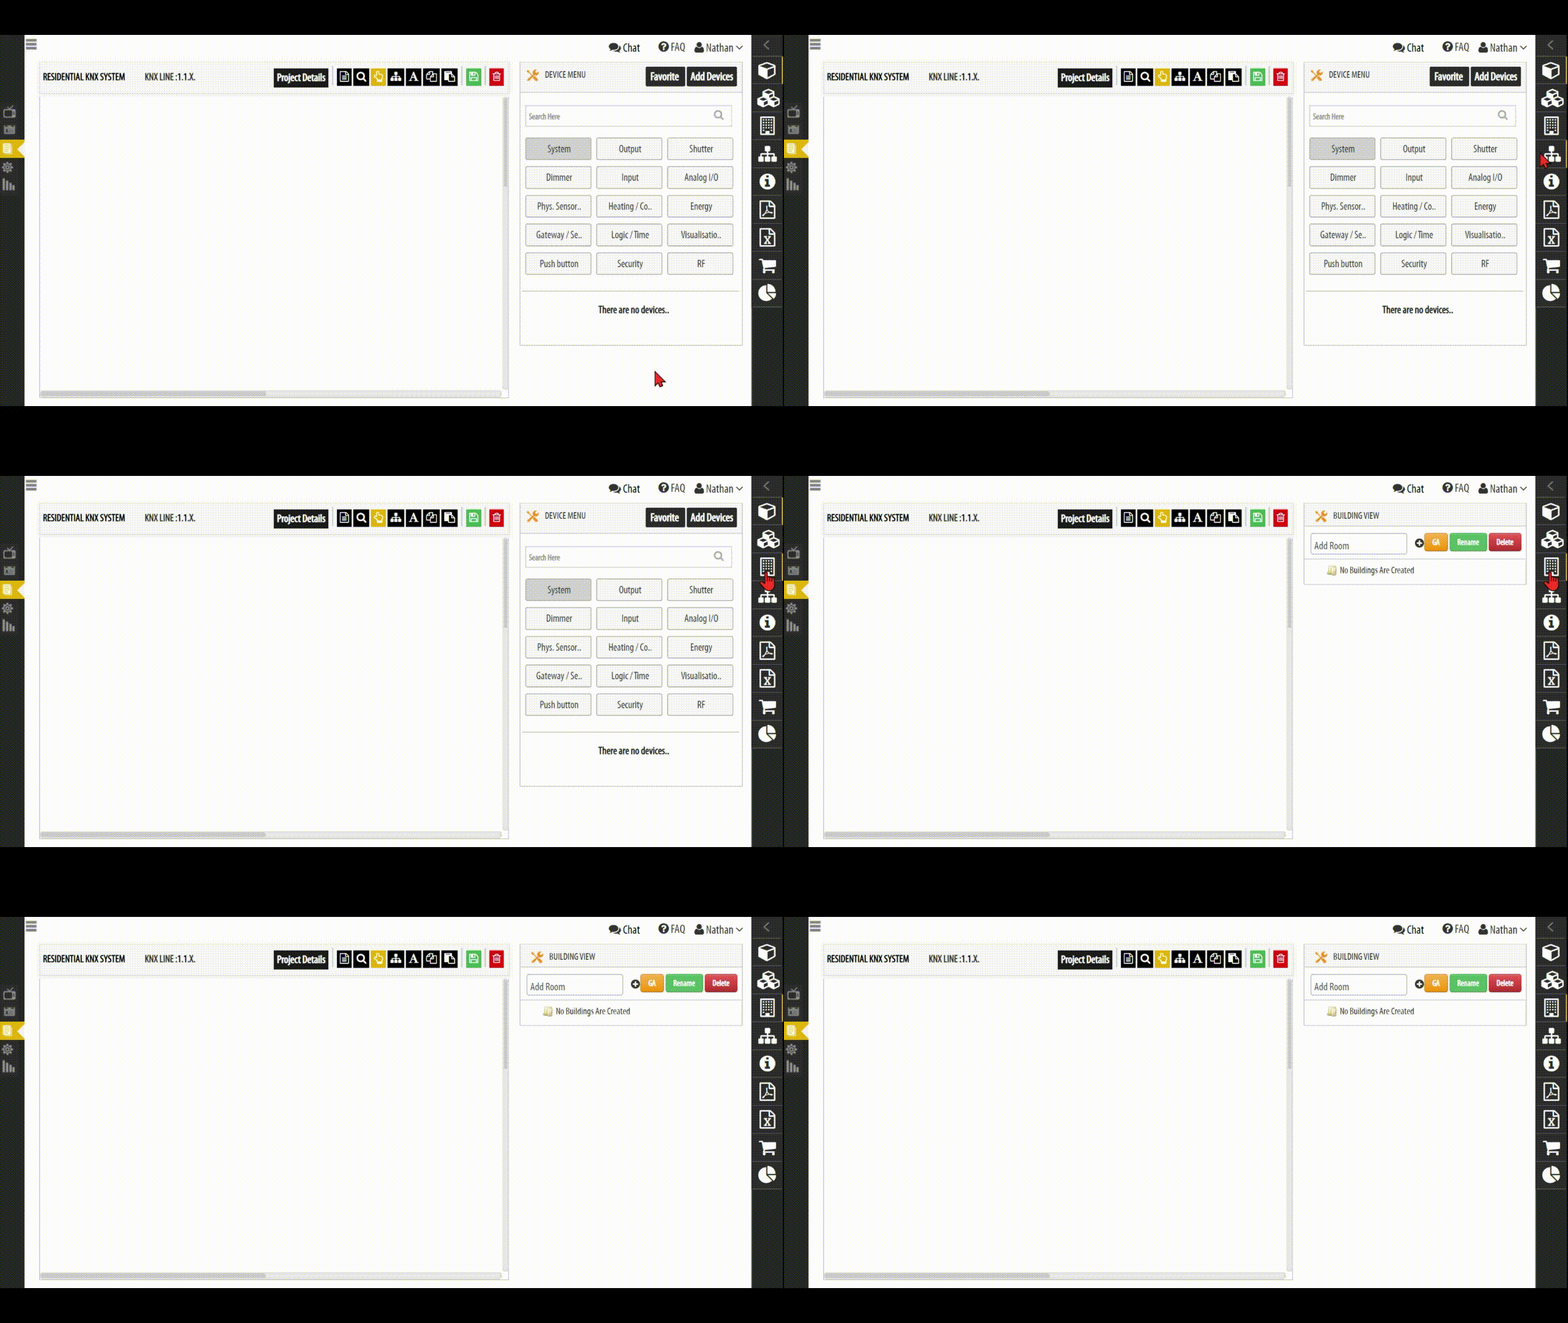
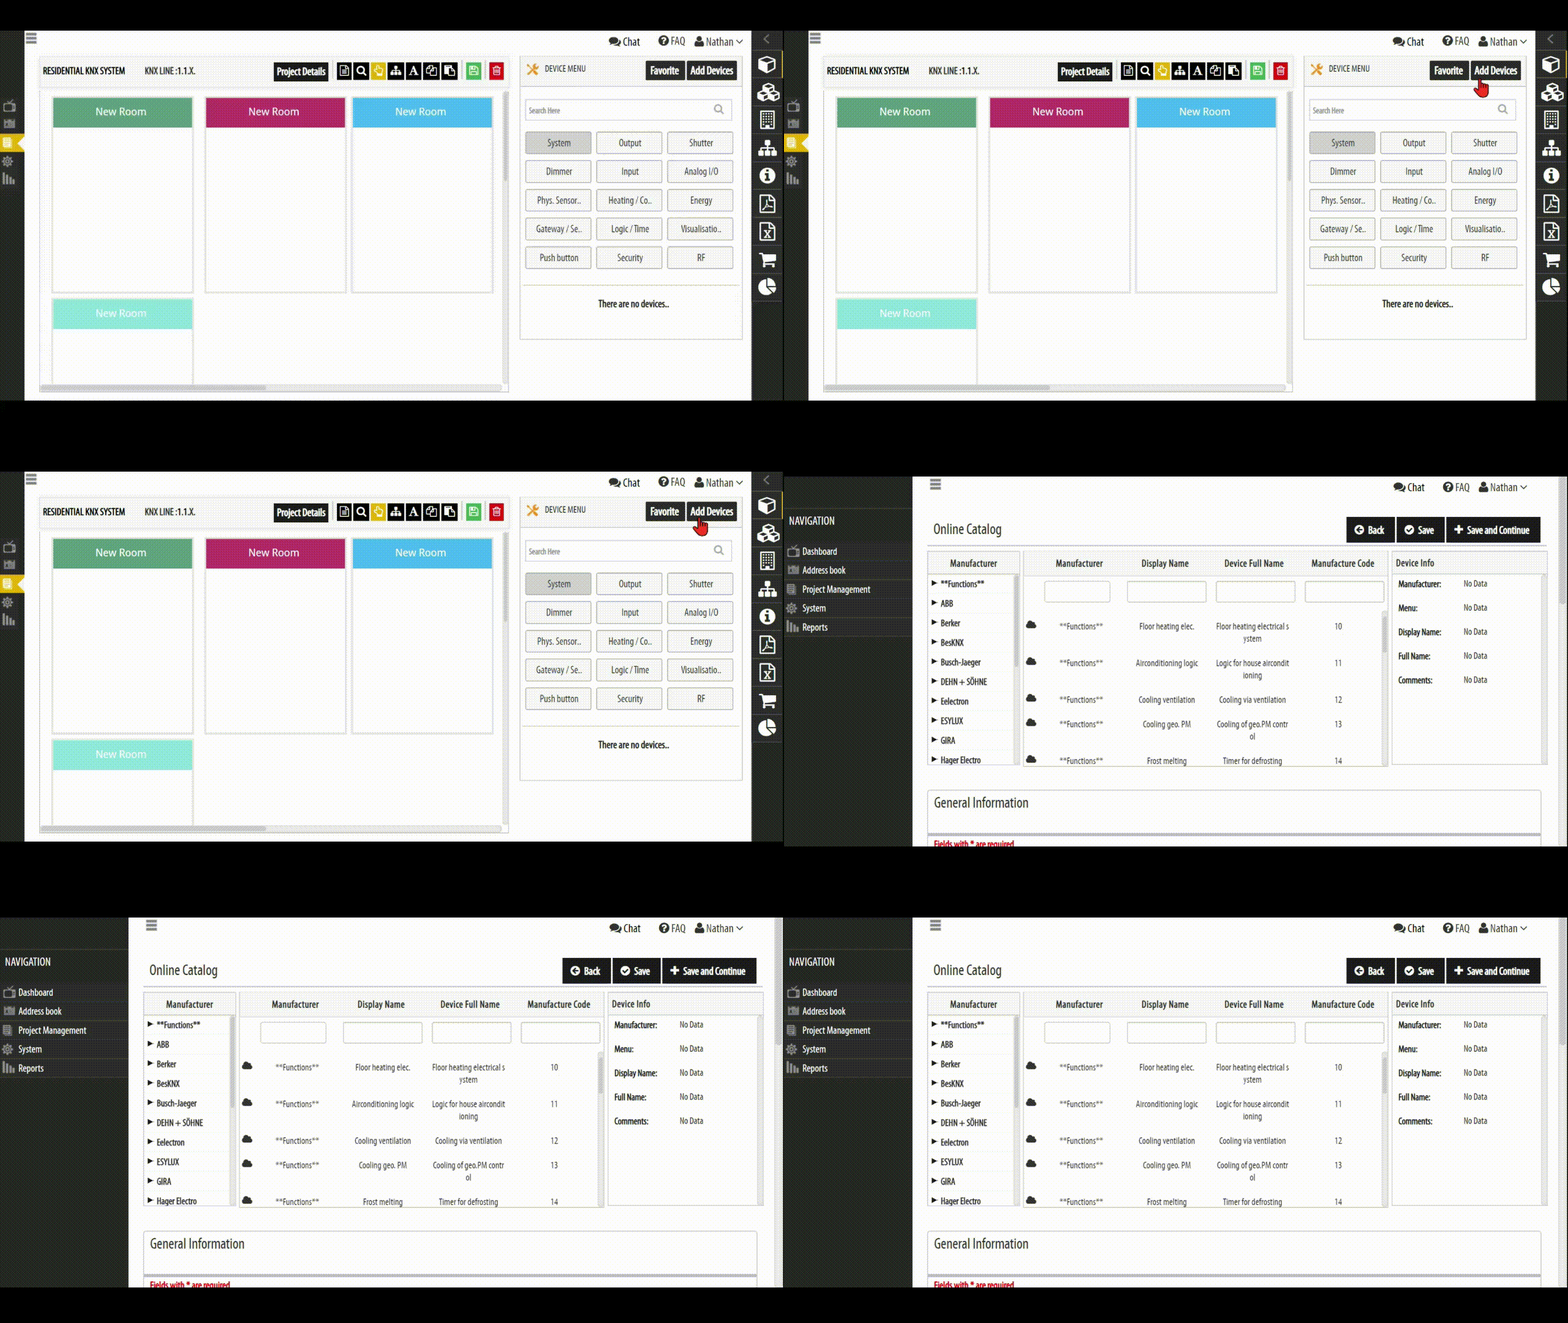
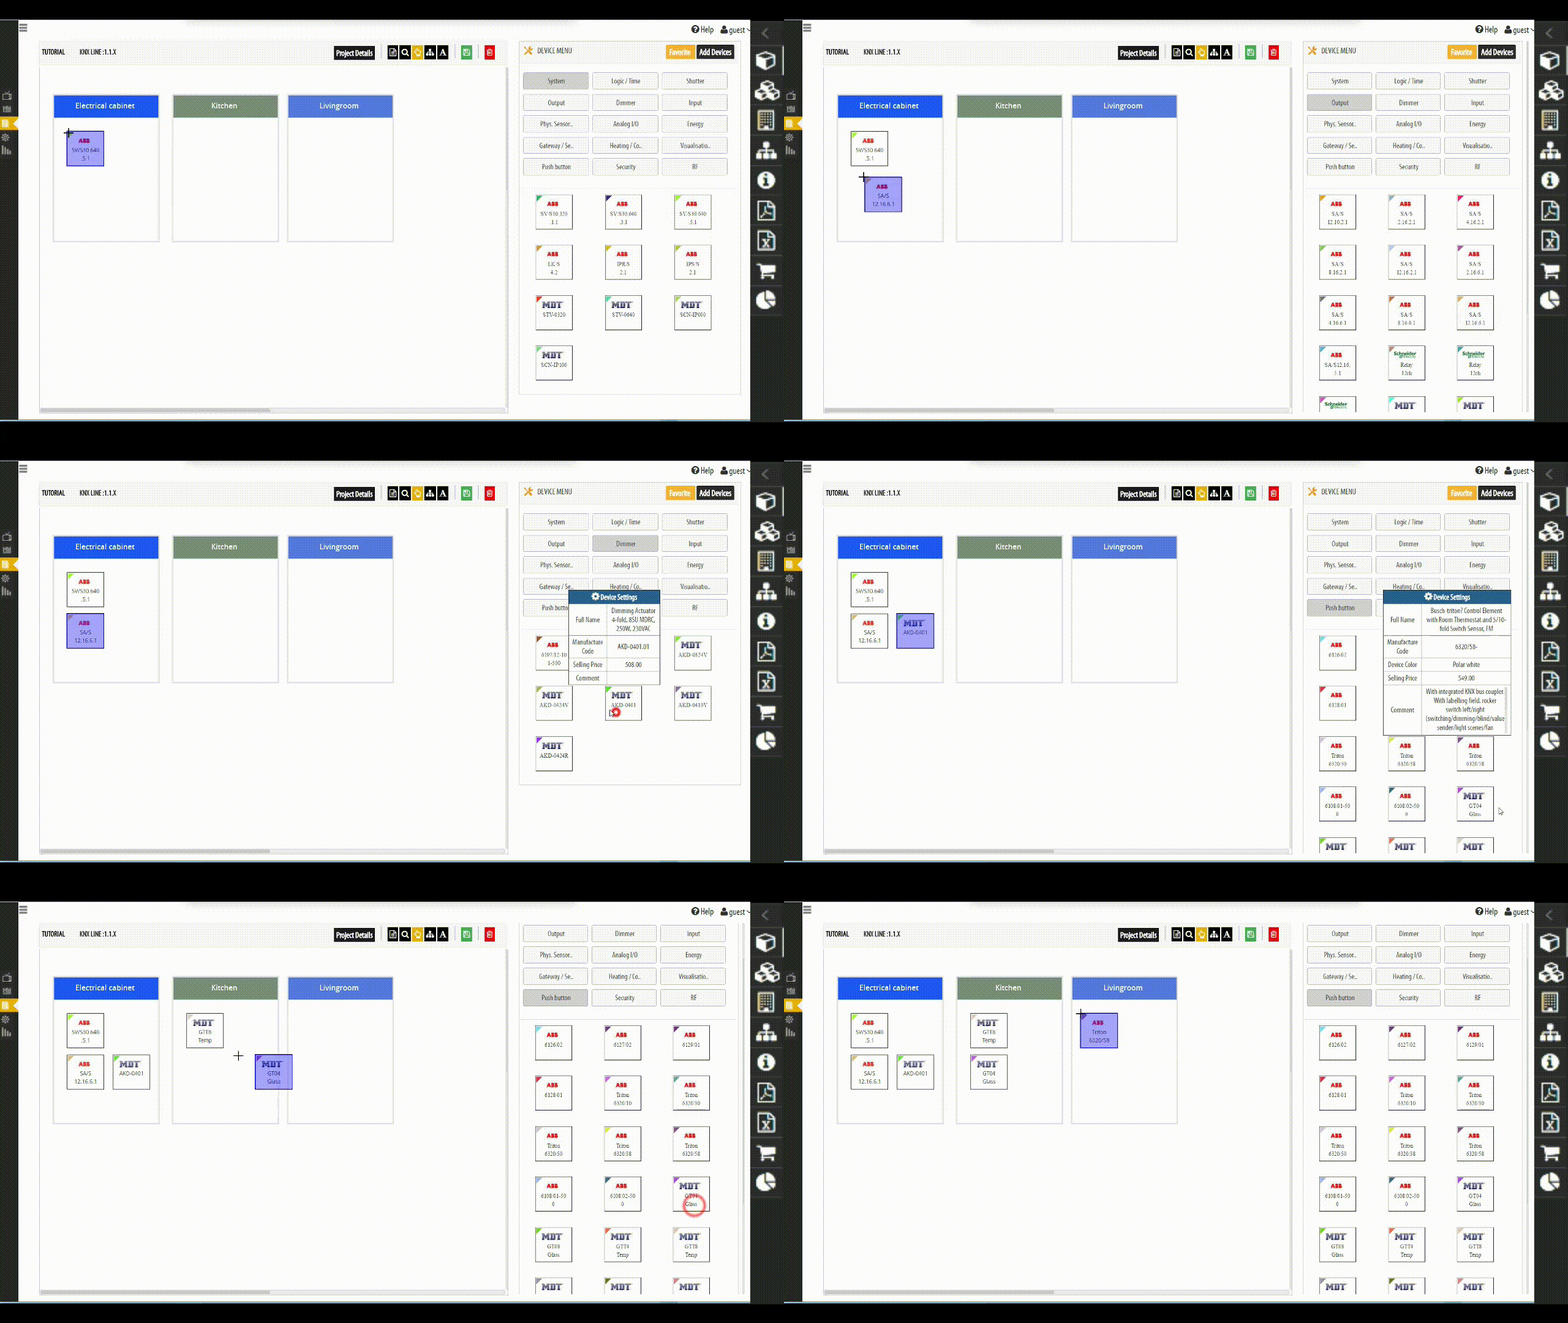
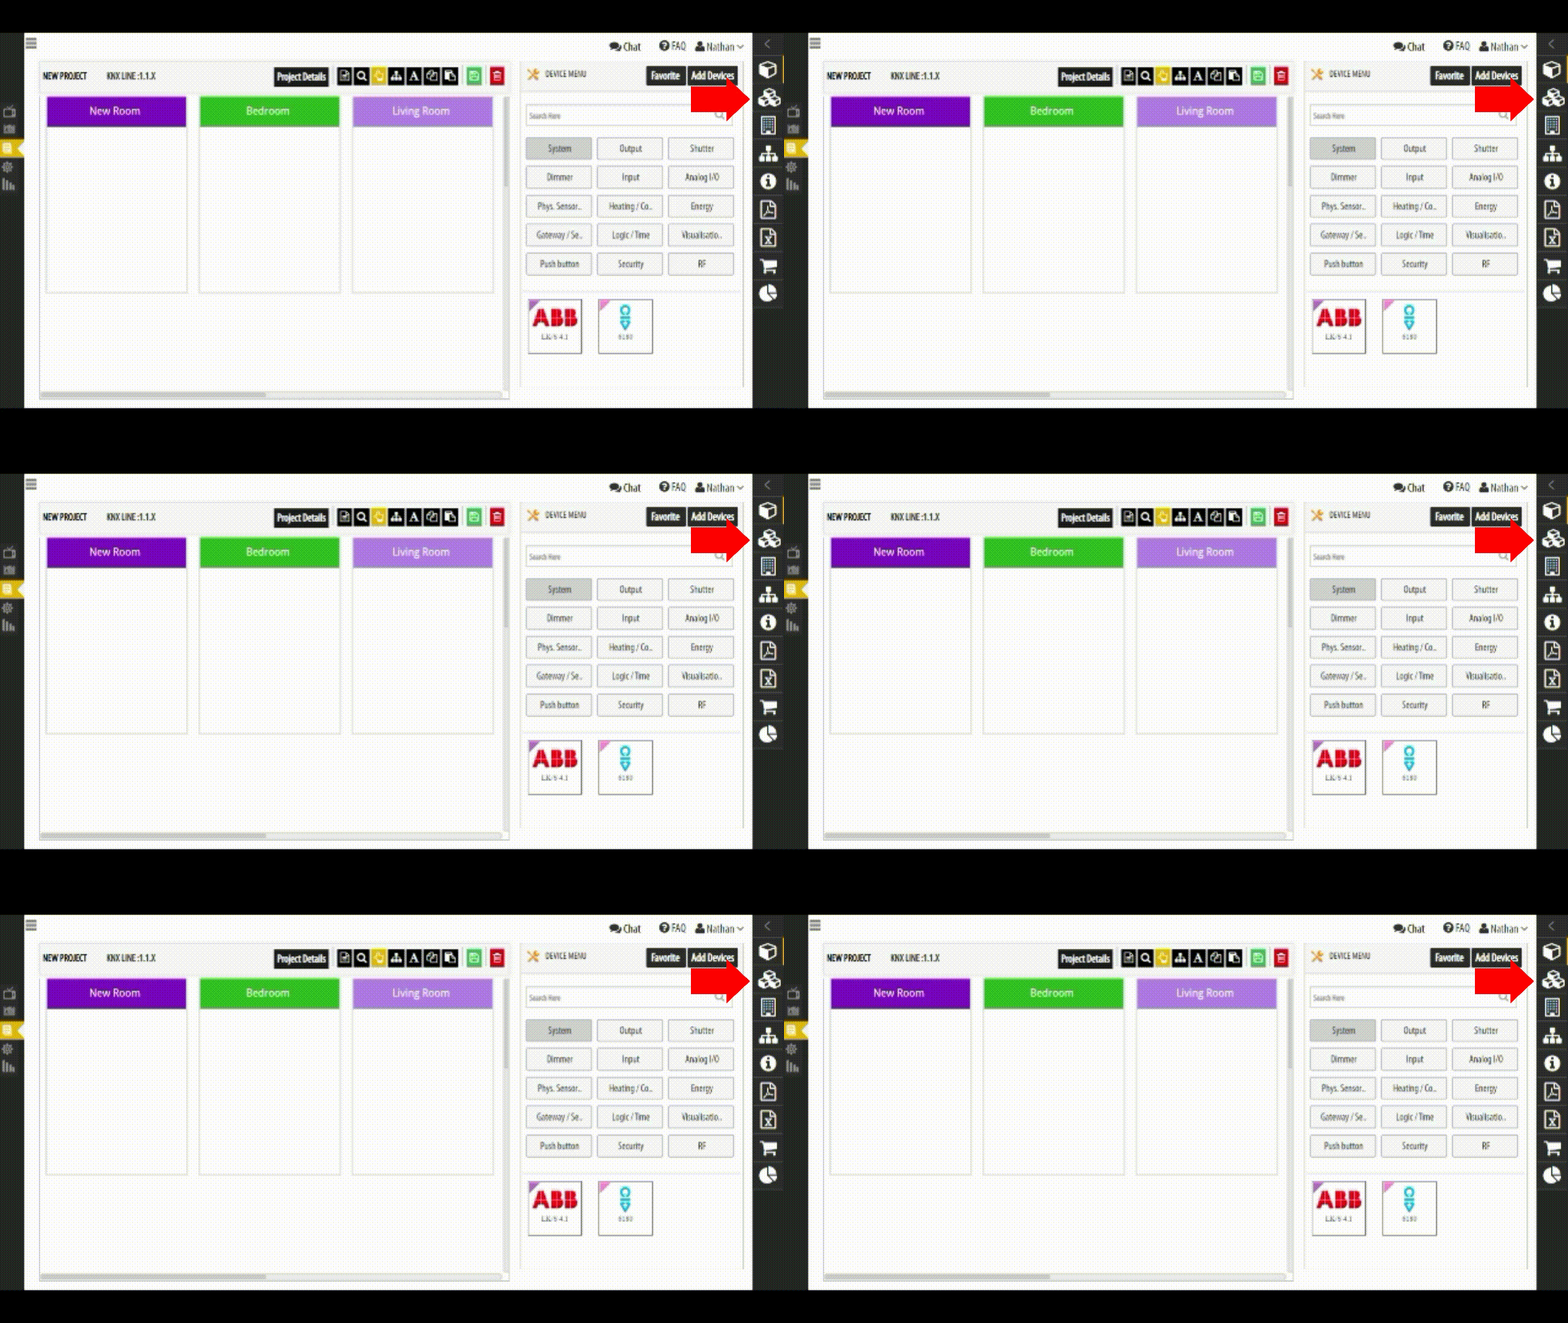
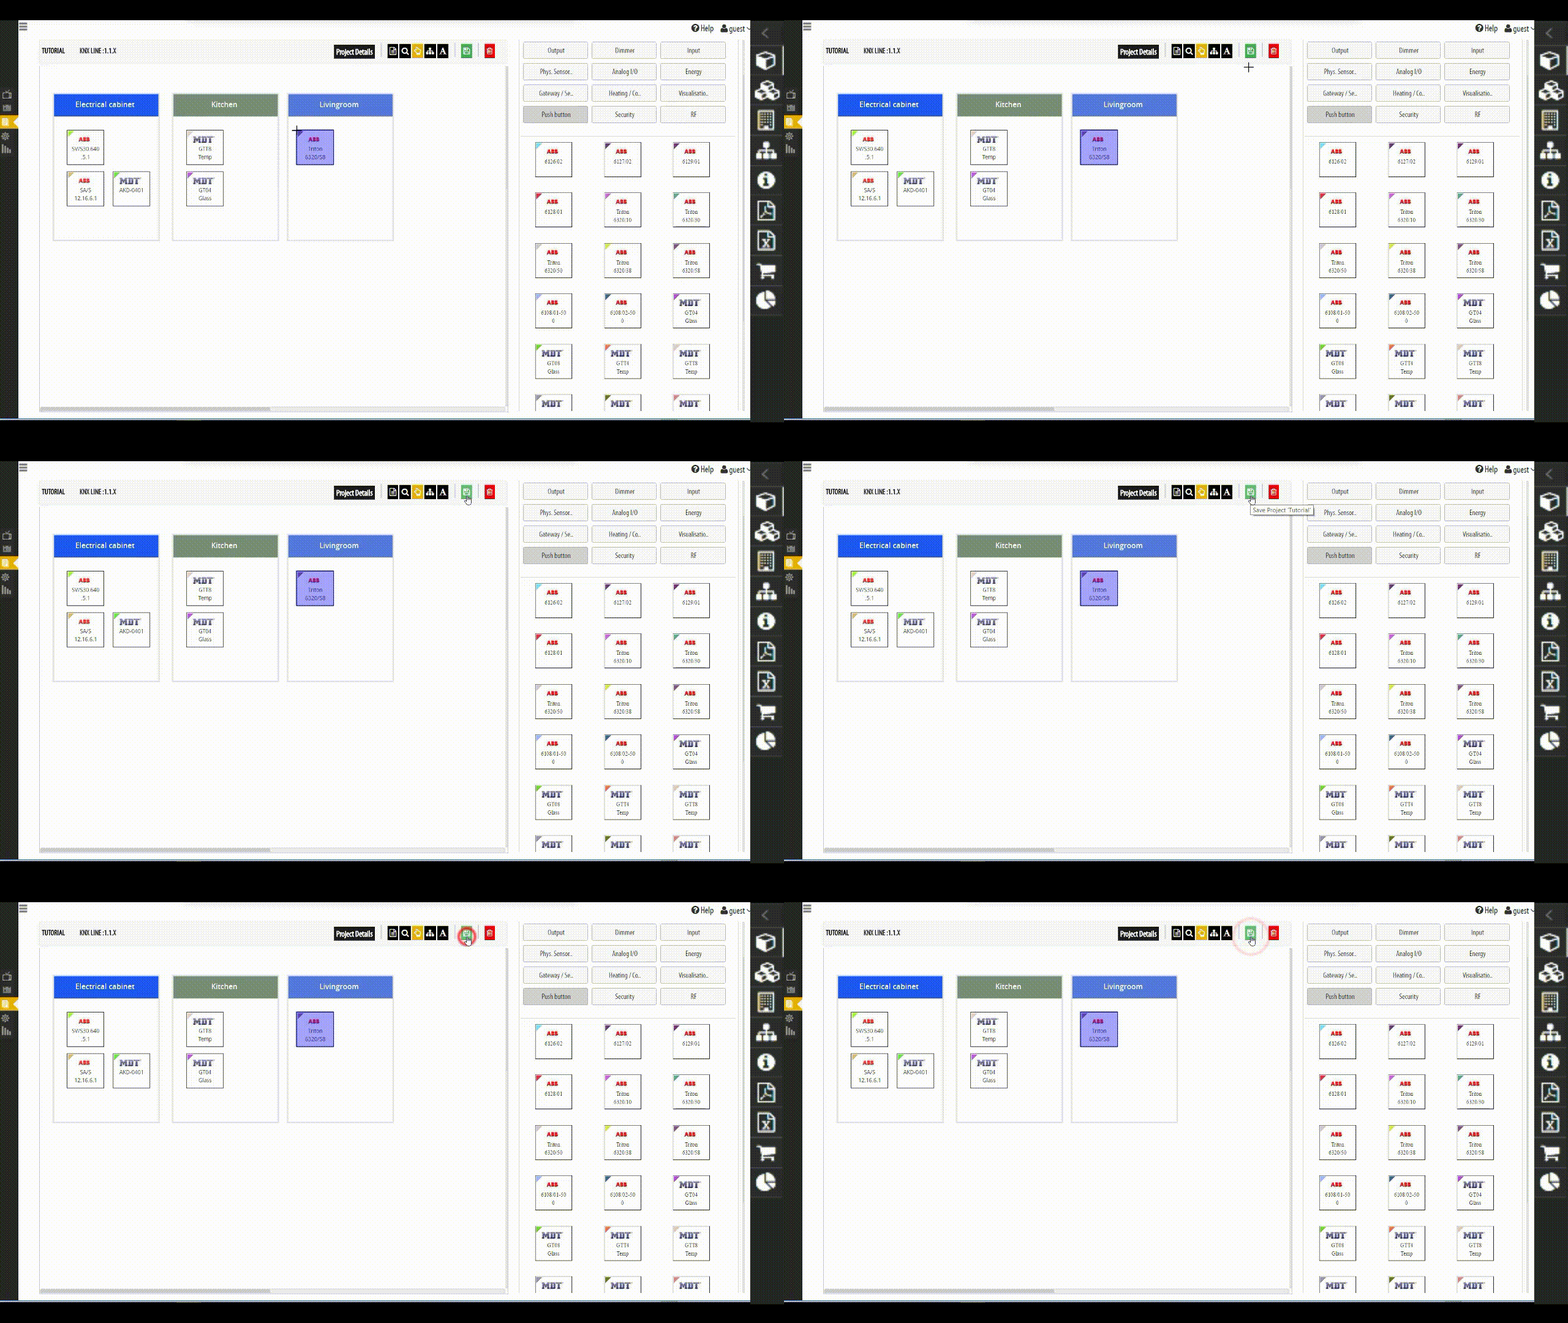
STEP 1. Select the top box icon in the right-side pane to open the Device Menu.
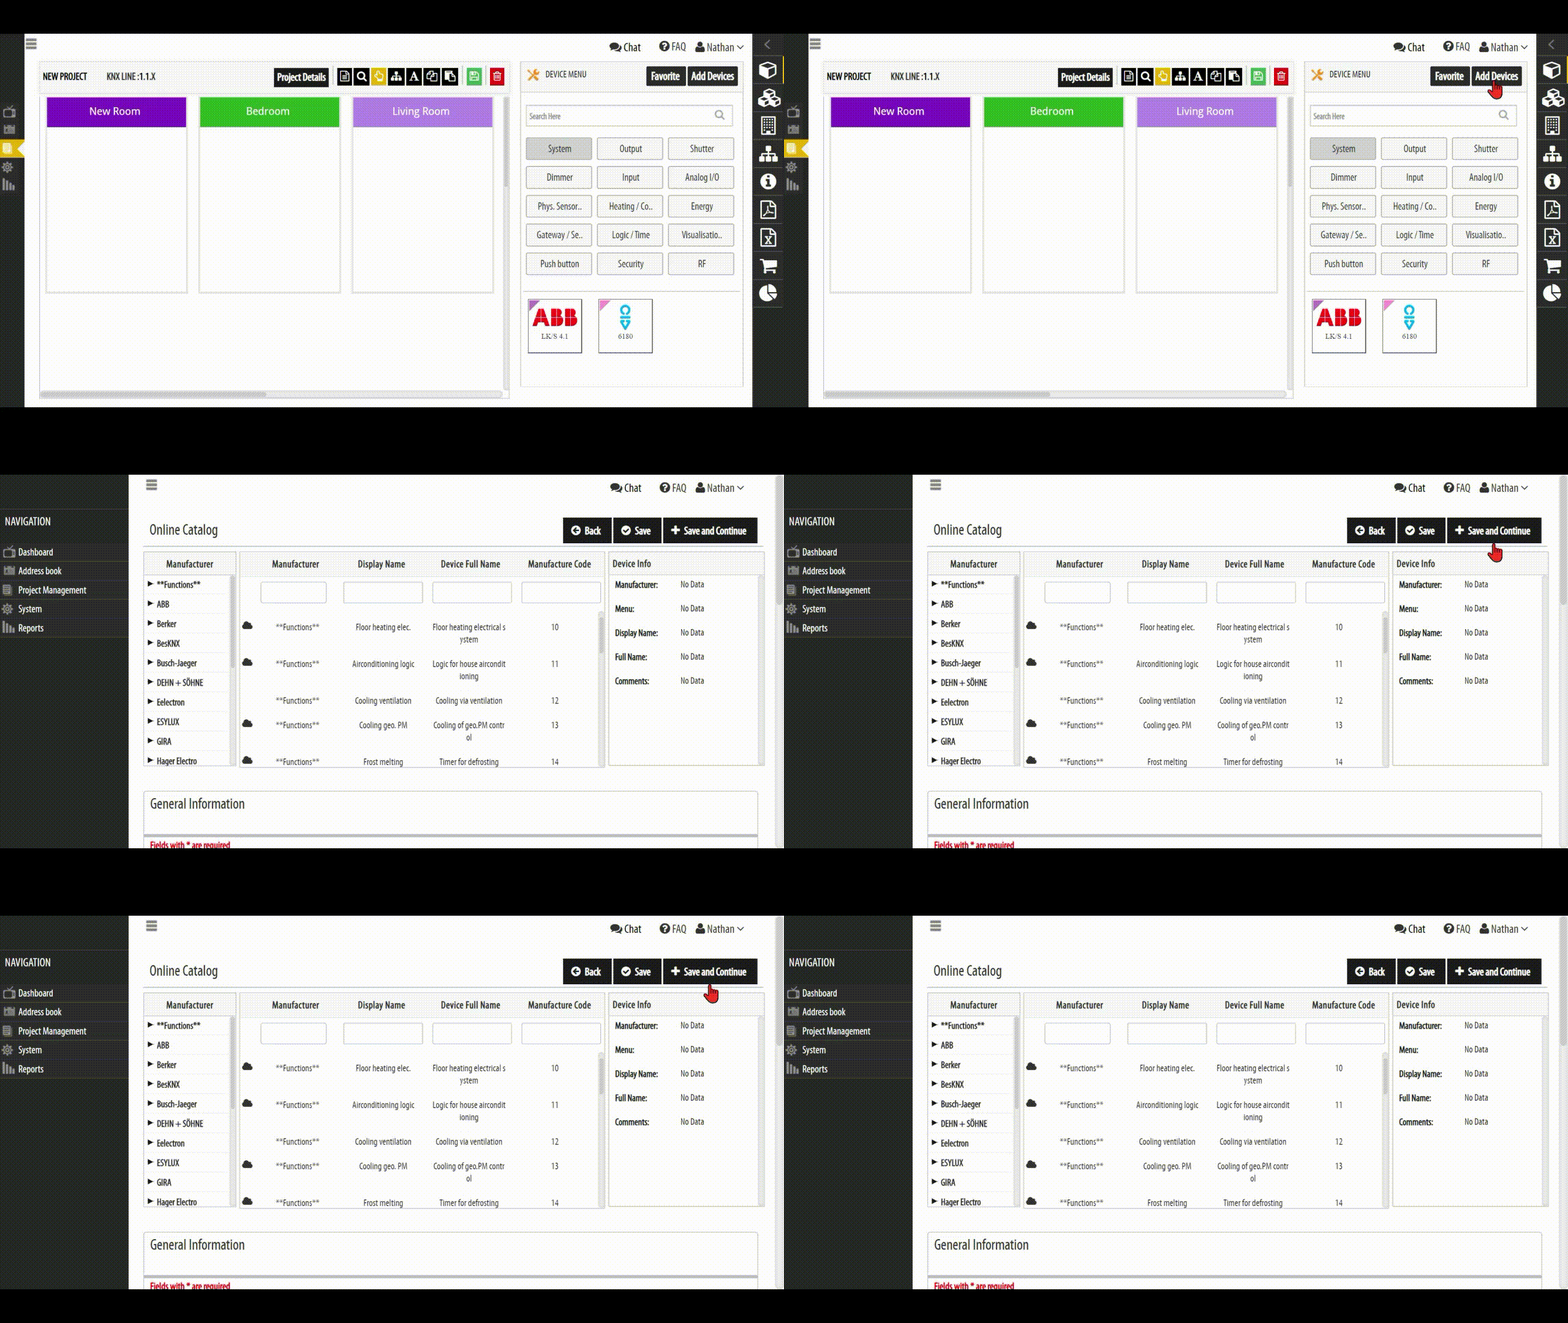
STEP 2. Click on Add Devices to start adding Devices to your project.
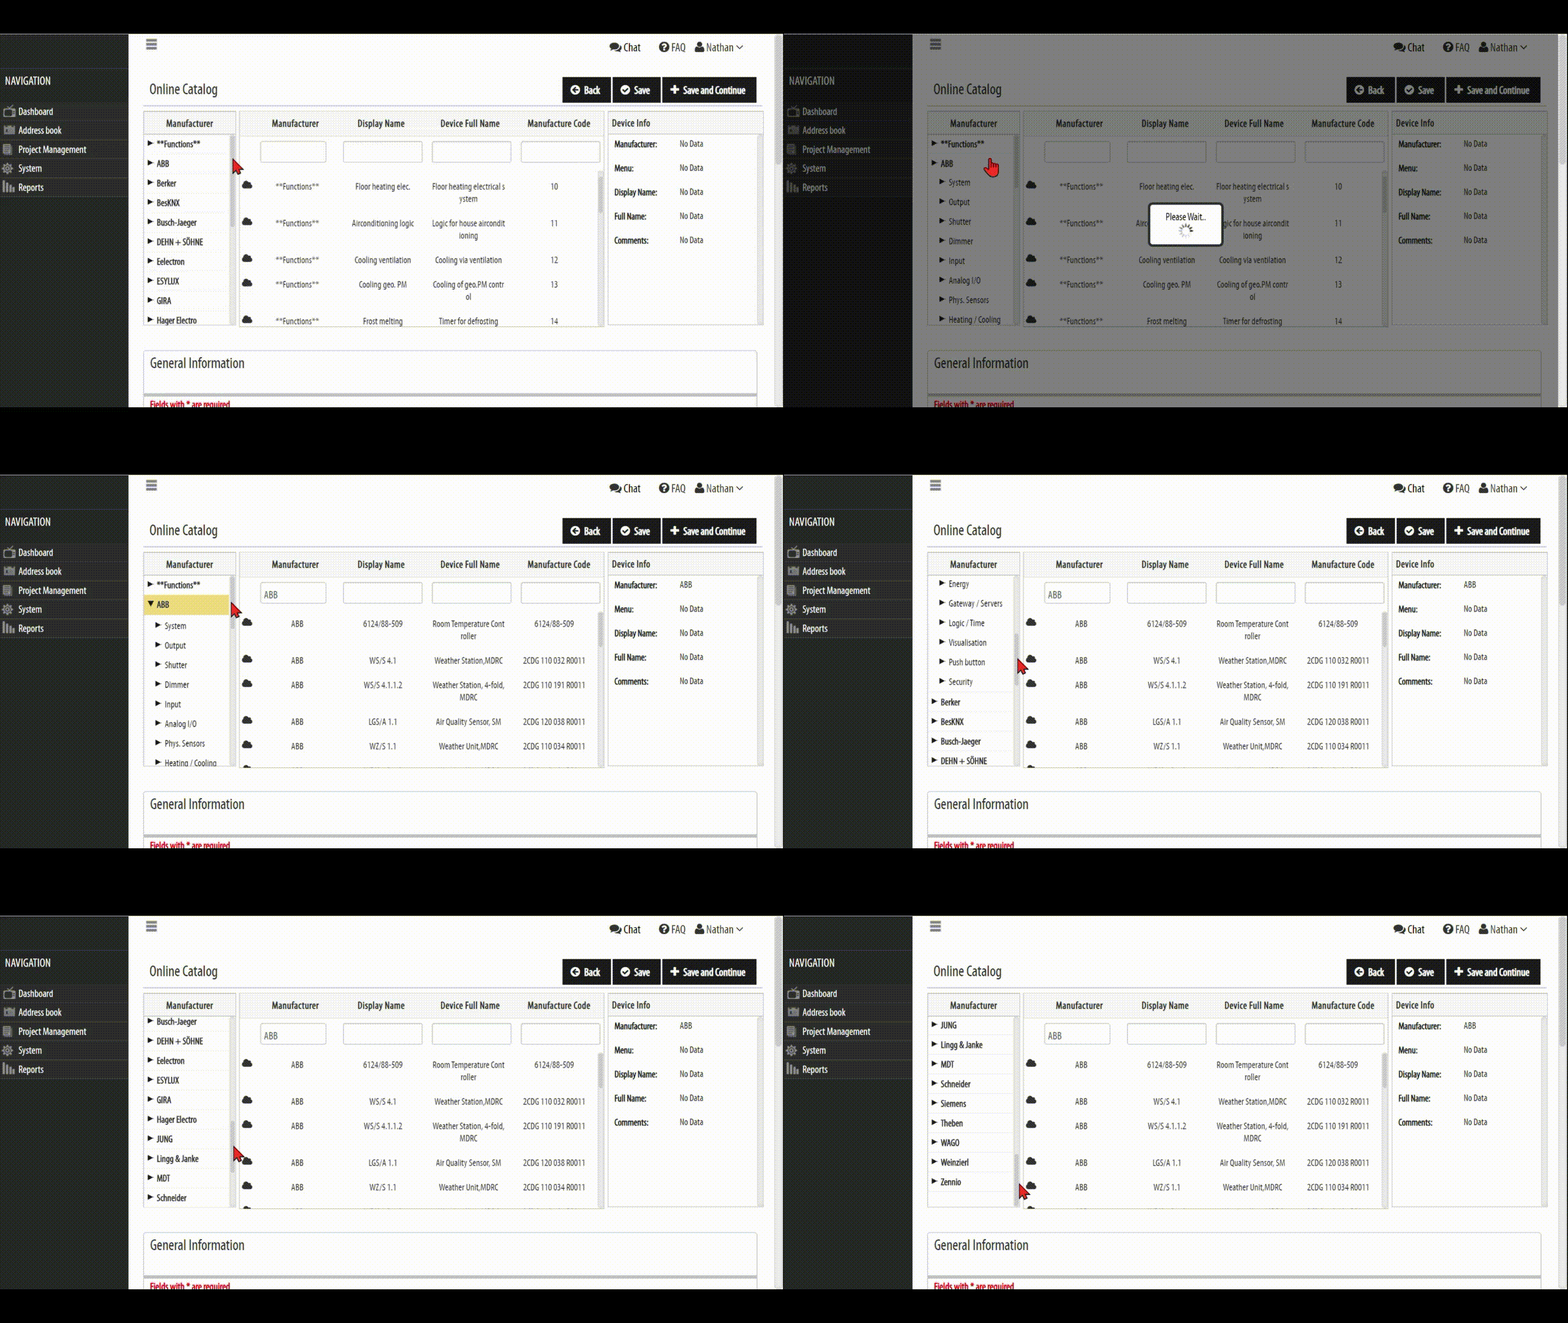
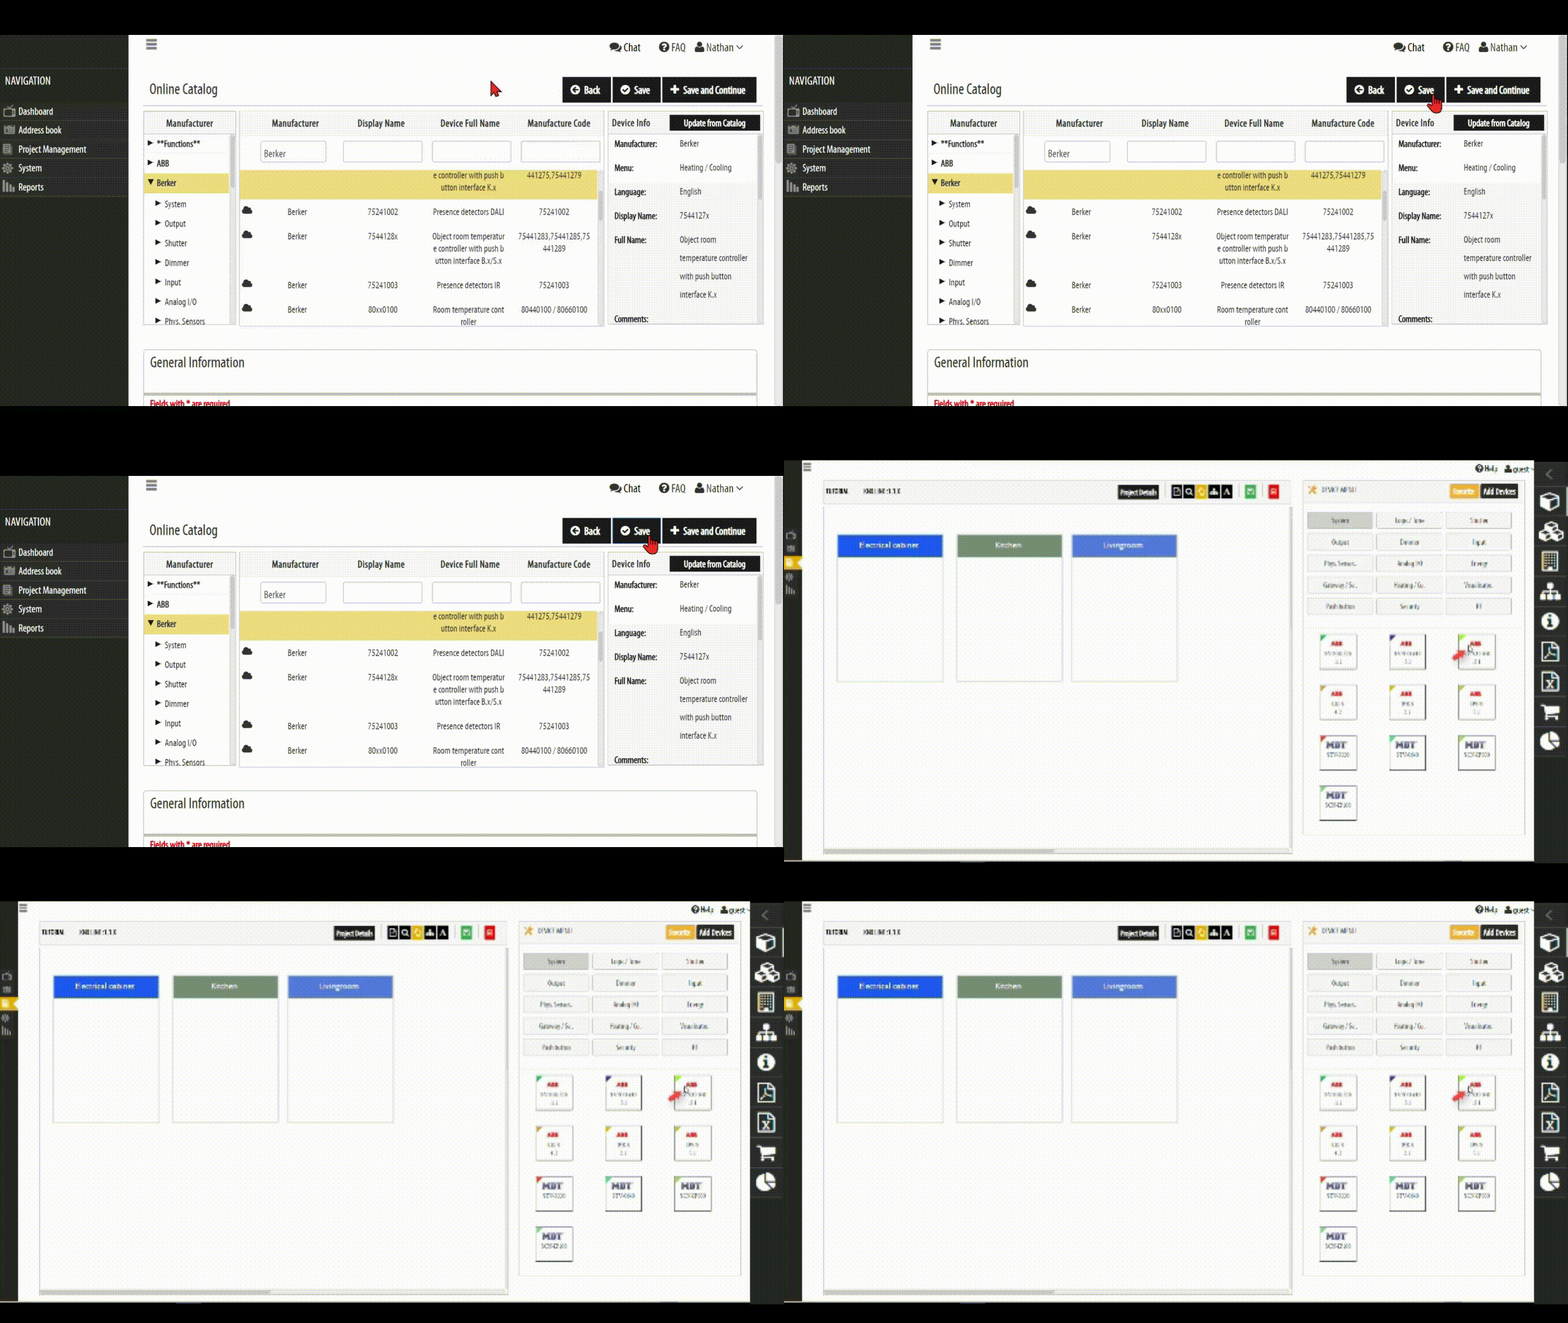
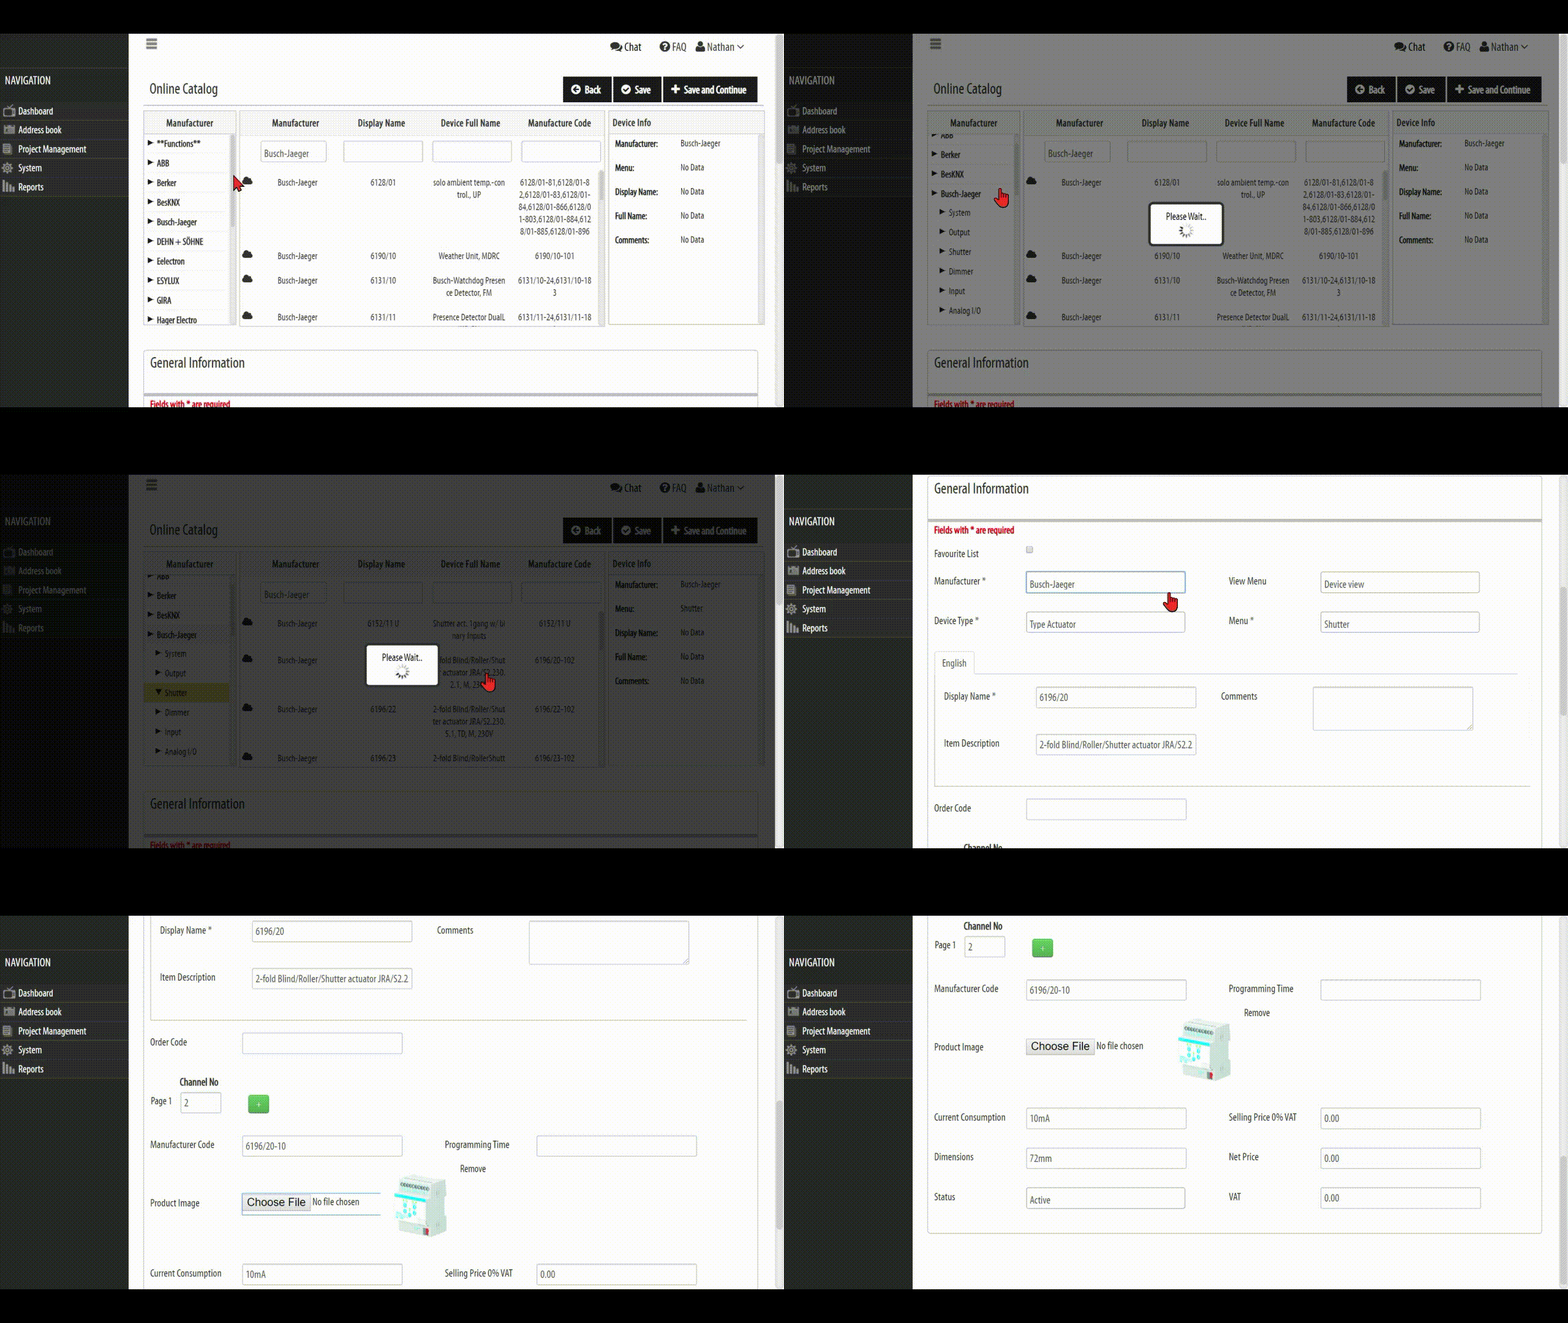
STEP 3. Select your Devices from the Online Catalog (similar to ETS).
[NOTE: Check to see if Favorite filter is active if you don’t see the device you want OR enter the device name or the manufacturer code in the Search function to quickly find the device you need. If you can’t find the device in the Online Catalog, you can contact our support so we can add it immediately OR you could create the device yourself from scratch by filling in the information and even adding a product picture]
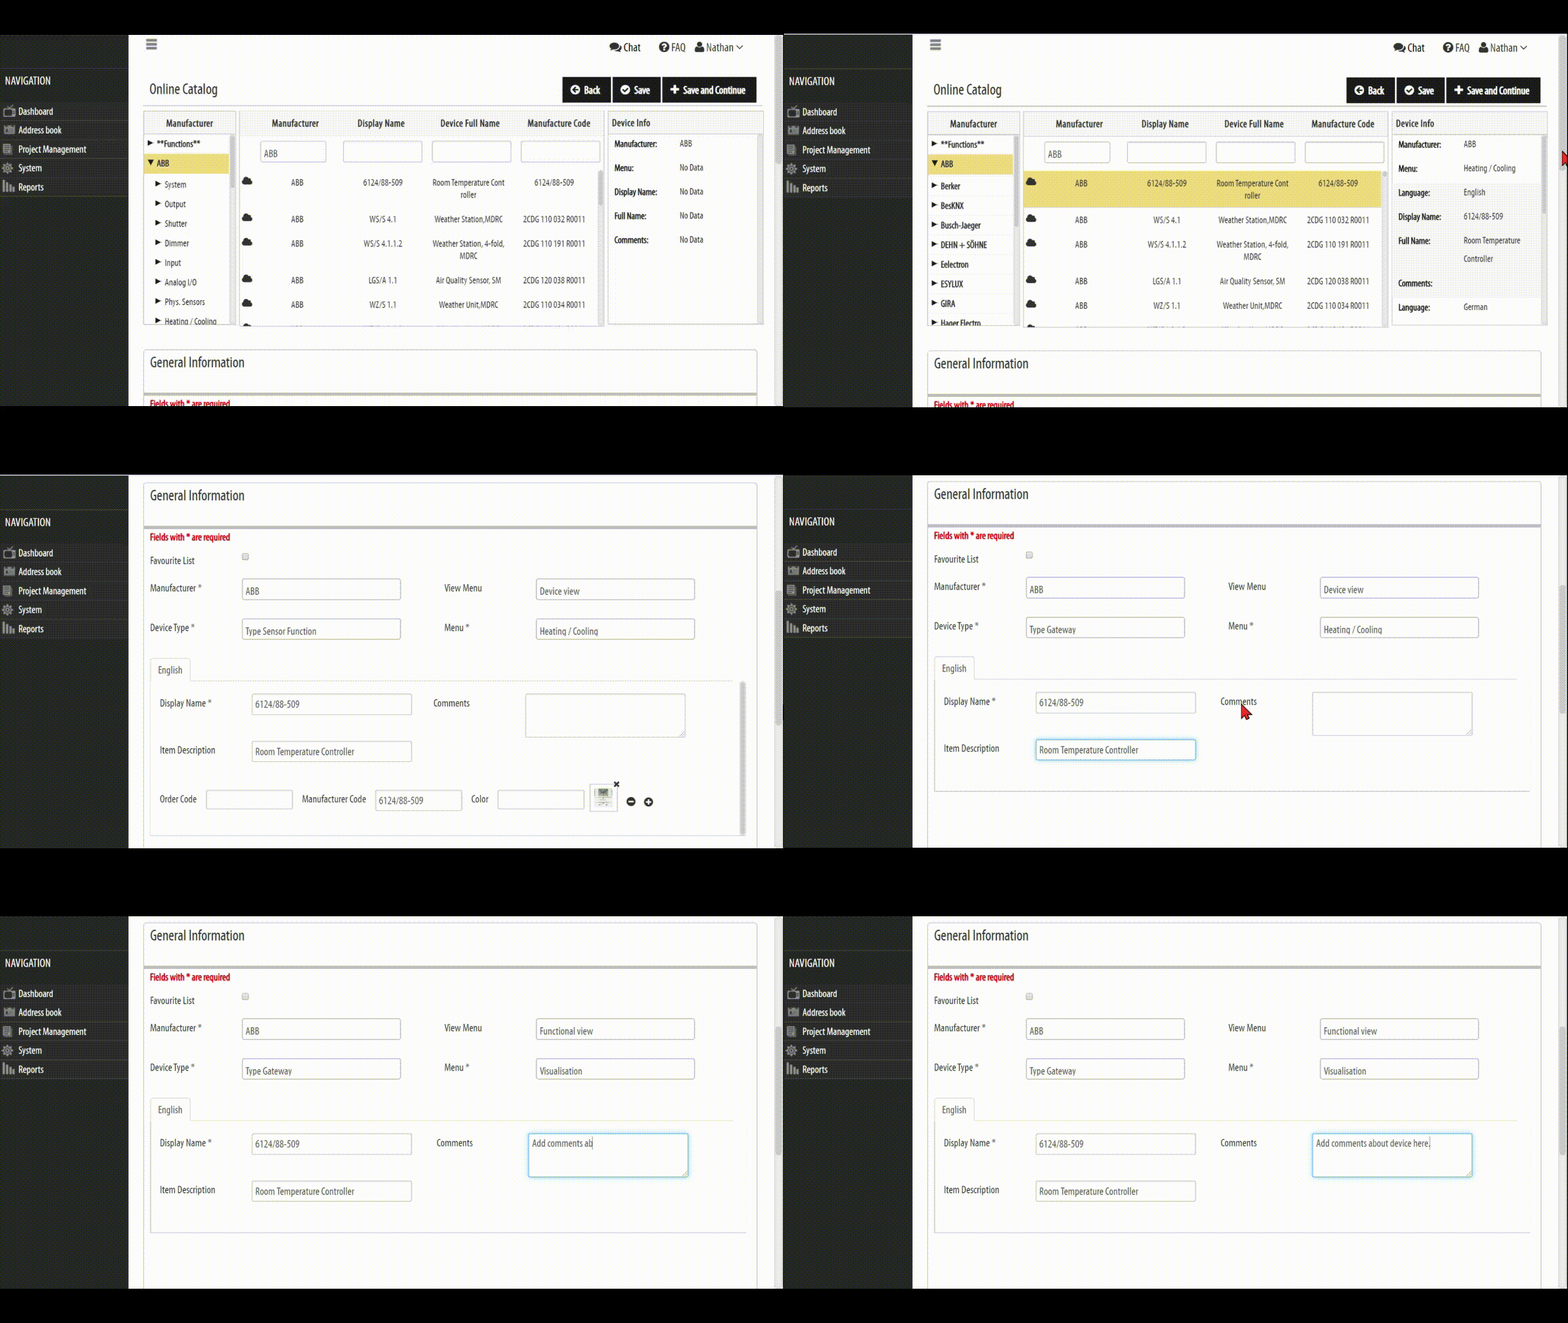
Step 4: After you have chosen a device, scroll down to fill in additional information like Device Selling Price, Net Price, Programming Time, etc.
Display Name = the short name you see on the “box” on the drawing board when selecting a device or function.
Device Full Name (also called “Item Description) = is the longer name that will be written on top of each device in the reports.
Order code = either Manufacturer Code or the code your supplier uses for this device.
Programming Time = the approximate time it takes for YOU to program the device or function (this gives you a guideline of how big the project is and how long it will take).
Device Selling Price = can be list price or what you like to charge for the device or function.
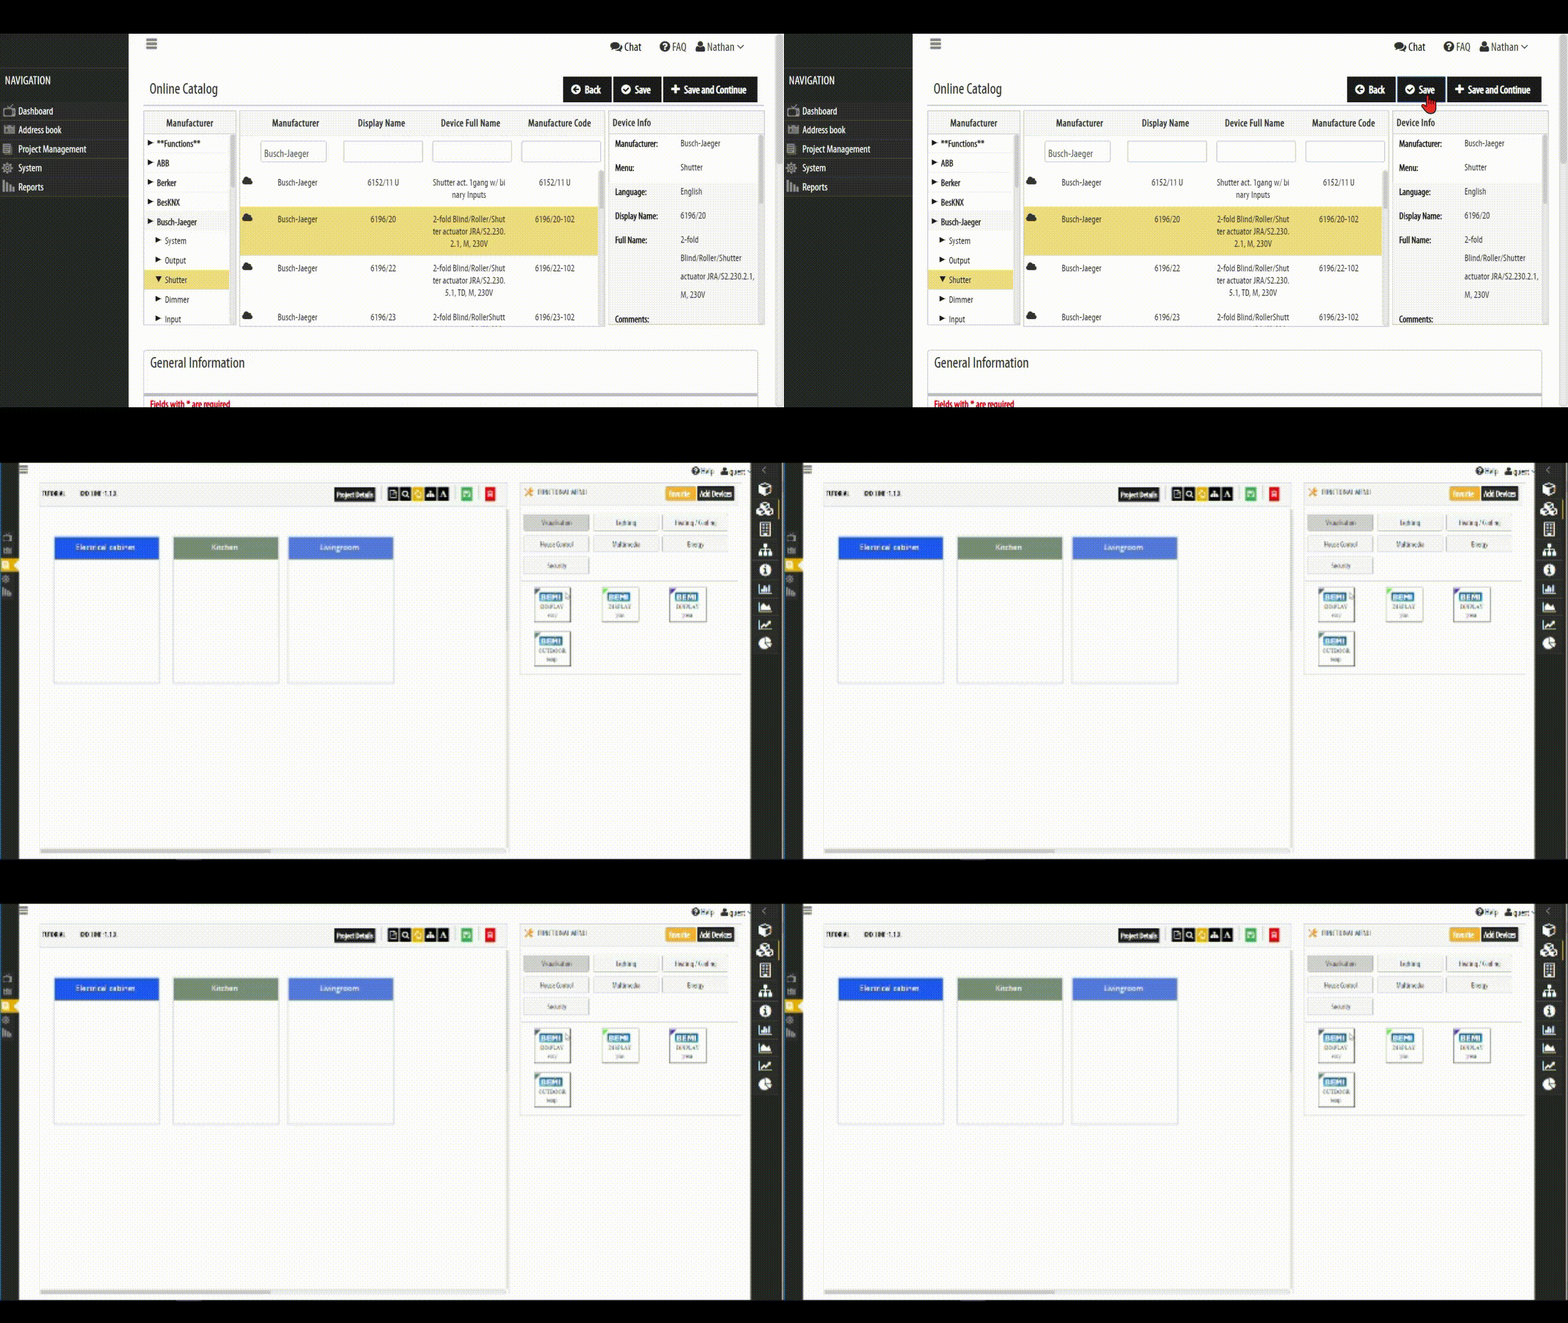
Step 5: Scroll back to the top and click Save and Continue if you would like to continue adding more Devices OR click Save to go back to the Device View to start configuring your chosen devices.
[NOTE: You must click Save or Save and Continue to finalize adding each device to your list]
Step 5: Return to the Device View after clicking Save then drag and drop (click and hold) your selected Devices from the Device Menu over to the room/rooms on the Drawing board.
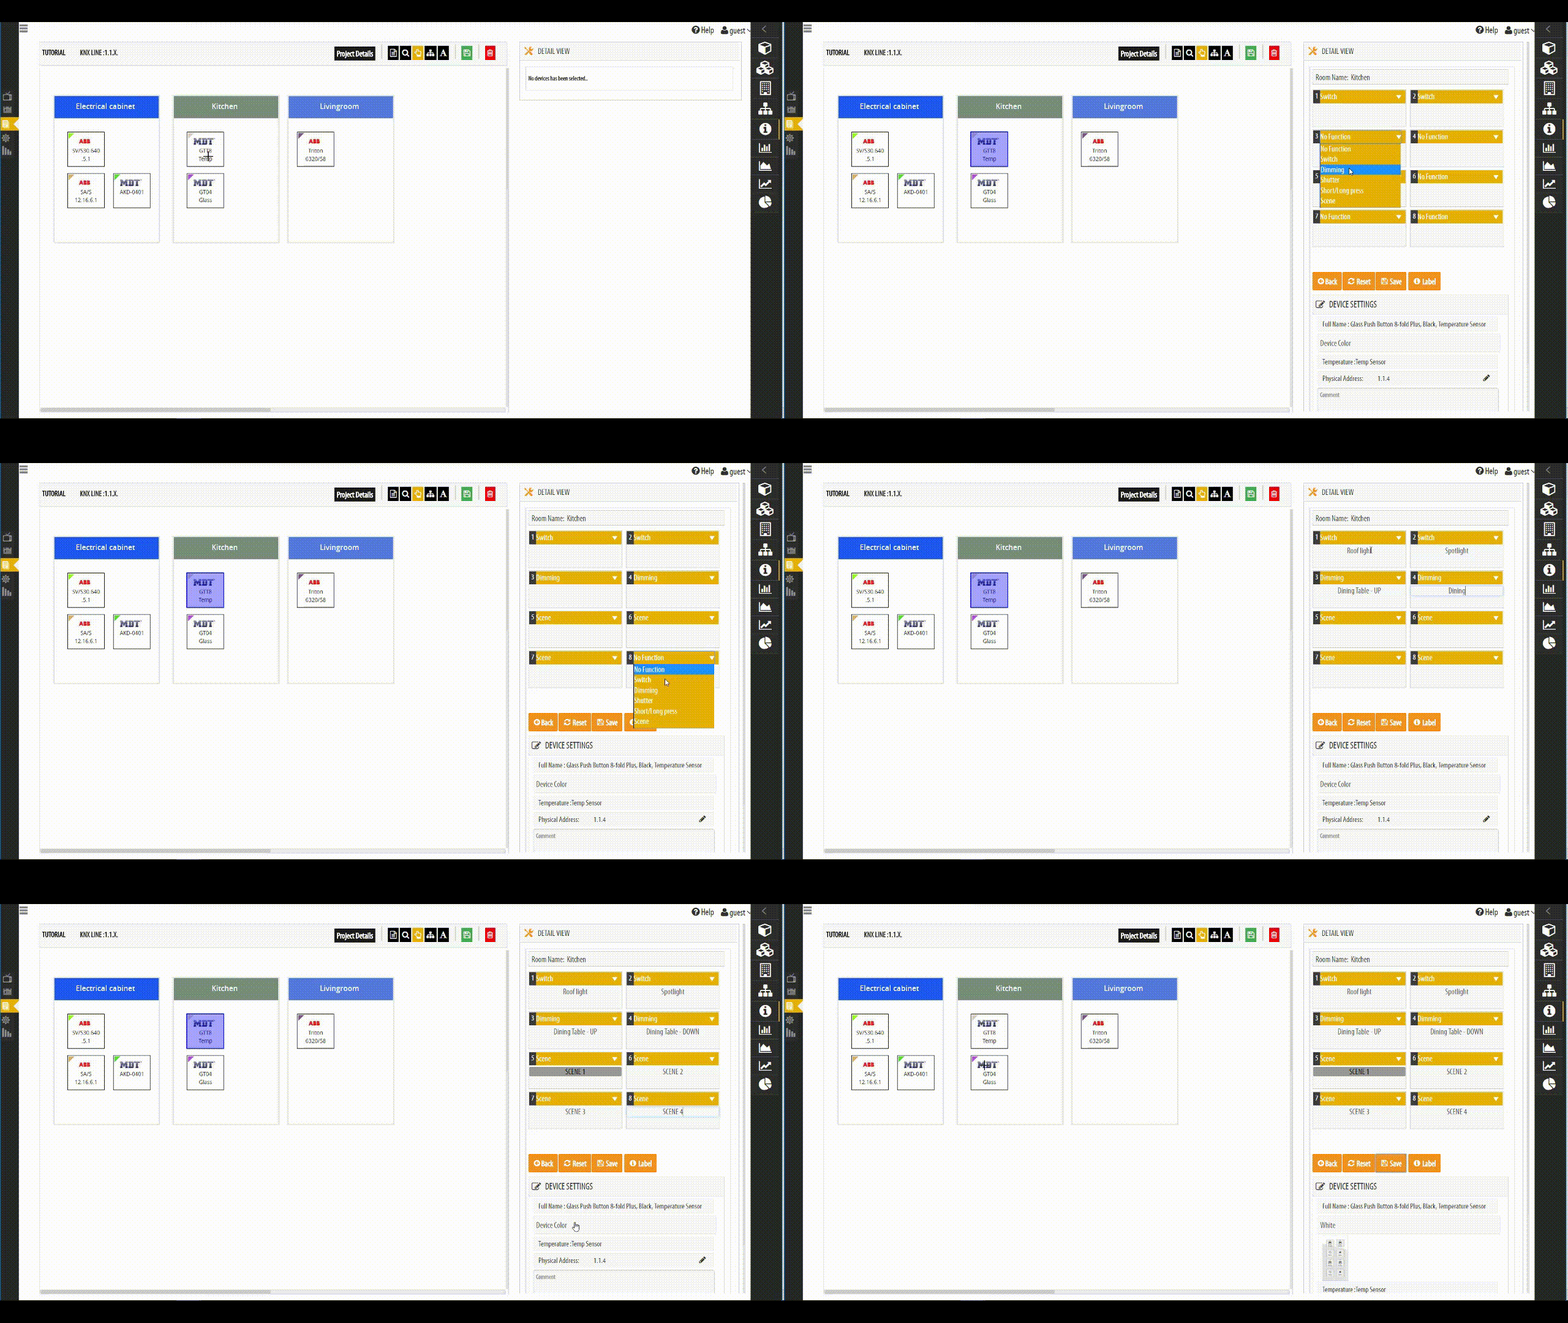
Step 6: Configure the devices by right-clicking on the device then filling in the Physical Address and device specific information — click Save when you are finished.
[NOTE: You can also configure each device by clicking on the 4th icon in the right side pane and then selecting the device).
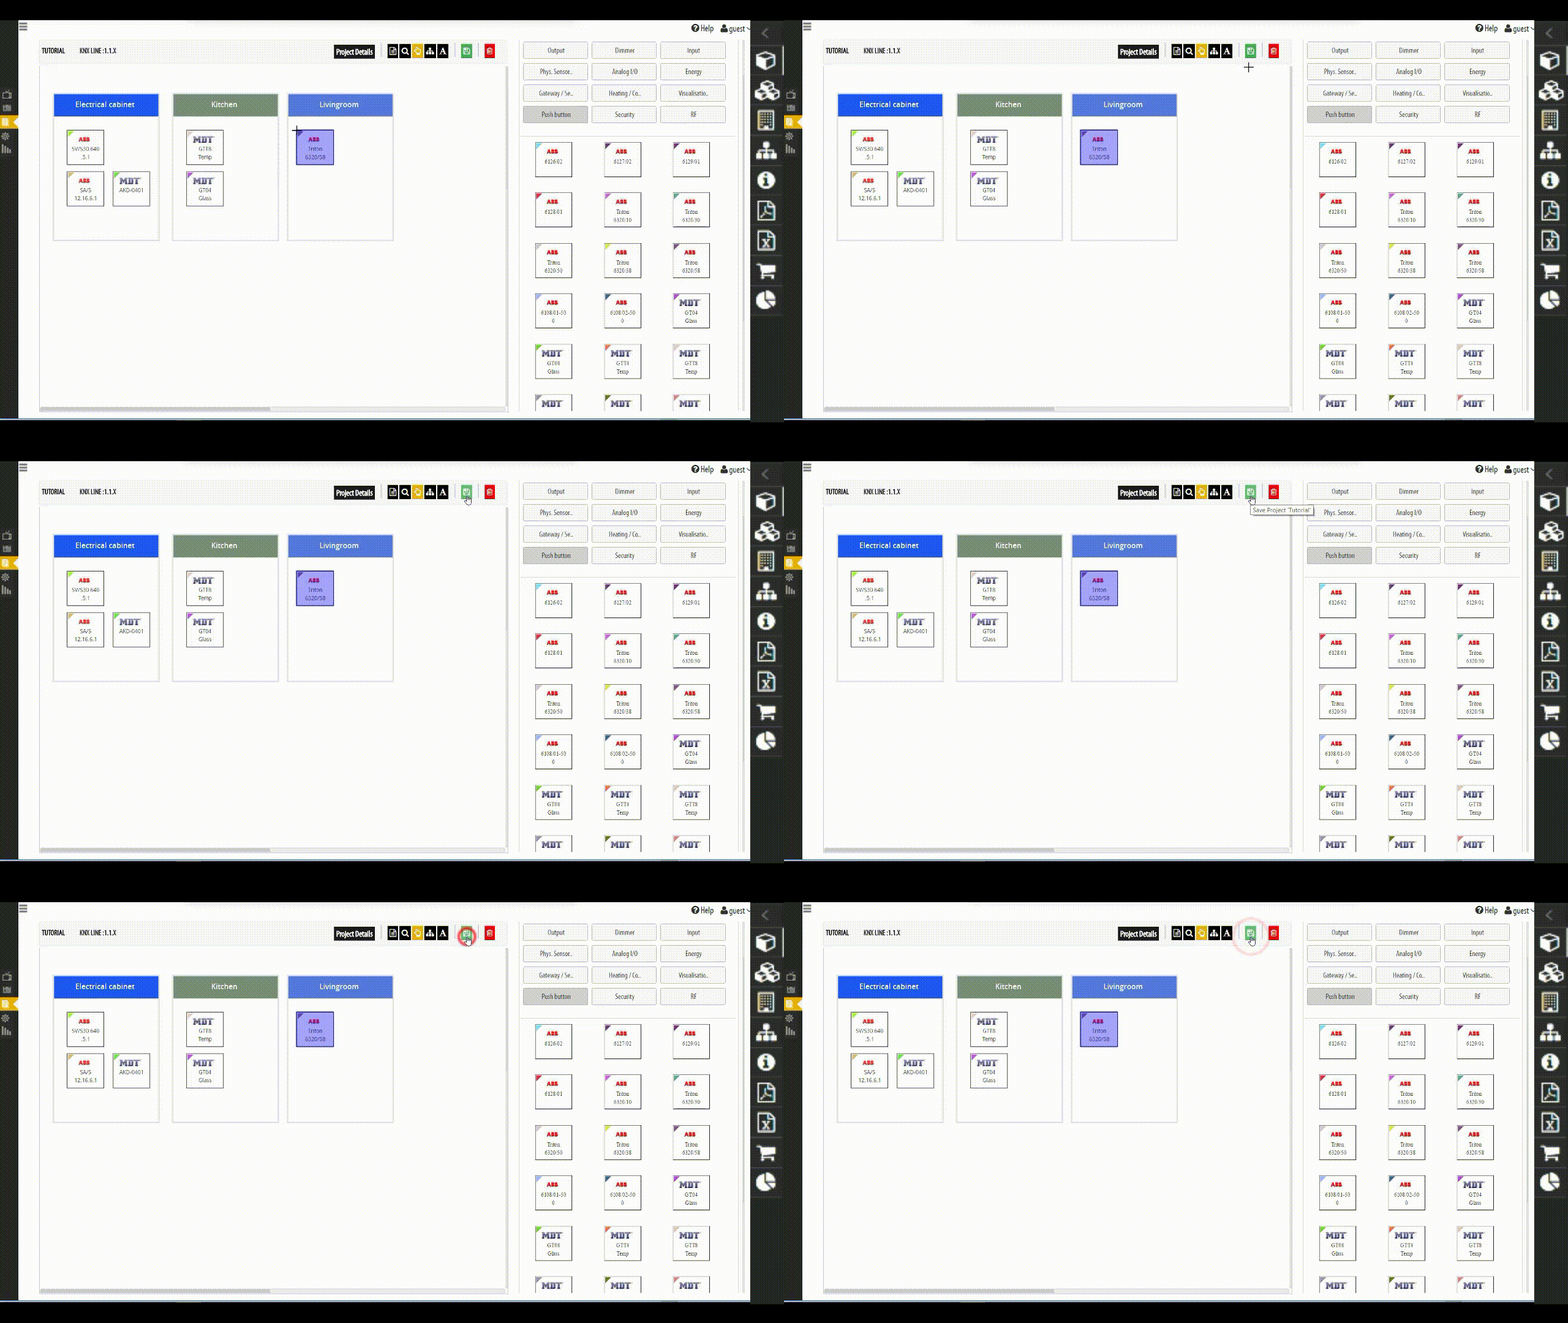
Step 8: When you are finished adding and configuring your chosen devices, press the green Disc icon above the Drawing board to Save the project so you can start adding functions.
NEED SETUP ASSISTANCE?
Click the link below to schedule a free live video appointment where we will show you how to setup and customize the KNX TOOL for your current projects.
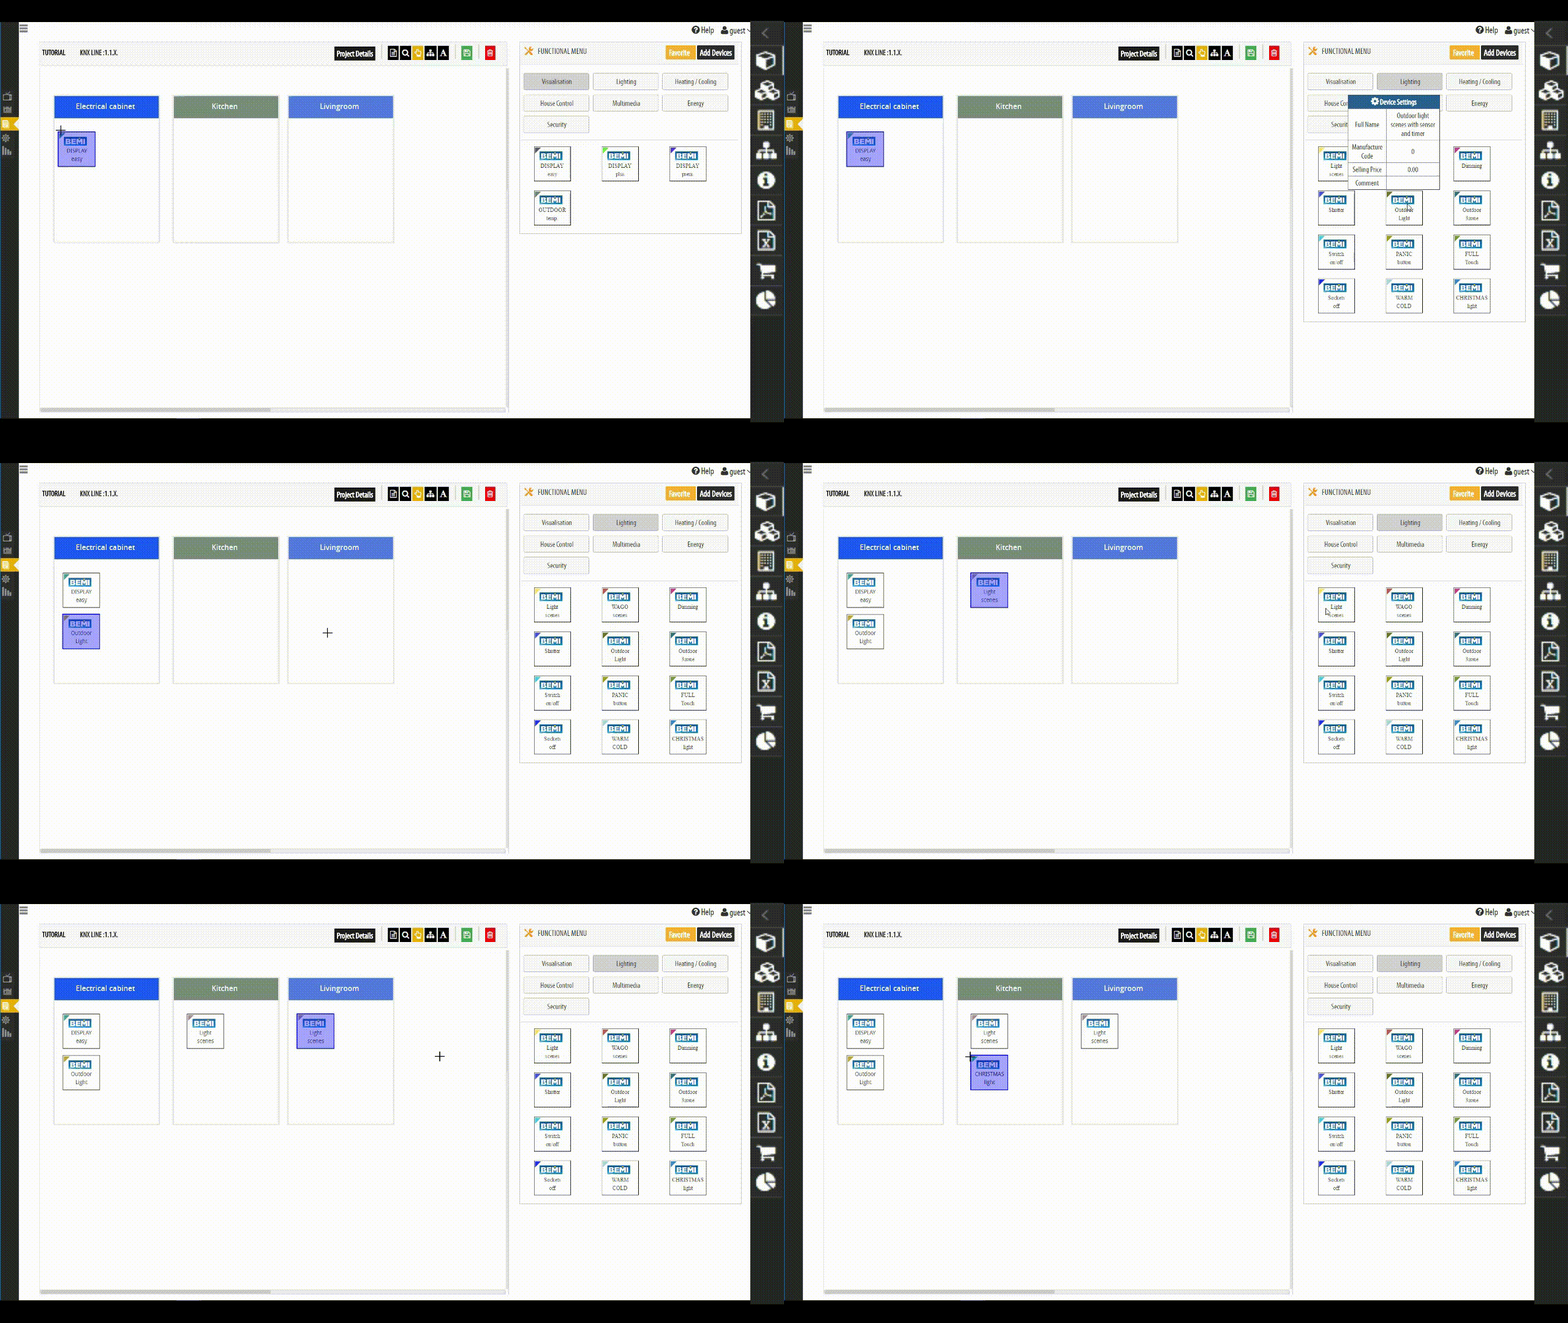
One great benefit with the KNX Tool is that – besides the physical devices which you are selling to the customer – you are finally able to also visualise and price each function (logic, Light Scenes, Multimedia control etc.)
Adding Functions allows you to describe how each function will work for the user. (i.e. Alarm function: when door is open and home mode is active then it will trigger an alarm that will flash the lights and the siren).
Functions can be used to explain to your customers how their KNX system will operate and can also be utilized as an installation manual.
You can have several functions about the same topic. For example, one function could could be “flash the lights and siren” and another can be “send an email.
Simply drag and drop each function (such as light dimming, shutter control, outdoor lights, etc.) into each of the rooms you have created in Building View.
STEP 1.Click the second icon in the right side pane to open the Function Menu.
STEP 2. Click on Add Devices to start adding functions to your project.
[NOTE: The function menu works the same way as the Devices menu – if you don’t find the function, you can create the function by pressing Add Devices]
STEP 3. After you have chosen a function, scroll down to fill in additional information like Device Selling Price, Net Price, Programming Time, etc.
[NOTE: If you are creating a function for the first time, you first need to register your company as a manufacturer as outlined in this article — ADD MANUFACTURER]
Step 4: Click Save to go back to the Device View OR click Save and Continue if you would like to add another function.
Step 5: Move the function from the Functional Menu to the room/rooms on the Drawing board via Drag & Drop (click and hold).
[OPTIONAL: Add a comment to the function by right-clicking on the function (or by first clicking the 4th icon in the right side pane and then selecting the function]
Step 6: When you are finished with adding functions, click the green Disc icon above the Drawing board to Save project.
NEED SETUP ASSISTANCE?
Click the link below to schedule a free live video appointment where we will show you how to setup and customize the KNX TOOL for your current projects.
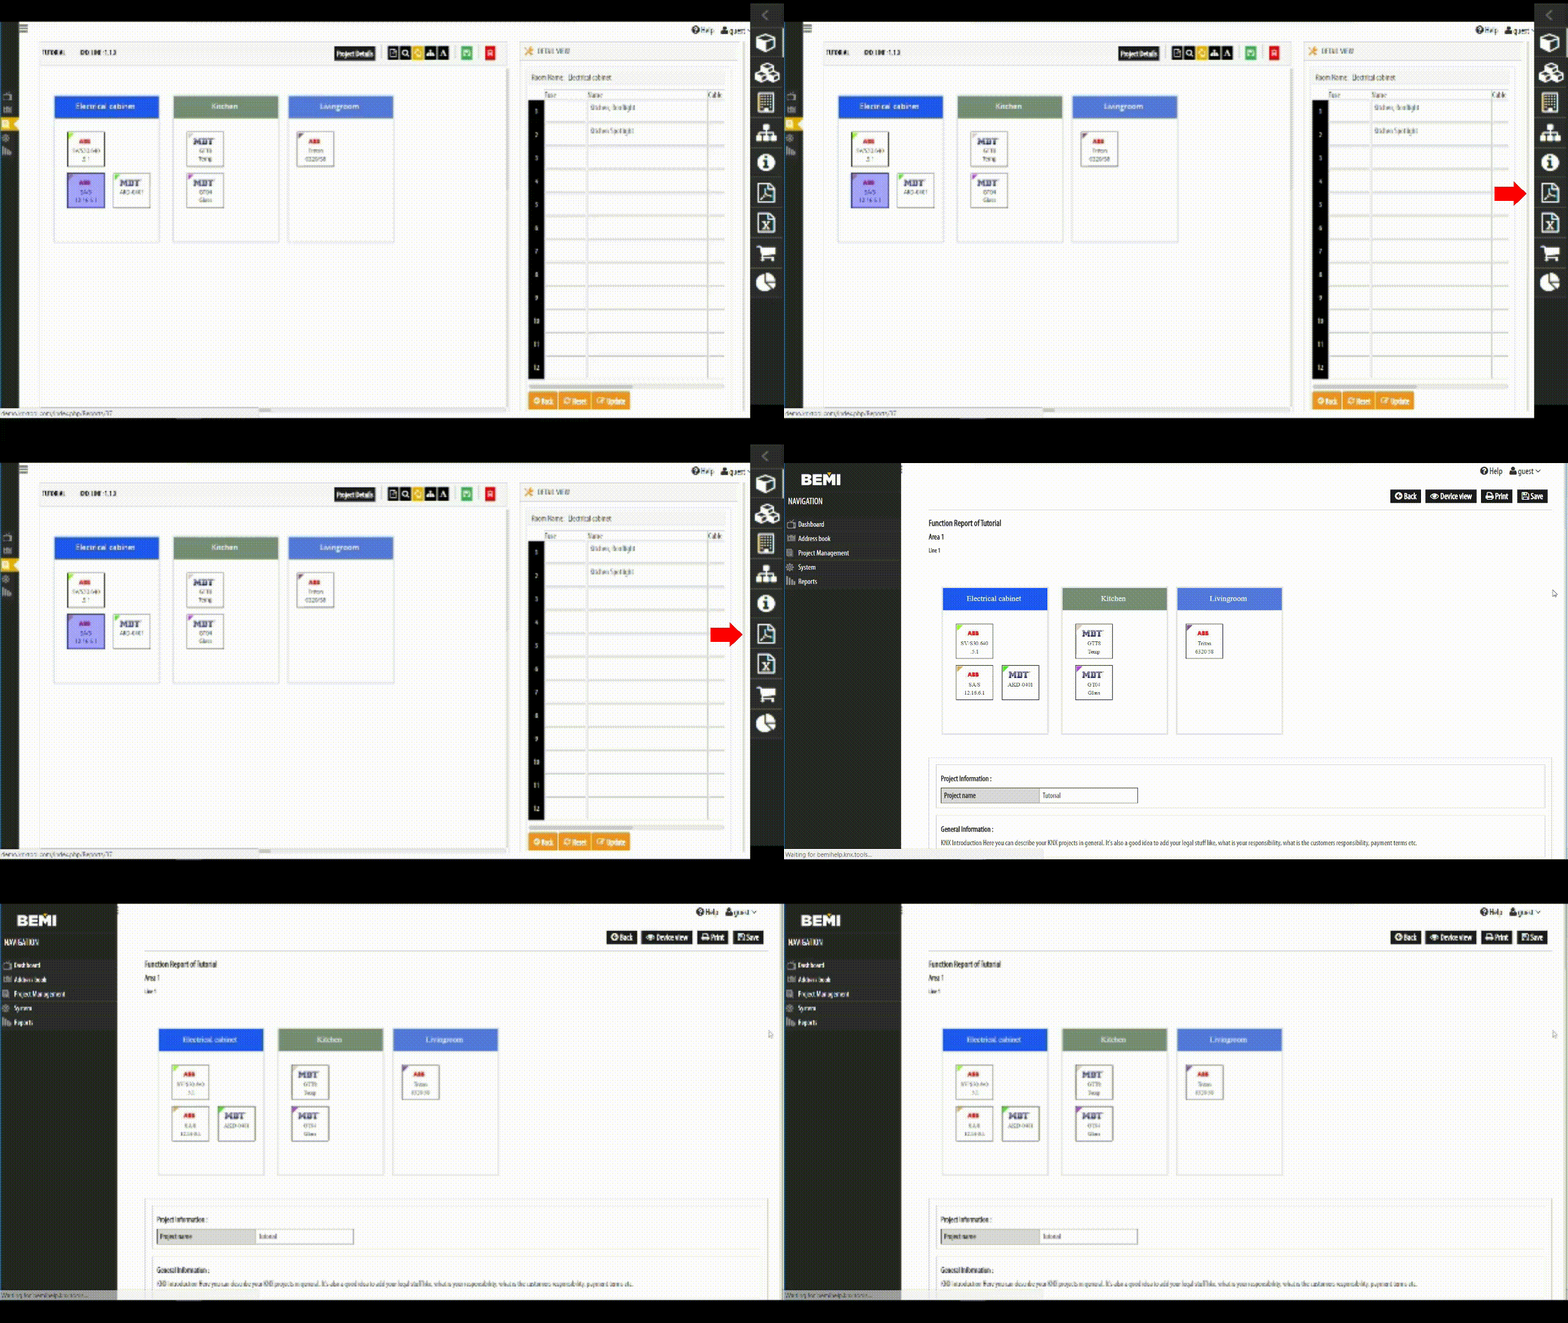
Function Descriptions allow you to create individual descriptions for each automated function with the Drawing board’s easy drag and drop interface.
Customize the operation of smart devices and automated functions with selected presets, timers, actuators, etc.
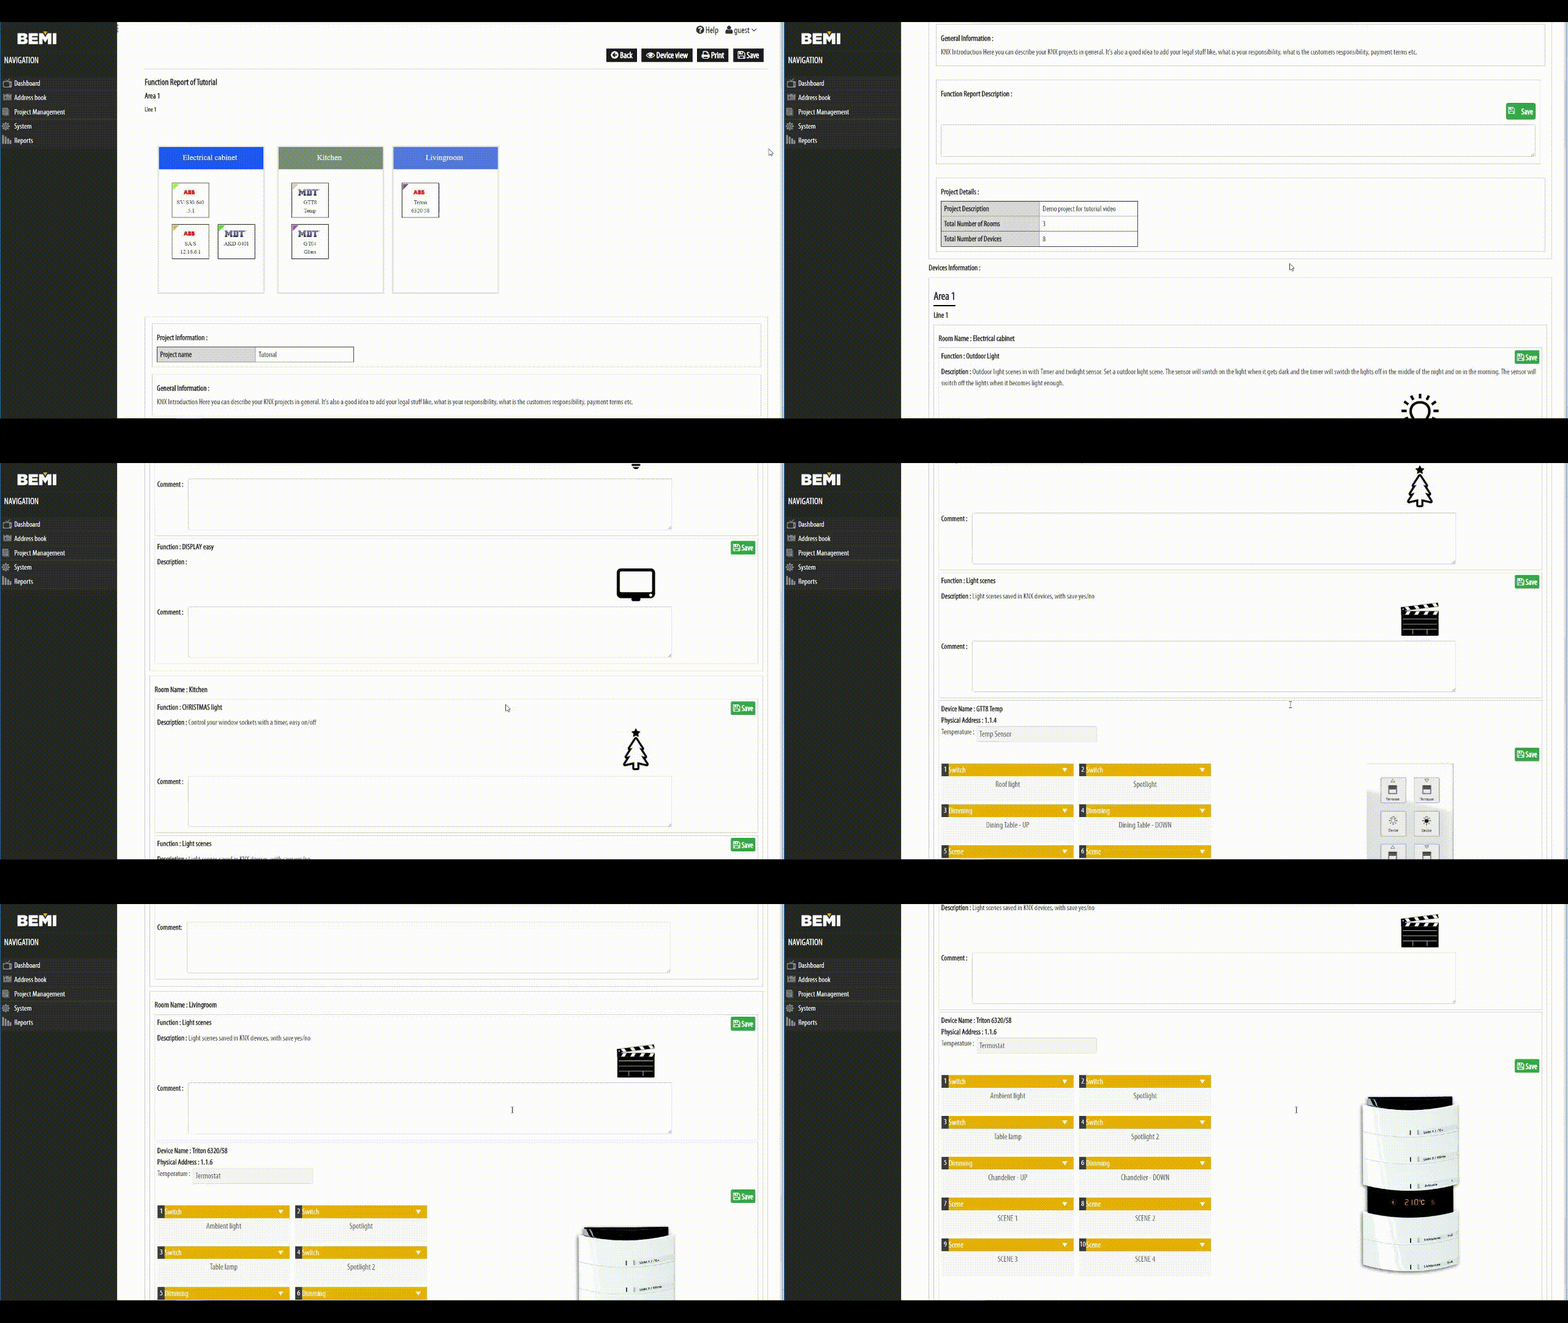
Instantly print function descriptions with images for end-user manuals and final project reporting.
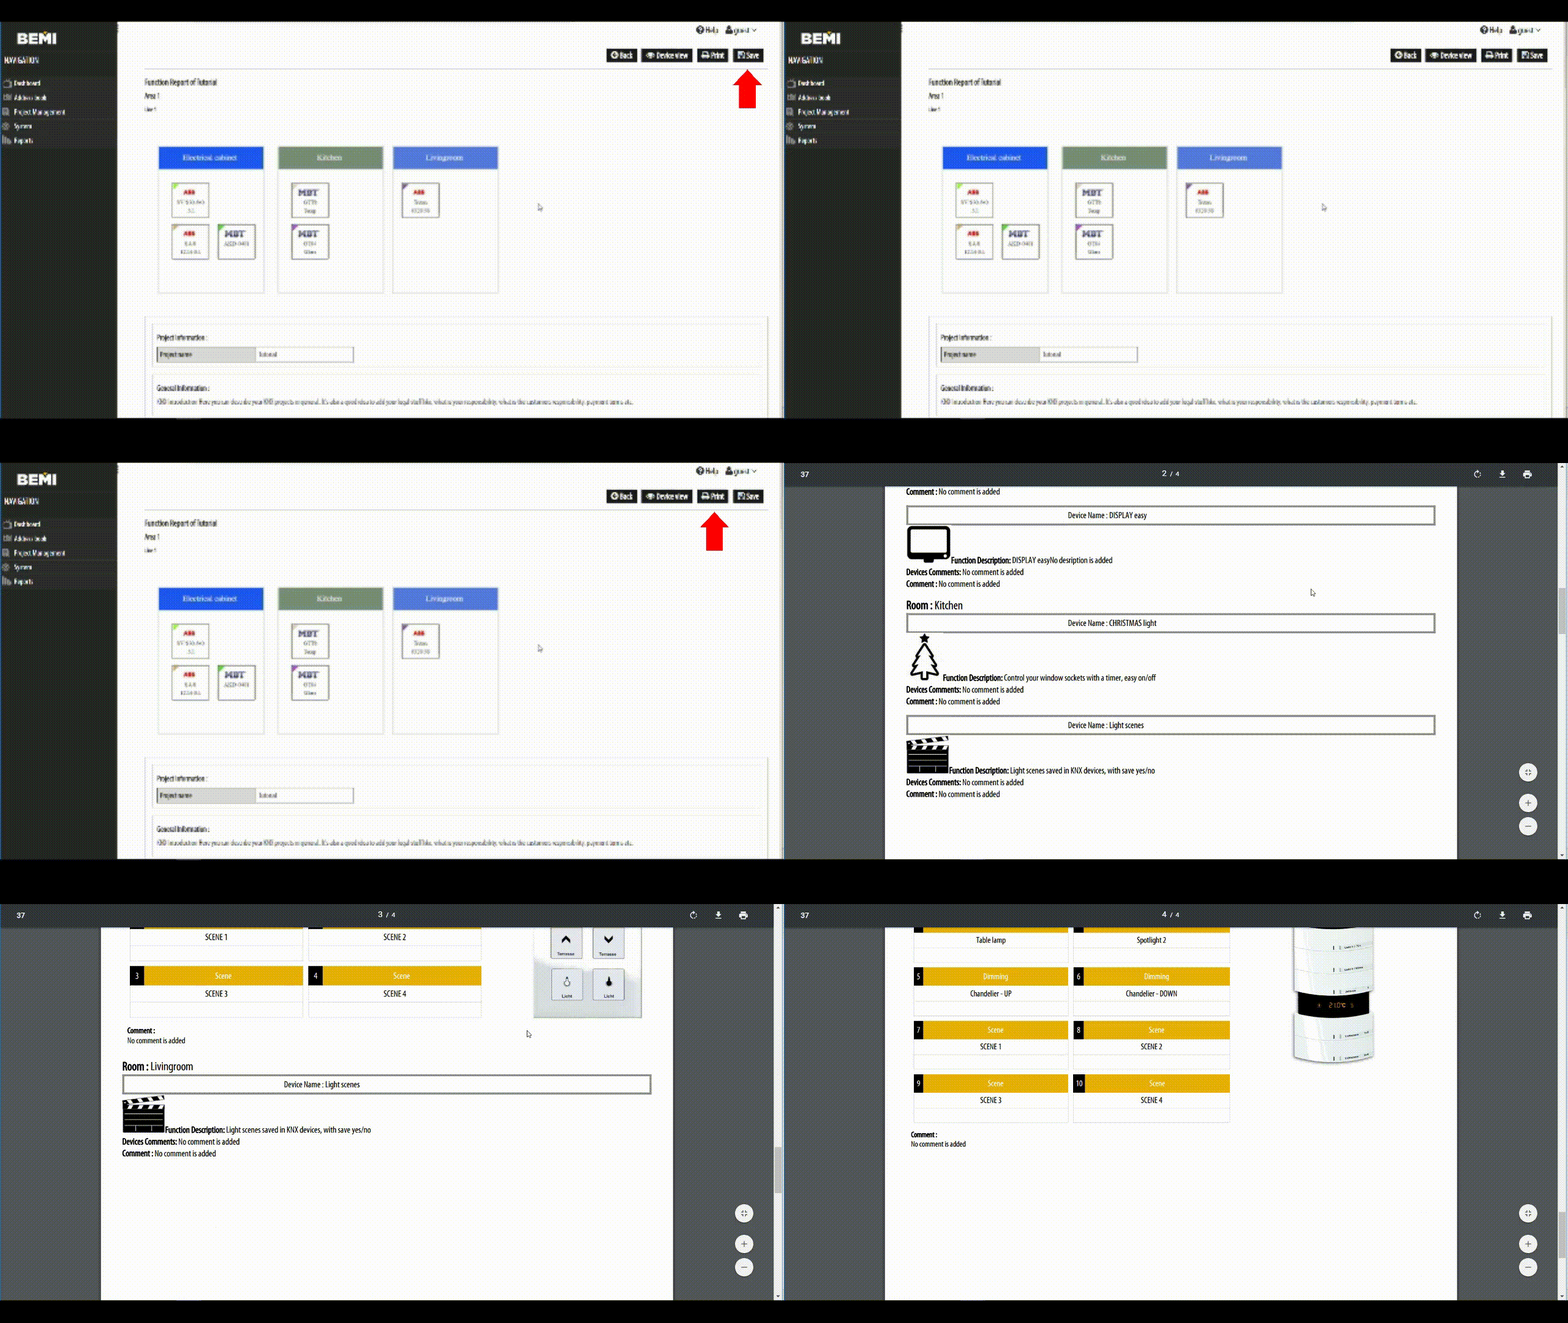
STEP 1. Click the 6th icon (PDF icon) in the right side pane in the Drawing board page of your project to open the Function Description page.
[NOTE: You can also find the Function Descriptions of all your projects in the left side pane under Reports > Function Descriptions]
STEP 2. Configure all the devices in the project and also add comments about the project on this page.
STEP 3. Click Save when you are finished then Print to create the Function Description document for the customer.
NEED SETUP ASSISTANCE?
Click the link below to schedule a free live video appointment where we will show you how to setup and customize the KNX TOOL for your current projects.
The Relay Report lists all of the actuator devices and their configuration.
It contains the necessary information needed by the electrical installer during installation.
Instantly print descriptive Relay Reports with images to be used for end-user manuals and final project reporting.
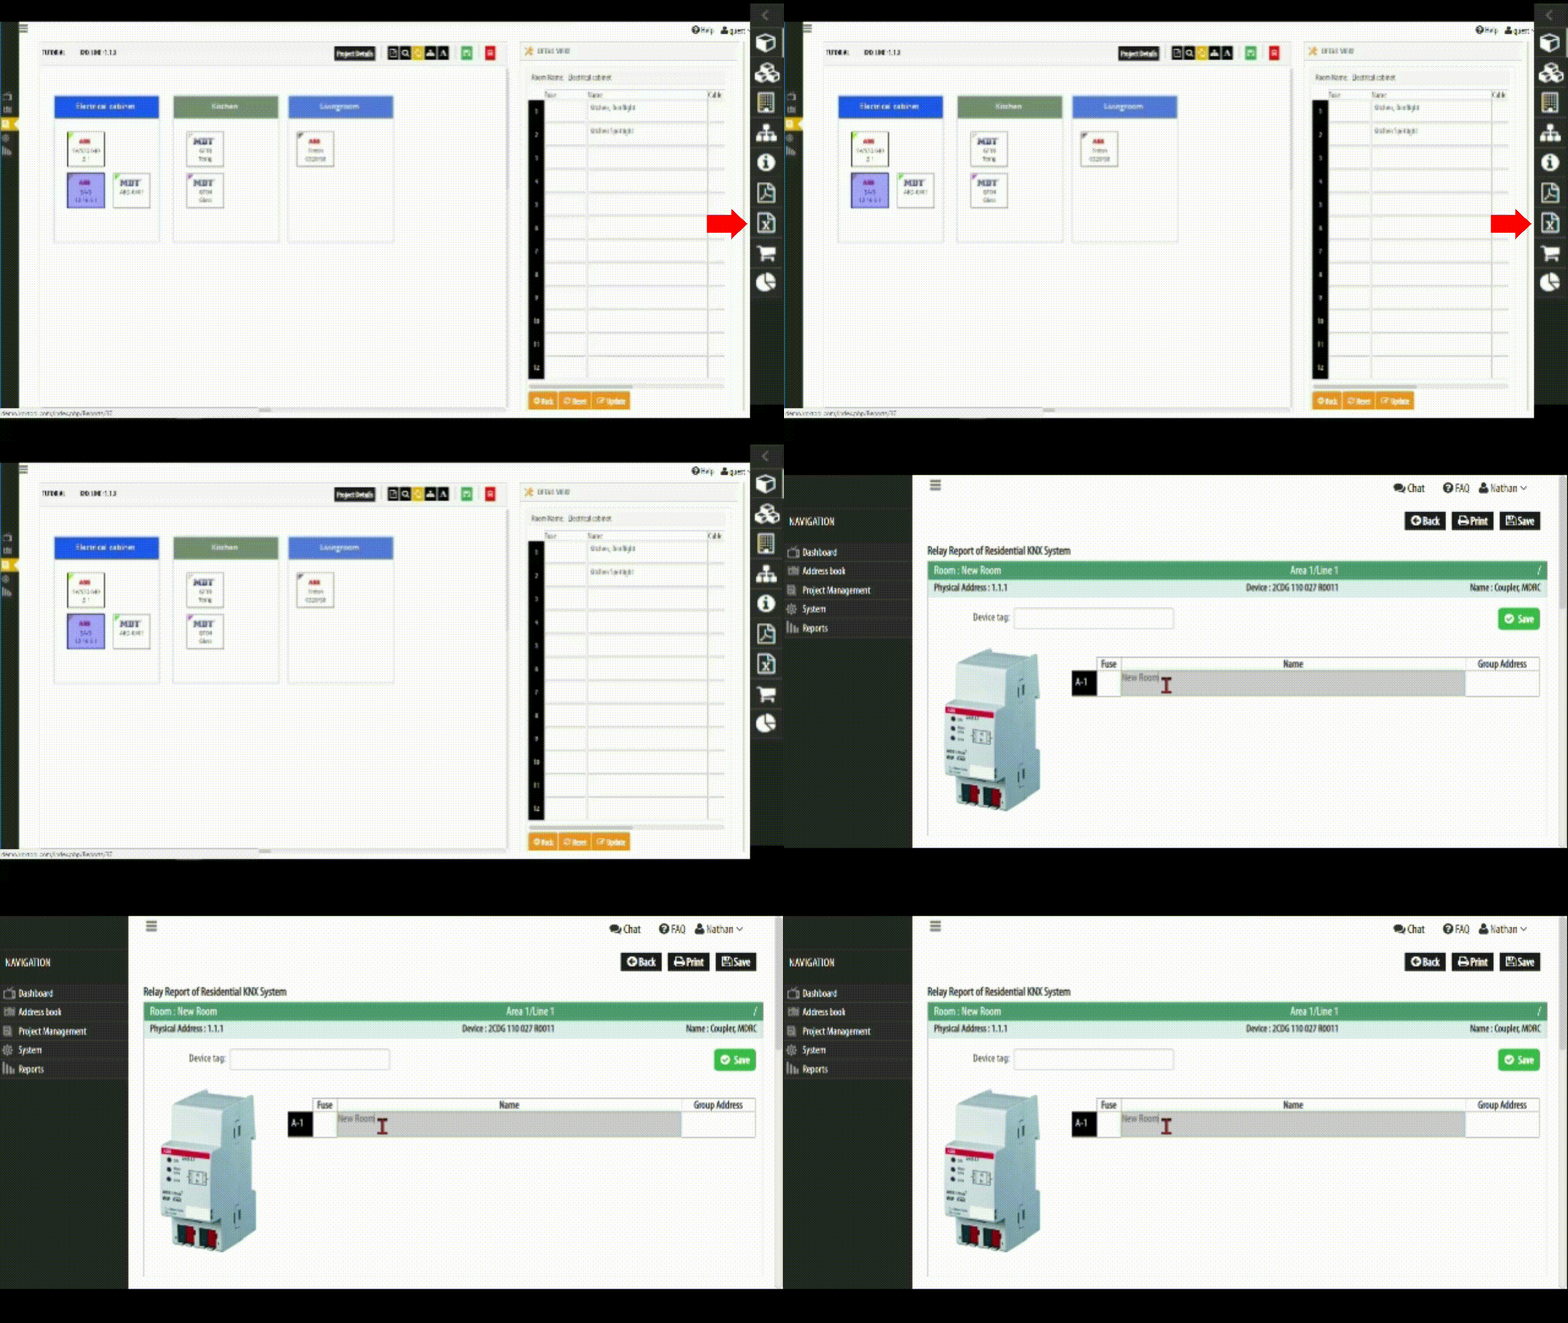
STEP 1. Click the 7th icon (Excel icon) in the right side pane in the Drawing board page of your project to open the Relay Report page.
[NOTE: You can also find the Relay Reports of all your projects in the left side pane under Reports > Relay Reports]
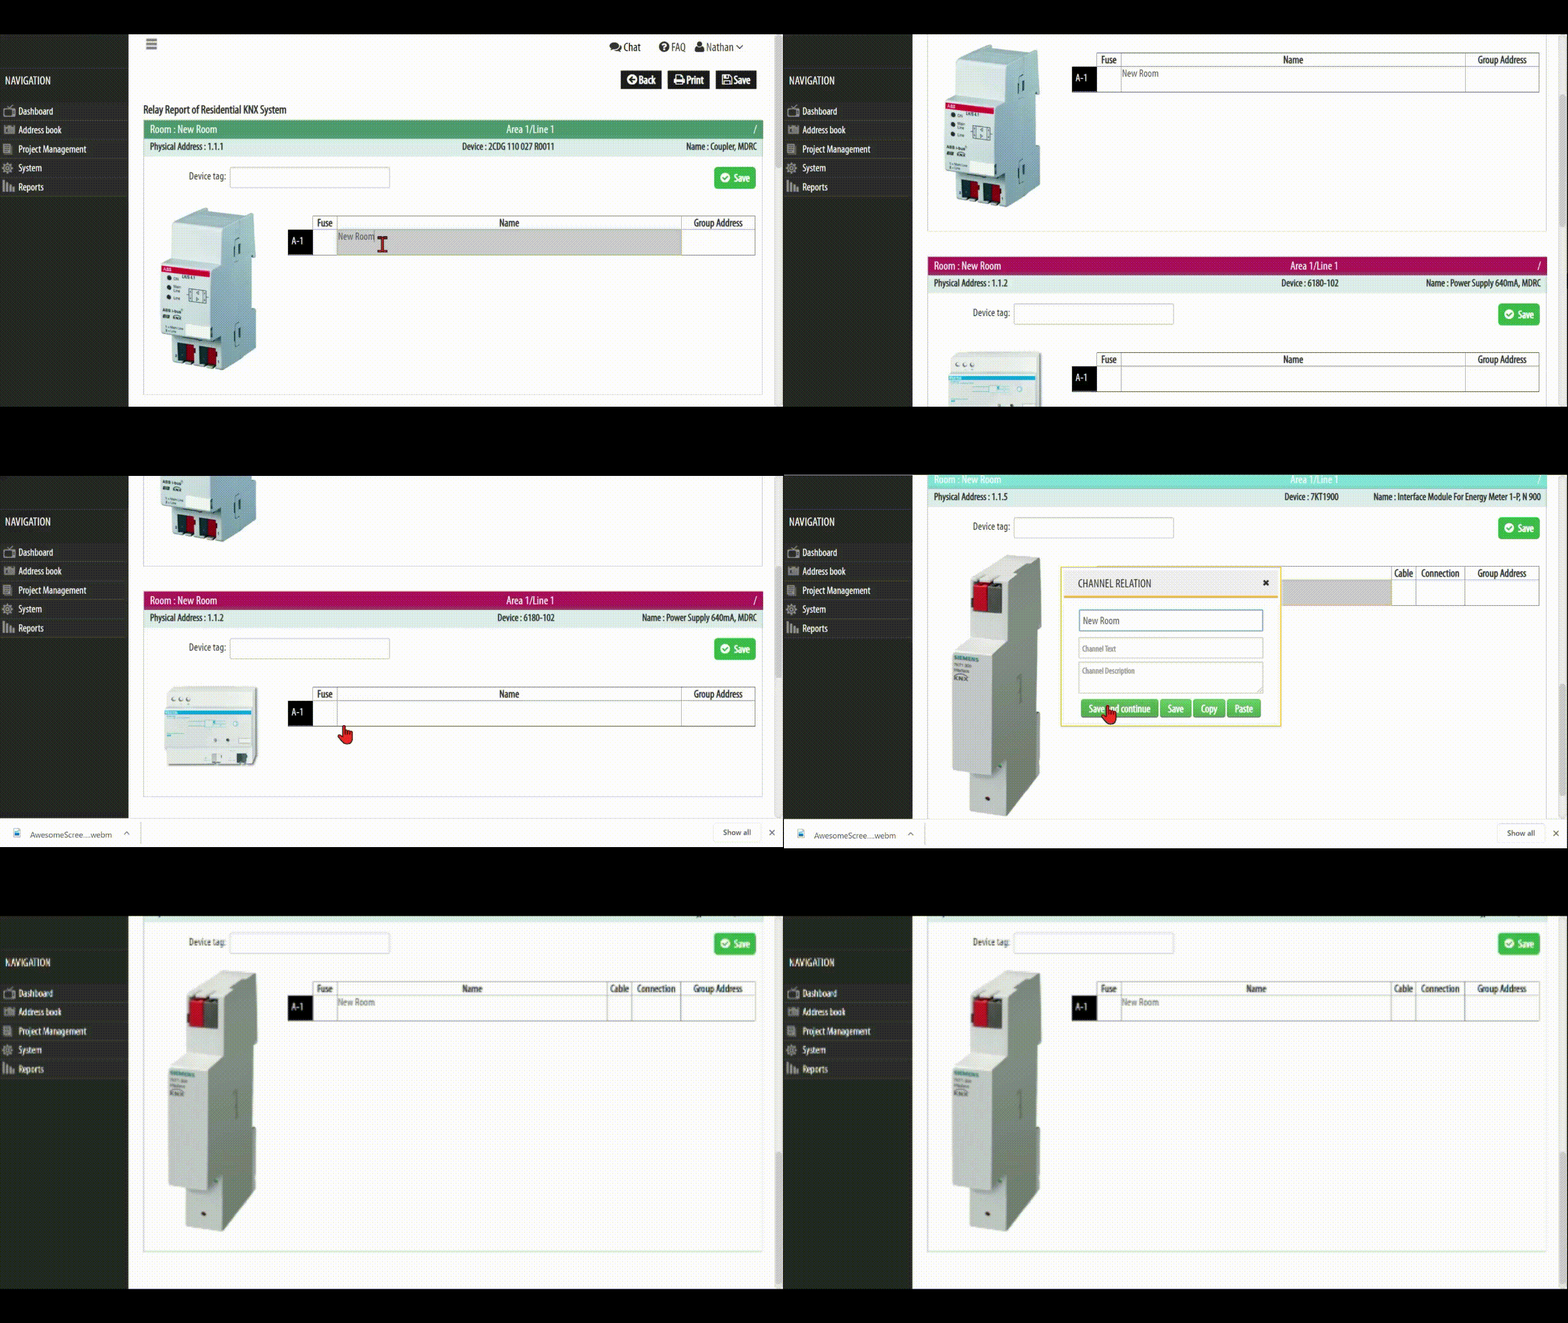
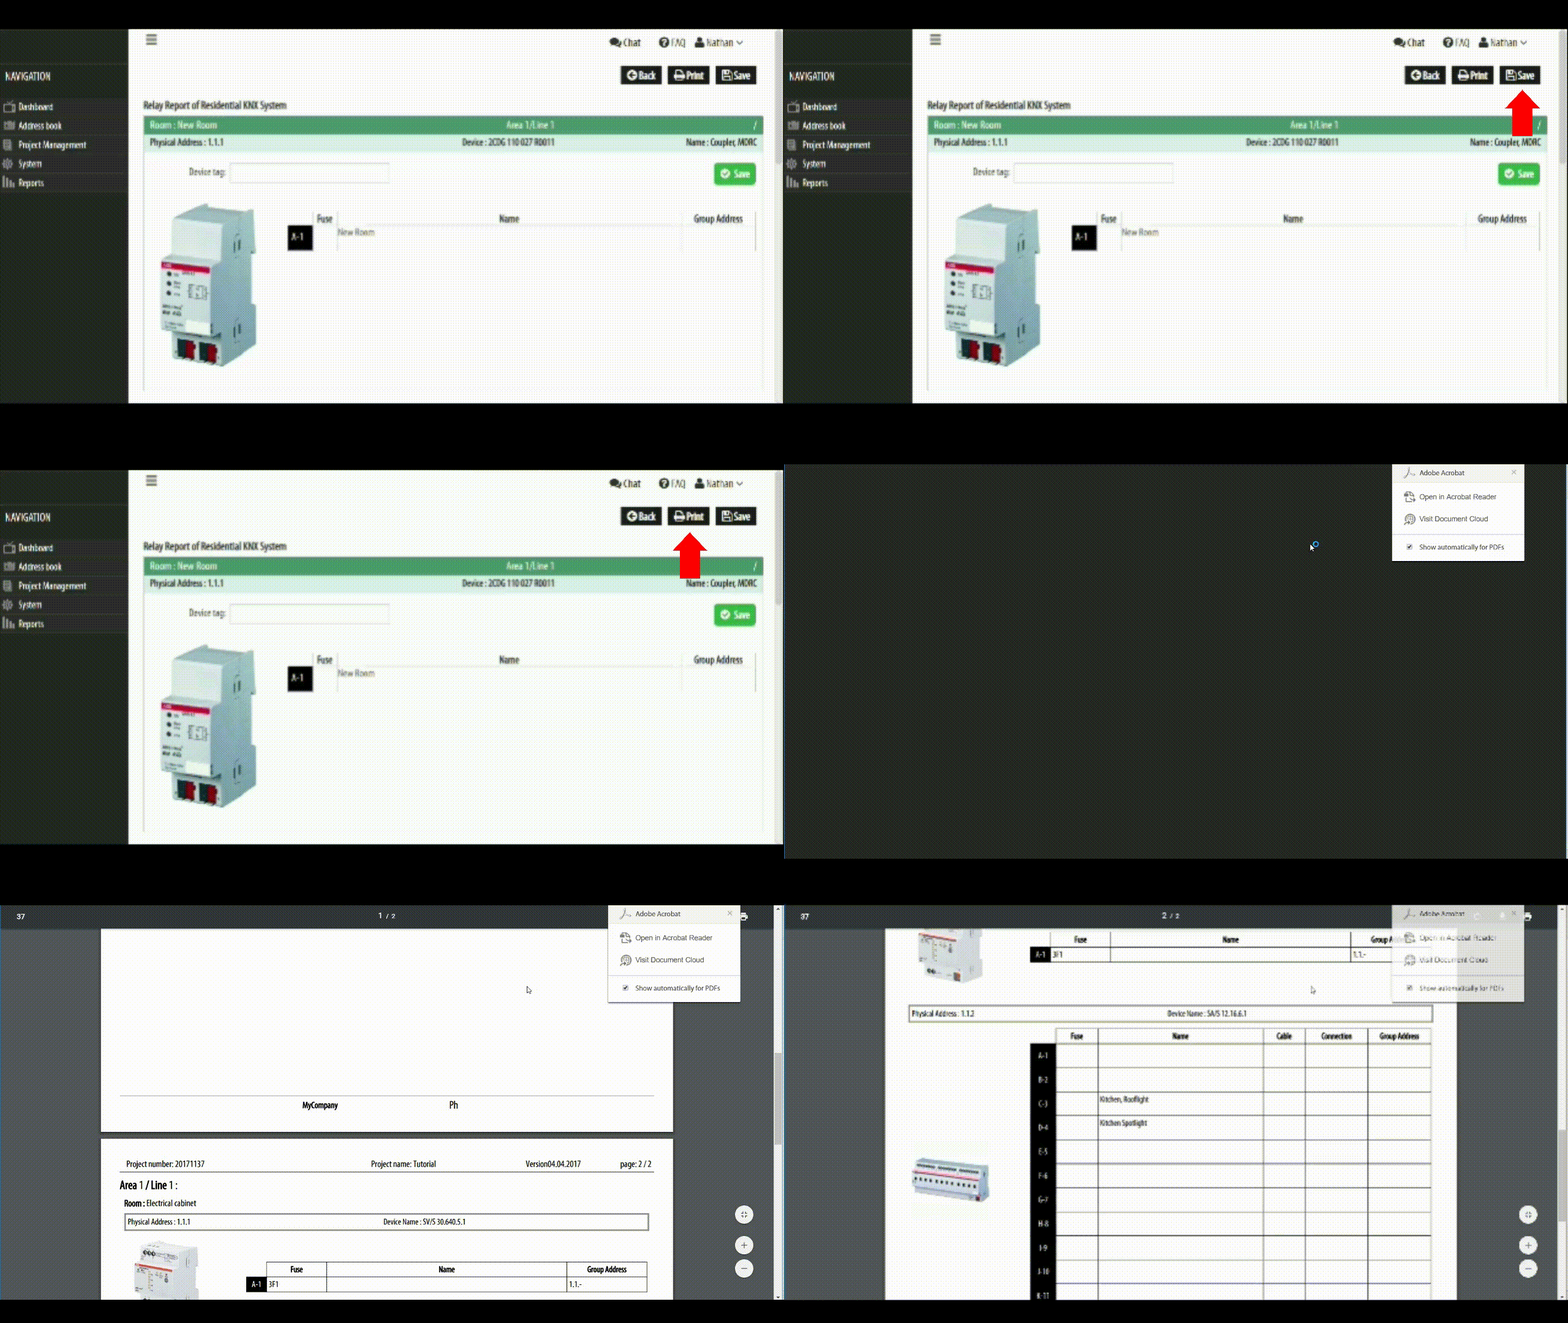
STEP 2. Edit the information and comments of the actuator devices in the project which will be printed in the Relay Report.
STEP 3. Click Save when you are finished and Print to create the Relay Report document for the installer.

