The device catalog is where all your device information in KNXtool is stored. It is divided into two parts:
Online Catalog – Contains all available devices that you can browse and download. Shows both downloaded and online only devices.
Local Catalog – Stores the devices you have downloaded from the online catalog, along with any devices or functions you create yourself.
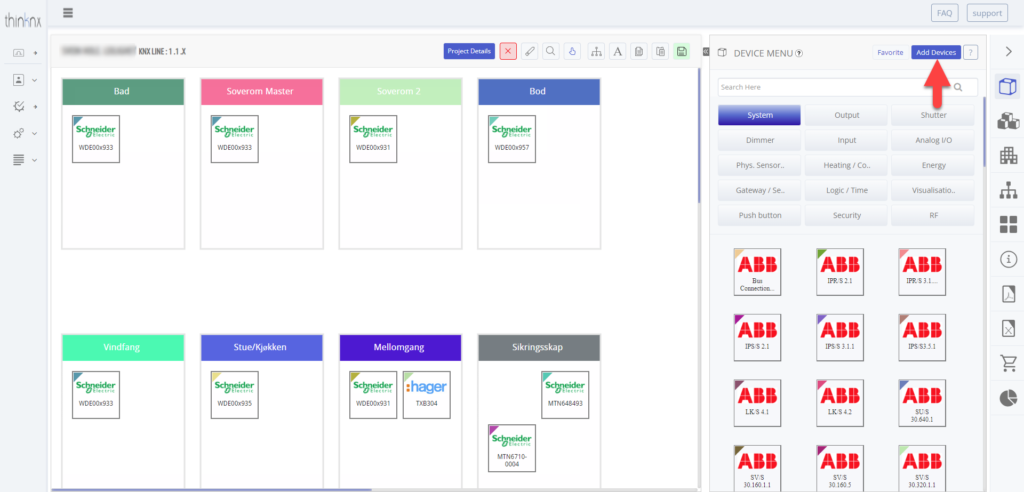
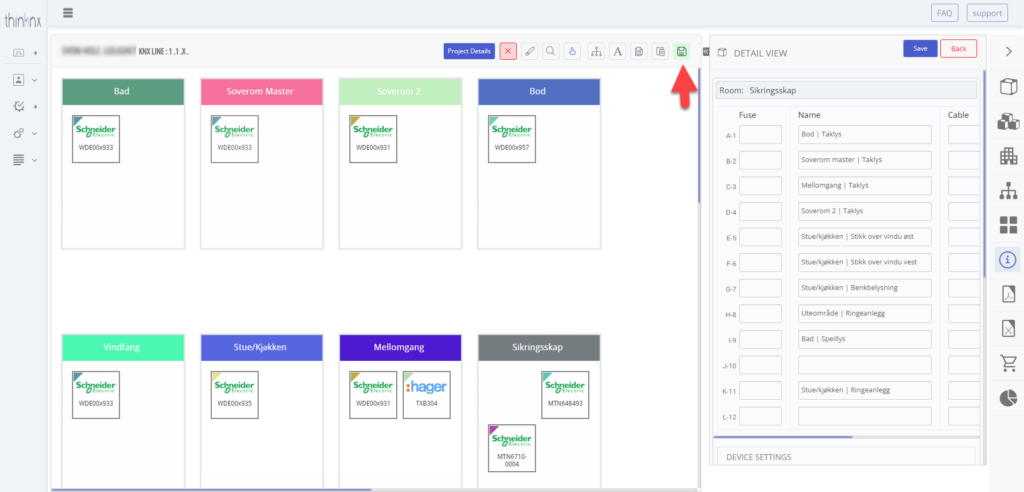
You can open the device catalog from the device menu on the drawing board (see red arrow in picture). Or navigate to System > KNX Devices in the left-side menu.
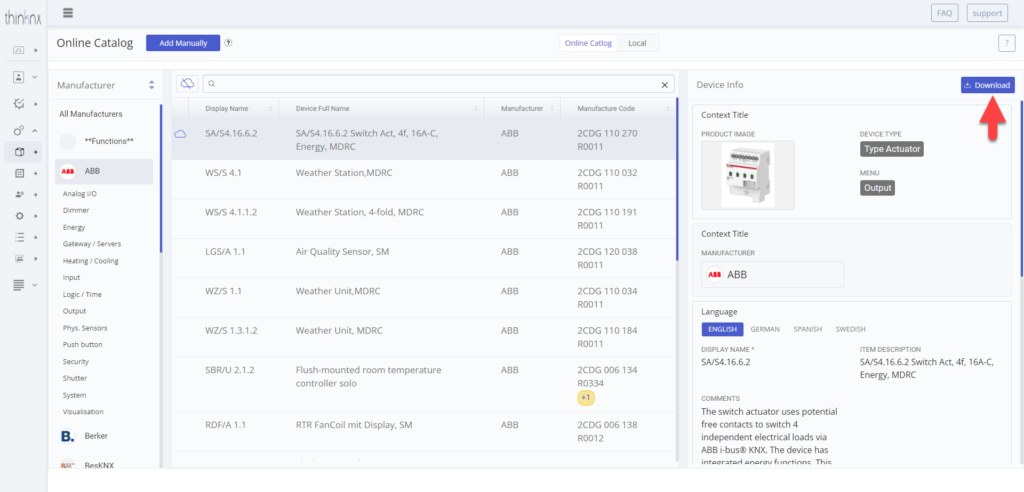
Select a device in the catalog to view its details. Downloading a device creates a local copy, which is stored in your local catalog. This local version is the one you can edit and use in your projects (similar to ETS). Any edits or changes you make apply only to the local copy, and the original online copy remains unchanged.
If you can’t find the device you are looking for, you can either add your own device manually or contact our support, and we’ll add it for you.
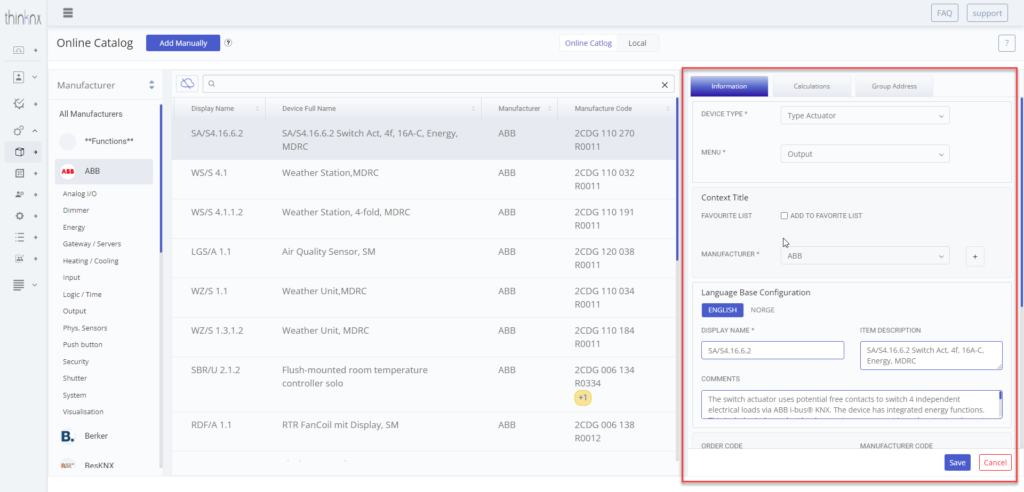
After downloading a device, you can edit its details. Review the device information and add your own data such as selling price, programming time, net price, and group address set.
Don’t worry if you’re not familiar with group address sets yet, you’ll learn more about them soon. For now, simply focus on downloading and setting up your devices.
Comments= This comment is a personal aid and can only be viewed by you. The comment will not be printed out on any report.
Programming Time = The approximate time it takes for you to program the function (this gives you a guideline of how big the project is and how long it will take).
Menu = The category under which you can filter functions when working on the drawing board ex. security, lightning.
Display Name = The short name you see on the “box” on the drawing board when selecting a device or function.
Item description= This is the longer name that will be written on top of each device in the reports.
Click the link below to schedule a free live video appointment where we will show you how to setup and customize the KNXtool for your current projects.
This website uses cookies to improve your experience. We'll assume you're ok with this, but you can opt-out if you wish. Cookie settingsACCEPT
Privacy & Cookies Policy
Privacy Overview
This website uses cookies to improve your experience while you navigate through the website. Out of these cookies, the cookies that are categorized as necessary are stored on your browser as they are essential for the working of basic functionalities of the website. We also use third-party cookies that help us analyze and understand how you use this website. These cookies will be stored in your browser only with your consent. You also have the option to opt-out of these cookies. But opting out of some of these cookies may have an effect on your browsing experience.
Necessary cookies are absolutely essential for the website to function properly. This category only includes cookies that ensures basic functionalities and security features of the website. These cookies do not store any personal information.
Any cookies that may not be particularly necessary for the website to function and is used specifically to collect user personal data via analytics, ads, other embedded contents are termed as non-necessary cookies. It is mandatory to procure user consent prior to running these cookies on your website.