Function Reports allow you to create individual descriptions for each automated function with the Drawing board’s easy drag and drop interface.
Customize the operation of smart devices and automated functions with selected presets, timers, actuators, etc.
Instantly print function reports with images for end-user manuals and final project reporting.
To start working on the Function Report, open the Drawing Board and click the first PDF icon in the right side panel. In this page you are still able to configure devices, write comments and rearrange buttons via drag & drop.
[NOTE: You can also find the Function Reports of all your projects in the left side panel under Reports > Function Reports]

In the project details, you’ll find the project description, version history, and project overview.
Version history will help you keep track of the changes made to the report. To add a new version entry, select the date, optionally add a number, and a description of the changes made. Then click the plus icon.

On the left hand side, you’ll find a menu with all the sections of the report. Click on a section to jump to edit it.
You can control which parts are printed in the report by unchecking any sections you do not want to include. Every section is included by default.
The legal information is the same for every report. To edit the legal information you have to go to report settings, either from the Reports tab in the side-menu or by clicking the cogwheel.

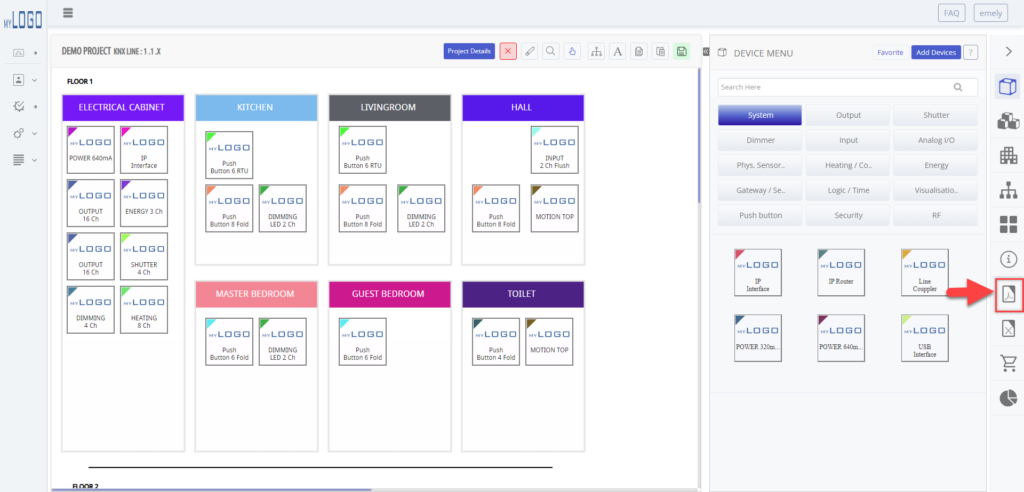
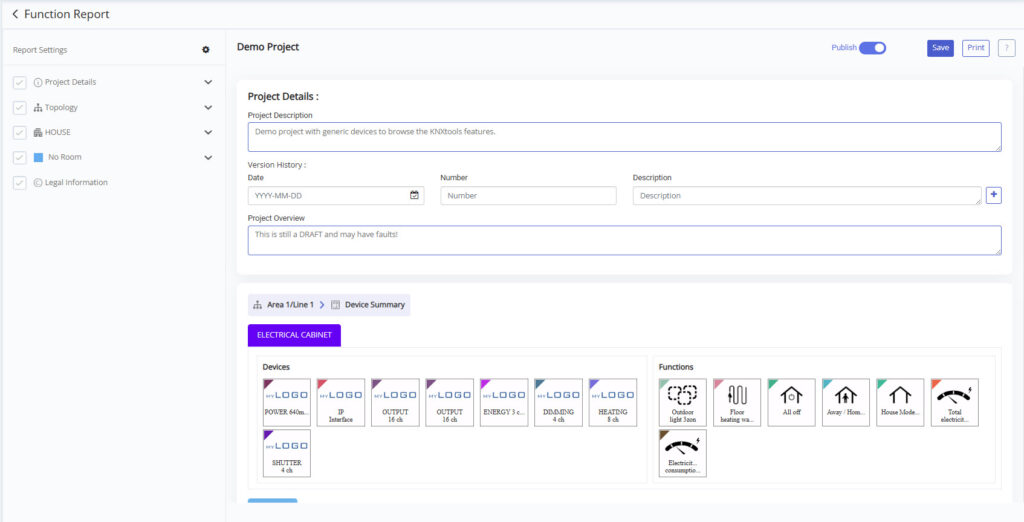
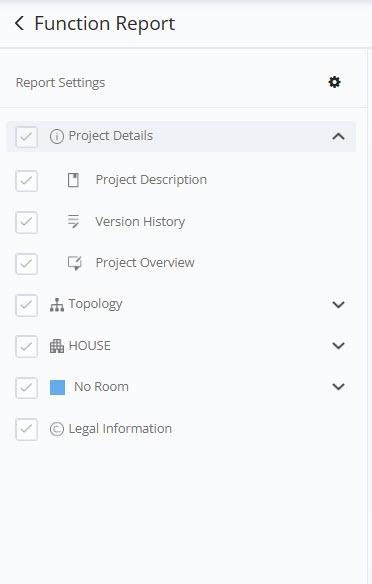
You can also configure devices and functions in the report.
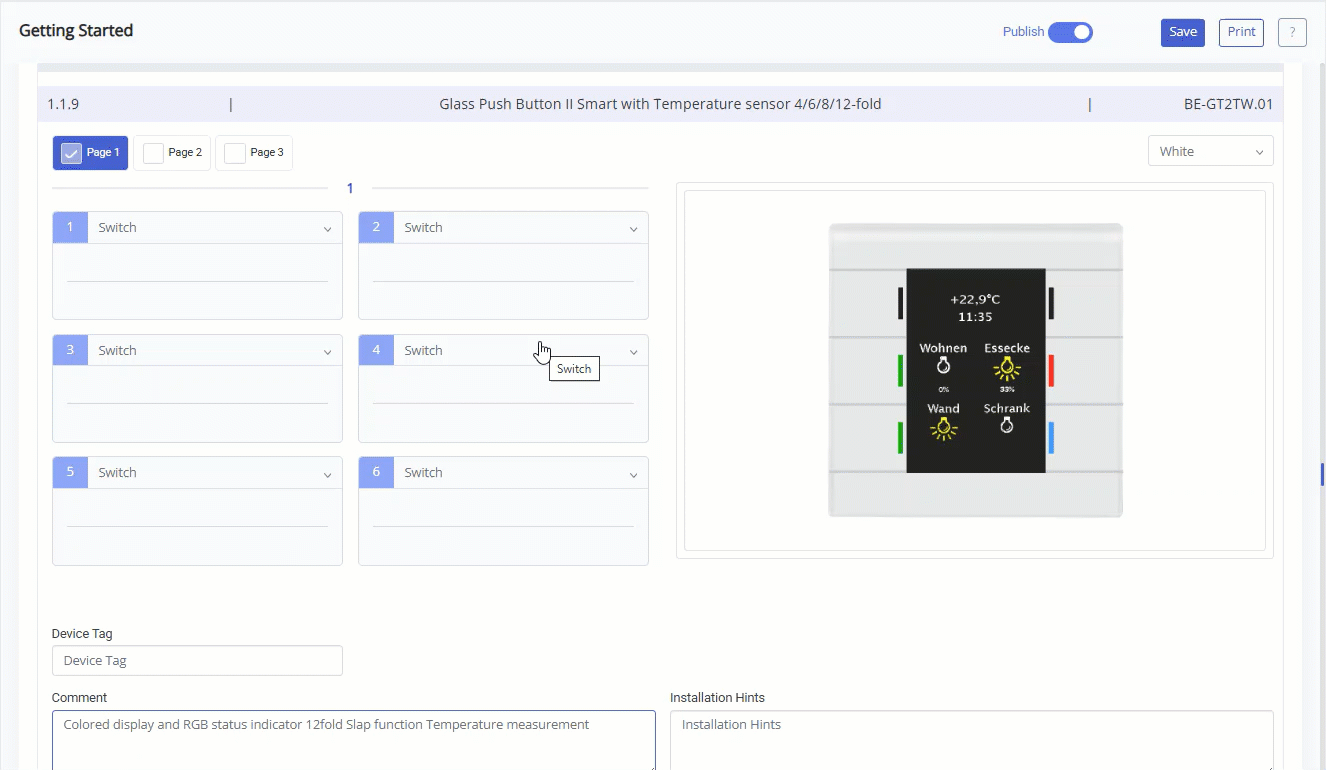
Some devices support multiple pages of e.g., buttons. Only active pages (highlighted in blue) will be printed.
Note: If you make changes to or add group address sets to a device, you will need to refresh the GA structure in the GA view on the drawing board for the changes to take effect. Learn more about automated group address structures and GA sets here.
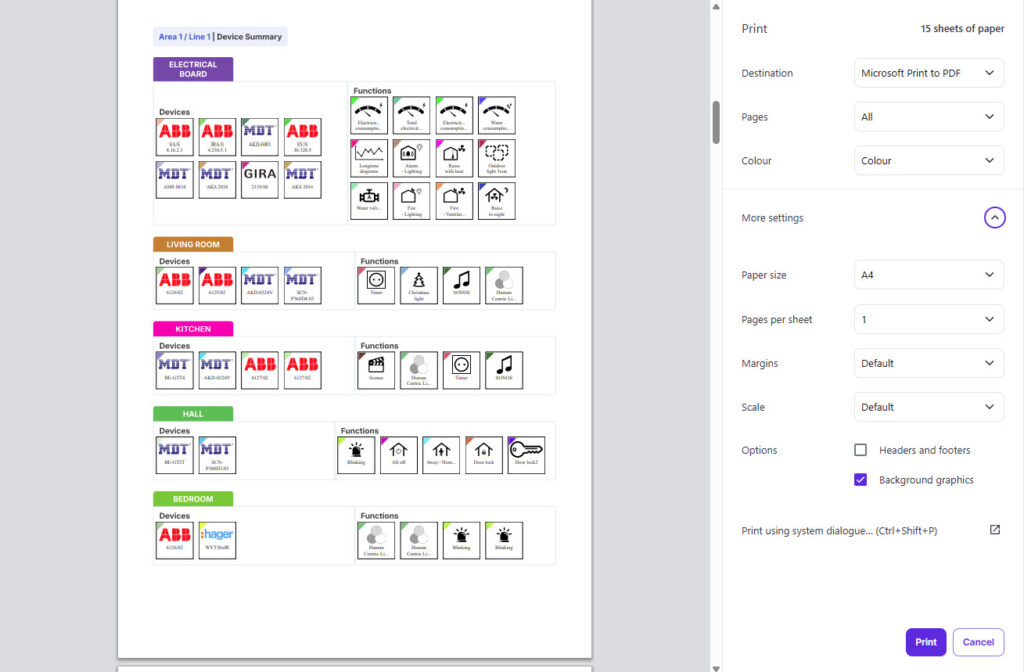
Devices can have several pages. Checkmark pages to include them in the report file.

The report is printed using your browser’s native printing programme. In the image on the right you can see the overview that is included in the beginning of the report, where each room has the devices and functions listed.
Only items that are active (selected) in the report editor will be printed. Uncheck sections you wish to omit in the left overview.
Tip: Everything that you can see in the editor will be printed.
Note: If you have a custom background, make sure that the setting for background images is enabled. This is usually found under advanced settings.

You can now customize the logo, header, theme, background settings etc., in the report settings.
Function report settings apply to all projects.
We recommended file sizes of 150px X 70px for logos, and 1600px X 1062px (A4 page) for background images.
You can also add a watermark to your report and add translations so you can print the report in your local language. To add a new language, go to settings > project settings > project languages. Translations will apply to both Function and Relay Reports.
The report will automatically be printed in the language that is selected as the project language in the project details.


Tags: function description, functions, report